Use the DataLink feature to create dynamic content containing elements that change in real time. Map general media files added to MagicINFO Server or external data collected on the DataLink server to this dynamic content.
Note
DataLink is a web-based application that collects external data at a specified interval and sends data to Player so that the player can play dynamic content. Refer to the MagicINFO DataLink user guide for details on DataLink.
Creating DataLink template
- Click
 (Content) > Web Author on the main menu bar.
 - When the Web Author window appears, select DLK (DataLink Content) Mode in File Type.
- Select a device and then click Create.
- When the Web Author editing page appears, click
 (Template) > Create DataLink Template.
 - On the resolution selection pop-up, select the output resolution that fits the device to publish content and then click Create.
Under the main tab, click
 (Content), select DataLink Image, DataLink Video, or DataLink Media Slide, and then drag it on the canvas.
You can also organize content by dragging images, videos, and text elements onto the canvas.
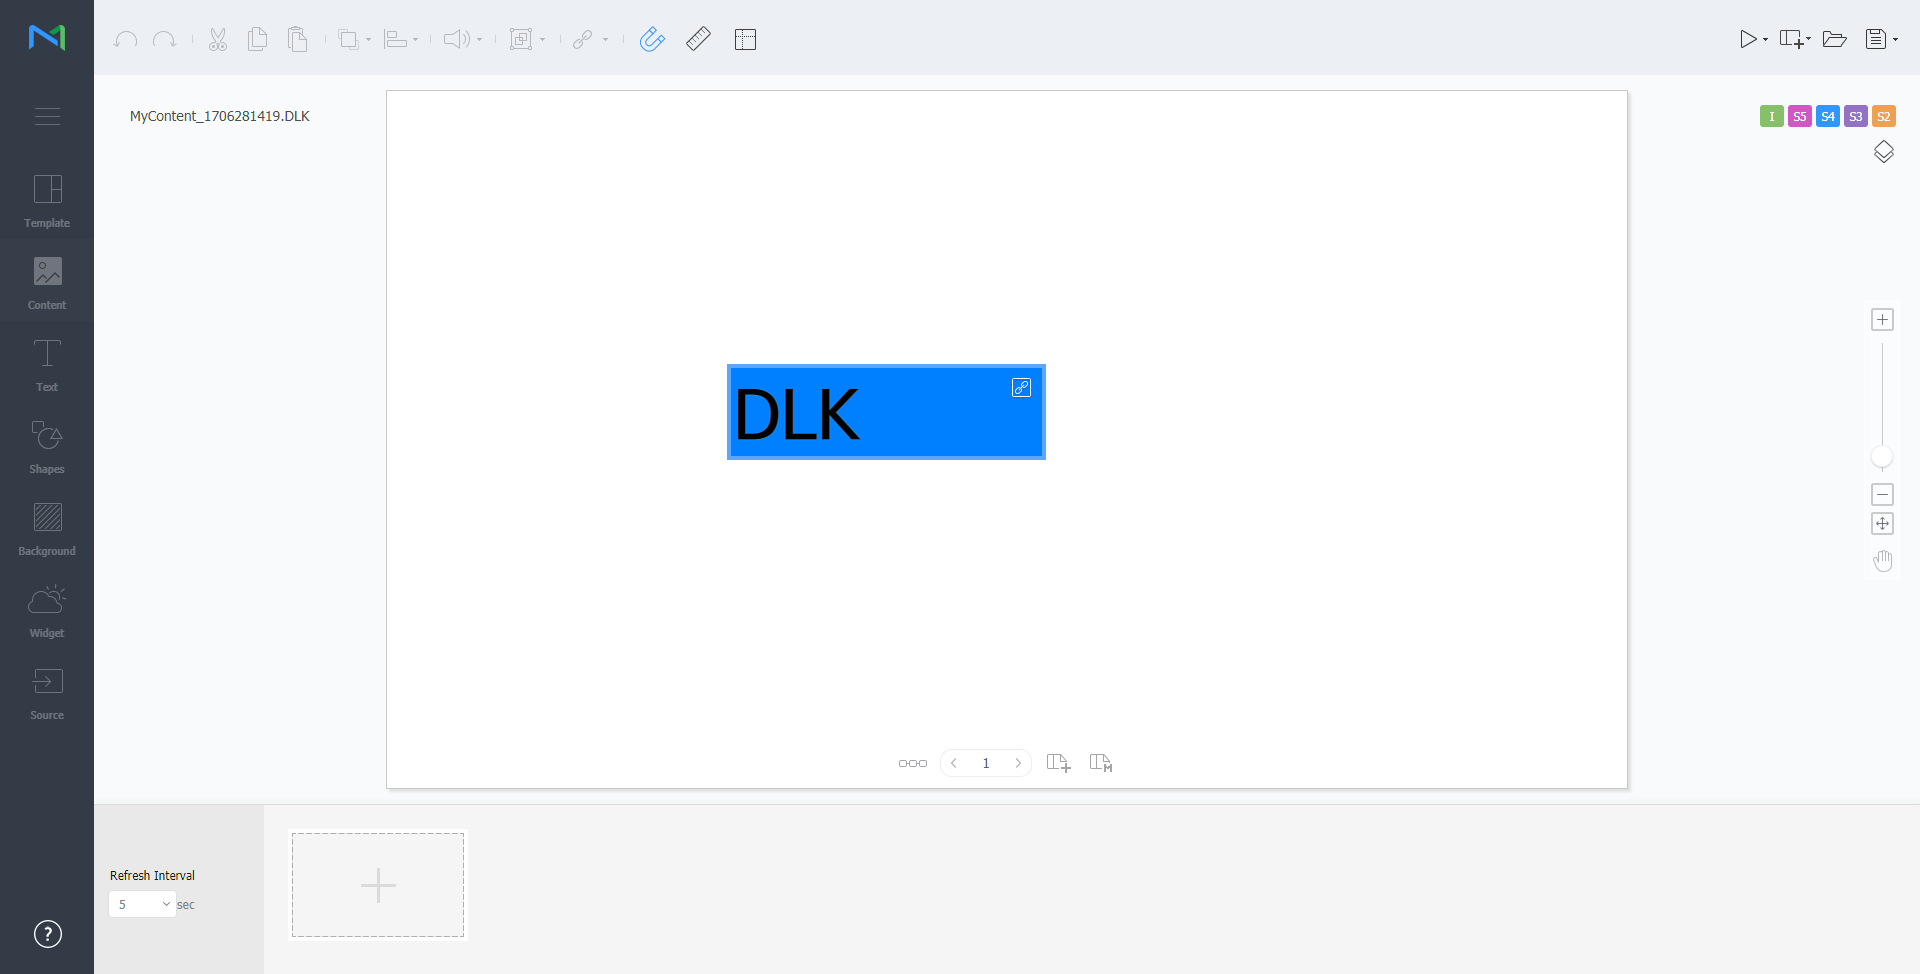
Select an element to set DataLink on the canvas and then click
 (DataLink) from the element editor toolbar. You can also select multiple elements to apply at the same time.
The elements set for DataLink have the
 icon displayed.
- With the element selected, configure detailed settings. Refer to the following table.
- After configuration, click
 (Save) to save the DataLink template.
 - Click the template close button when creating or editing a DataLink template is completed to return to DLK content editor view.
Detailed settings that can be used in the DataLink element are as follows:
Tools | Tool name | Description |
|---|---|---|
DataLink | Configure DataLink settings.
| |
Transition Duration | Set intervals to update DataLink elements. | |
Sync Data | Adjust the transition duration of data included in the canvas. | |
Keep Previous Data | Keep previous data when data cannot be imported. |
Editing after importing the DataLink template
Import a DataLink template in order to create DLK content.
- Click (Template) on the Web Author editing page.
- Click a desired DataLink template from the template list. The DataLink template is applied to the canvas.
- Select the DataLink element applied to the canvas. The DataLink management section appears at the bottom of the screen.
- To add data, click
 icon.
icon. - In the DataLink addition window, select DataLink or Direct Input and then set the following items sequentially. For the items that can be set, refer to the following table.
- After configuring required settings, click Save.
The settings are added to the DataLink management section at the bottom.
In case of creation of DLK content by direct input
Text | Enter text. |
Tag | Tags applied to content can be selected from the list. Select the desired tags. Multiple items can be selected. Note
|
Tag Logic | When multiple tags are selected, select And or Or for the tag logic. |
In case creation of DLK content by syncing with the DataLink Server
DataLink Table | Click |
Data Order | Select to import data from the selected DataLink table in the Horizontal or Vertical order. |
Tag | Tags applied to content can be selected from the list. Select the desired tags. Multiple items can be selected. Note
|
DataLink tags | Add DataLink tags. To add a DataLink tag, select a column from the DataLink table and then click OK. For details on using tags, refer to ▶ Managing tags |
Conversion Table | Using a data substitution table, replace any data in the DataLink table with text, images or videos. Select a target for substitution from the conversion table list. |
Tag Logic | When multiple tags are selected, select And or Or for the tag logic. |
Editing DataLink templates
You can modify a created DataLink template.
- Click (Template) on the Web Author editing page.
- Click a desired DataLink template from the template list. The DataLink template is applied to the canvas.
- Click
 (Edit DataLink Template) at the upper right of the Web Author editing page.
 - Modify the DataLink template in the same manner as creation of the DataLink template and then save it.
Note
If the Datalink template edit button is not pressed, other element buttons except for template in main tab cannot be used.