Use the DataLink feature to create dynamic content containing elements that change in real time. Map general media files added to MagicINFO Server or external data collected on the DataLink server to this dynamic content.
Note
DataLink is a web-based application that collects external data at a specified interval and sends data to Player so that the player can play dynamic content. Refer to the MagicINFO DataLink user guide for details on DataLink.
Creating DataLink templates
Create DLK (DataLink content).
For details, refer to Creating contentNote
From the default screen, other element buttons except for template in main tab cannot be used.
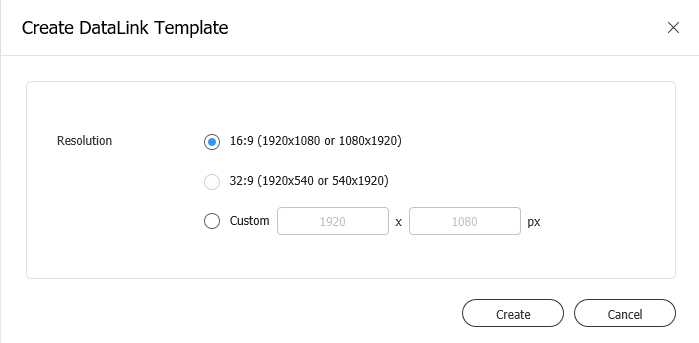
Click Template > Create DataLink Template.
Set the resolution from resolution pop-up window and click new to create a new DataLink template.
Note
Other element buttons are available once a DataLink template is created.
Select a method to add an element to content page.
Select an element to which to apply the DataLink feature, and click
 from the element editor toolbar. You can also select multiple elements at the same time.
The element displays the icon.
icon.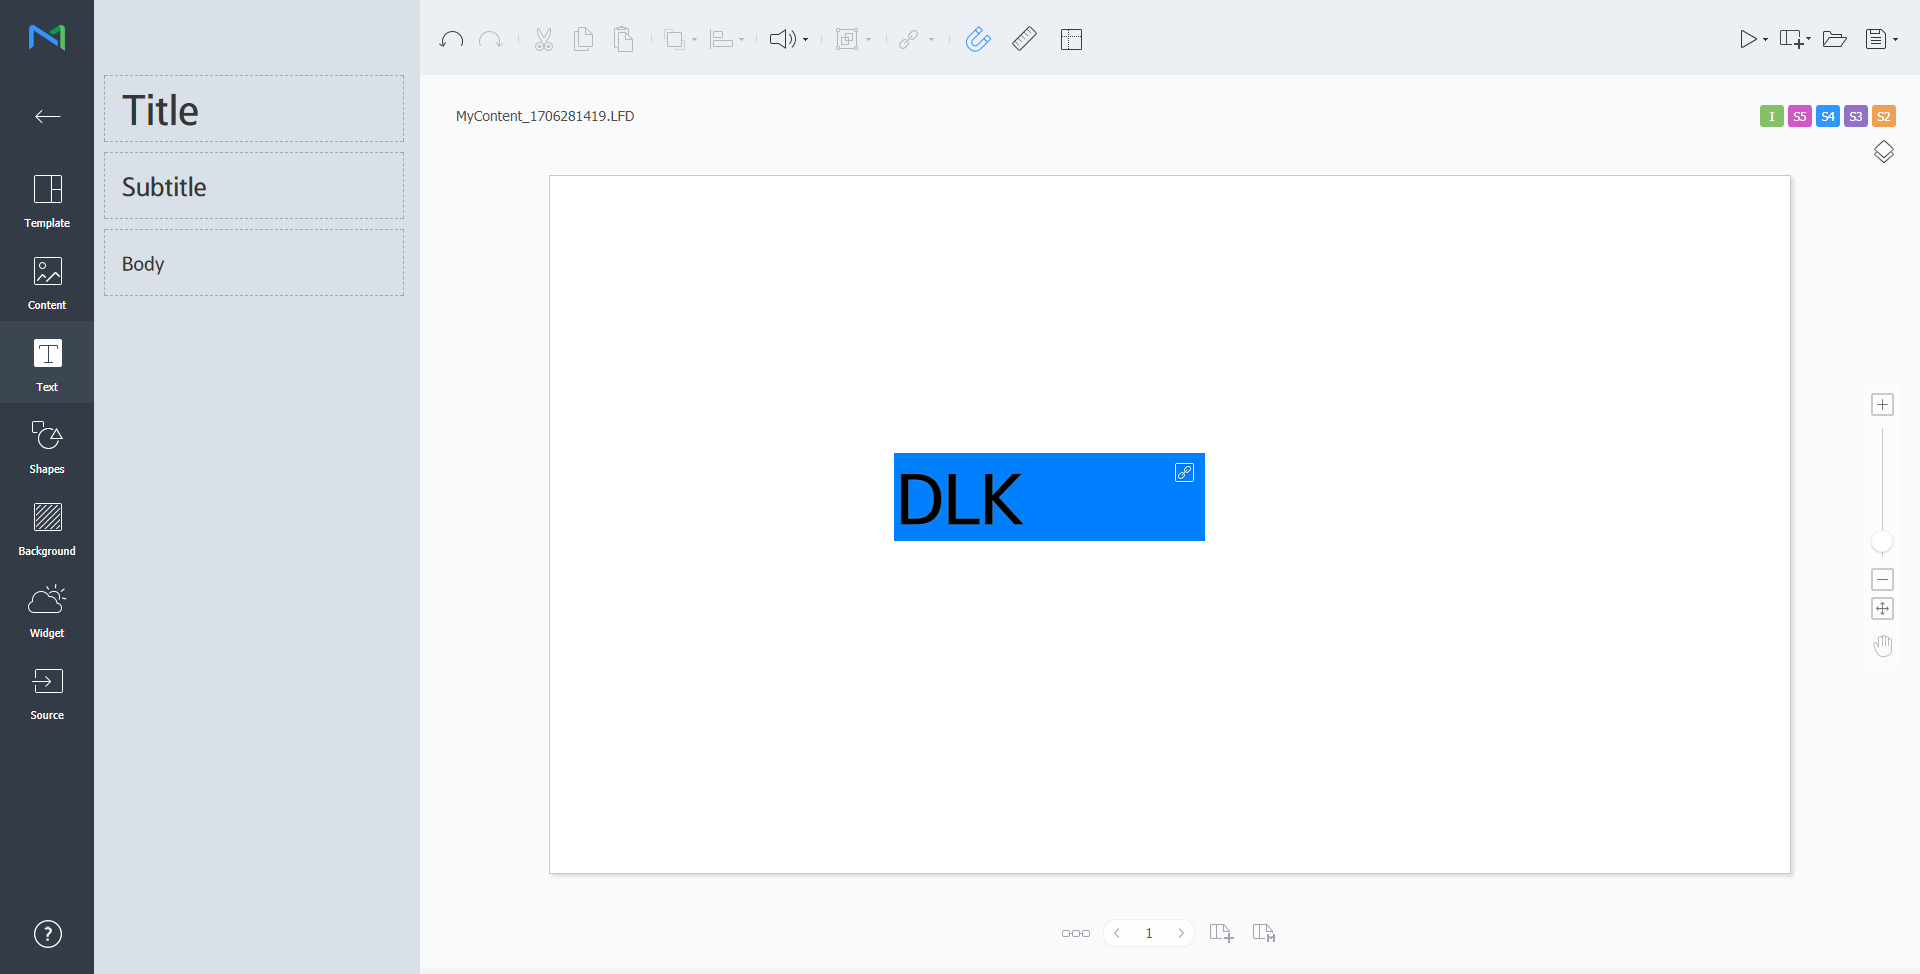
With the element selected, configure specific settings.
 /
/ 
Select multiple DataLink elements, and group or ungroup them. 
Configure DataLink setting.
- Transition Duration: Set intervals to update DataLink elements.
- Sync Data: Select whether to sync data.
- Keep Previous Data: Select whether to maintain previous data.
- Group Data: Select multiple DataLink elements to group them. Grouped DataLink elements will be marked with the playback order icon.
- Ungroup Data: Ungroup DataLink elements that are grouped together.
- Edit Conversion Table: Using a data substitution table, replace any data in the DataLink table with text, images or videos. Click Add in the Conversion Table window to add a new conversion table. Select the data to substitute and click Save.
- After configuring required settings, click
 .
. Configure save details and click Save and Create DLK.
The content is saved as a DataLink template.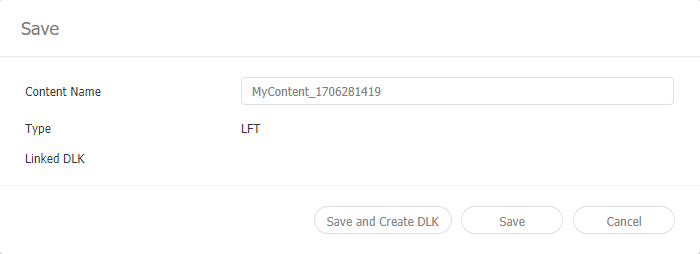
Editing DataLink templates
Import and edit a saved DataLink template.
- Click
 on the Web Author screen.
 Click the Datalink Template tab.
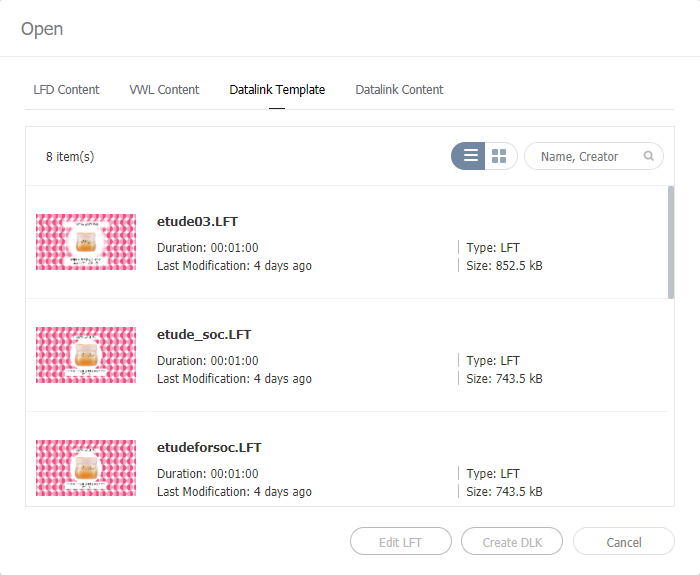
- Select a template and click Edit LFT.
- Edit the DataLink template, using the same method to create a DataLink template.
Creating DLK content files
Use a DataLink template to create DLK content to distribute to Player. DLK content can be created either by adding a media file or text or by importing saved DataLink Server settings.
Importing DataLink templates
Import a DataLink template in order to create DLK content.
Note
For details on how to create DataLink templates, refer to ► Creating DataLink templates
- Click on the Web Author screen.
Click the Datalink Template tab.
- Select a template and click Create DLK.
The DLK content creation page appears.
Creating DLK content by manually entering data
- Import a DataLink template.
Select a DataLink element.
The DataLink management window appears.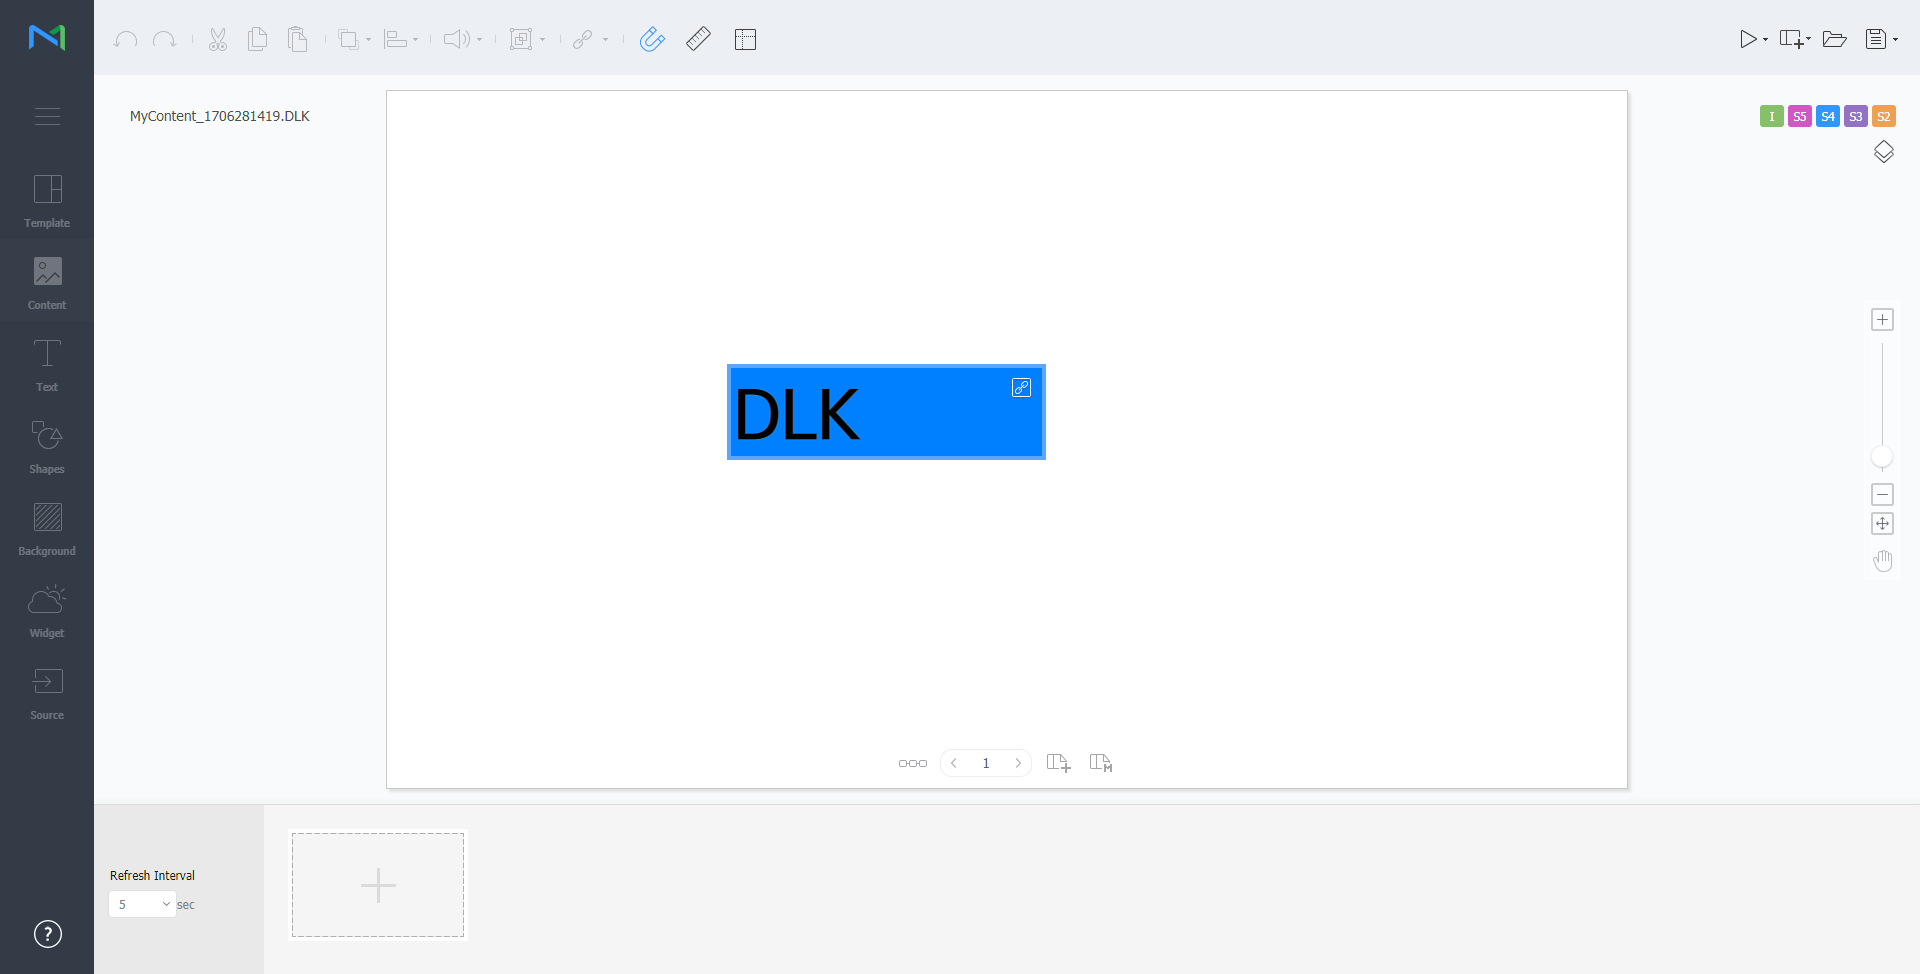
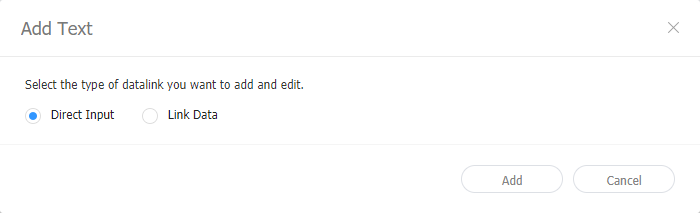
- To add data, click
 .
. Select Direct Input and click Add.
Enter details and click Save.
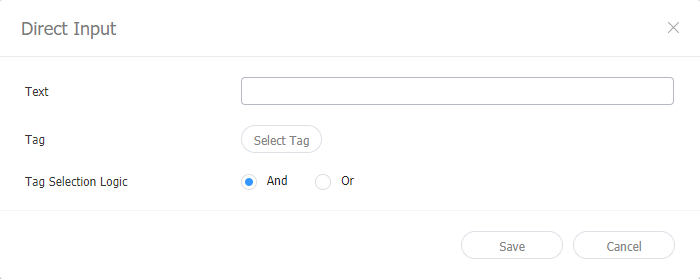
Text Enter text. Tag Add a tag to the text, if required. Select a tag from the tag list and click Save. It is possible to select more than one tag.
Note
- A content file with a tag plays only on a device that has the same tag.
- To assign a tag to text, first make sure the tag is saved on the MagicINFO Server. For details on adding tags, refer to ► Adding Tags
- For details on using tags, refer to ► Configuring tag settings
Tag MatchType Set matching conditions if more than one tag is assigned. - After configuring required settings, click .
- Configure save details and click Save.
The content is saved as DLK content.
Creating a DLK file in conjunction with DataLink Server
Create a DLK content file by mapping data, saved in DataLink Server, to a DLK template.
Creating a DLK file in conjunction with DataLink Server
To create a DLK content file in conjunction with DataLink Server, make sure to connect MagicINFO Server to DataLink Server. For details, refer to ► Managing external servers
Media slide elements
It is not possible to map DataLink Server data to media slide elements.
- Import a DataLink template.
Select a DataLink element.
The DataLink management window appears.- To add data, click .
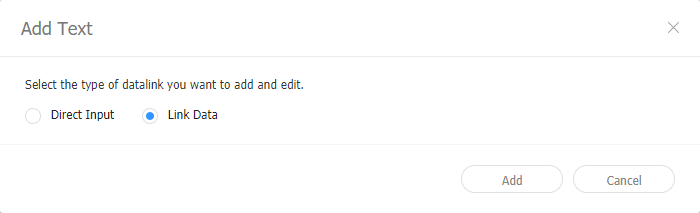
Select Link Data and click Add.
Enter details and click Save.
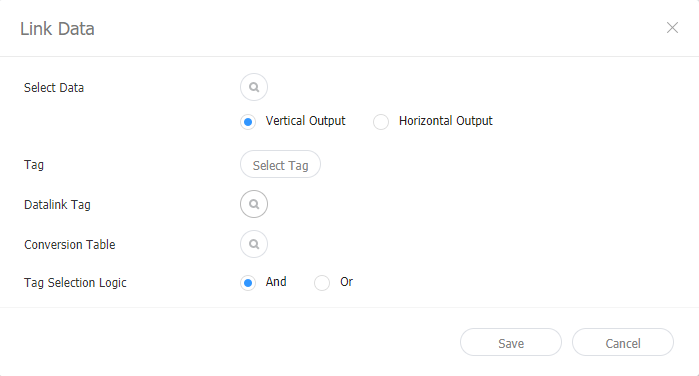
Select Data Select a DataLink table saved in DataLink Server. In the DataLink table, select data items to use and click Save.
Tag Add tags to the data items, if required. Select a tag from the tag list and click Save. It is possible to select more than one tag.
Note
- A content file with a tag plays only on a device that has the same tag.
- To assign tags to data items, first make sure the tags are saved on the MagicINFO Server. For details on adding tags, refer to ► Adding Tags
DataLink tags Add DataLink tags. To add a DataLink tag, select a column from the DataLink table and click OK. For details on using tags, refer to ► Managing tags
Conversion Table Using a data substitution table, replace any data in the DataLink table with text, images or videos. In the Select Conversion Table window, select a target for substitution and click OK.
Tag MatchType Set matching conditions if more than one tag is assigned. - After configuring required settings, click .
- Configure save details and click Save.
The content is saved as DLK content.
Managing DataLink
- Import a DataLink template or DLK content.
- Select a DataLink element.
The DataLink management window appears. Manage DataLink, using the following menu items:
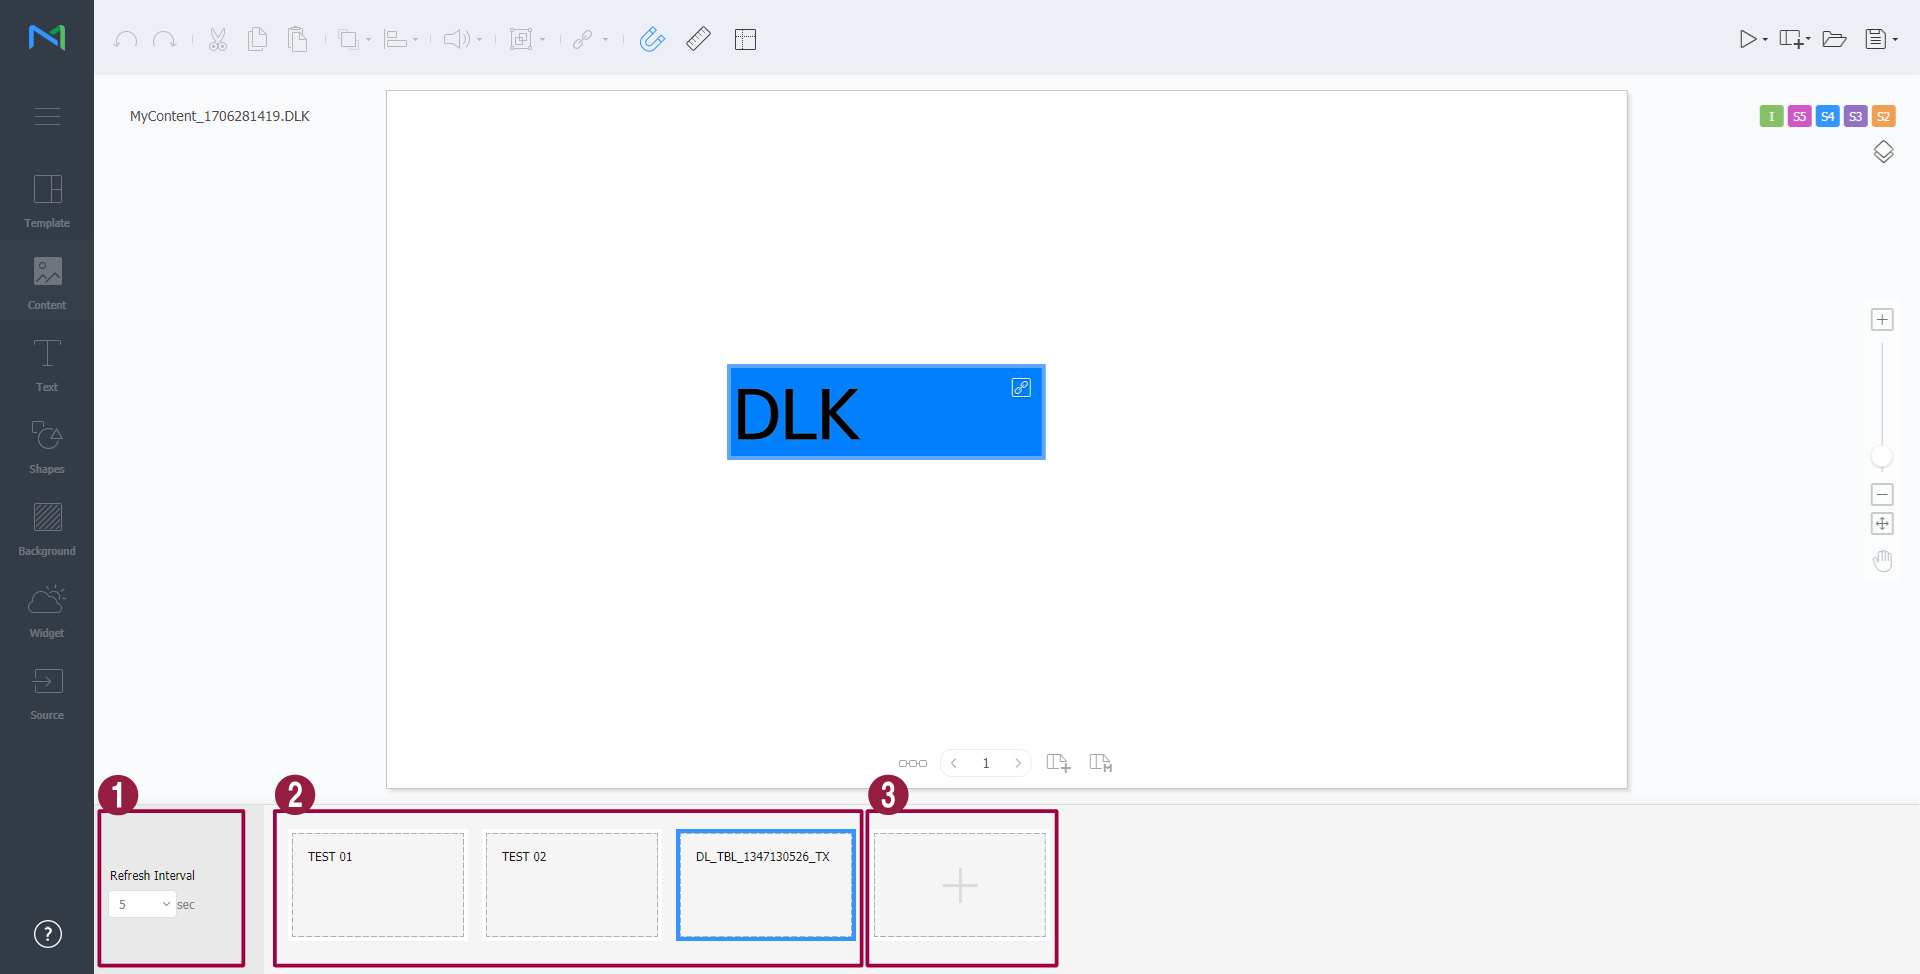
1 Set intervals to update DataLink elements. 2 - To delete added data, hover the mouse pointer over the data item to delete and click
 .
. - To edit added data, hover the mouse pointer over the data item to edit and click
 .
.
3 Add data. - To delete added data, hover the mouse pointer over the data item to delete and click
Editing DLK content
Import and edit saved DLK content.
- Click on the Web Author screen.
Click the Datalink Content tab.
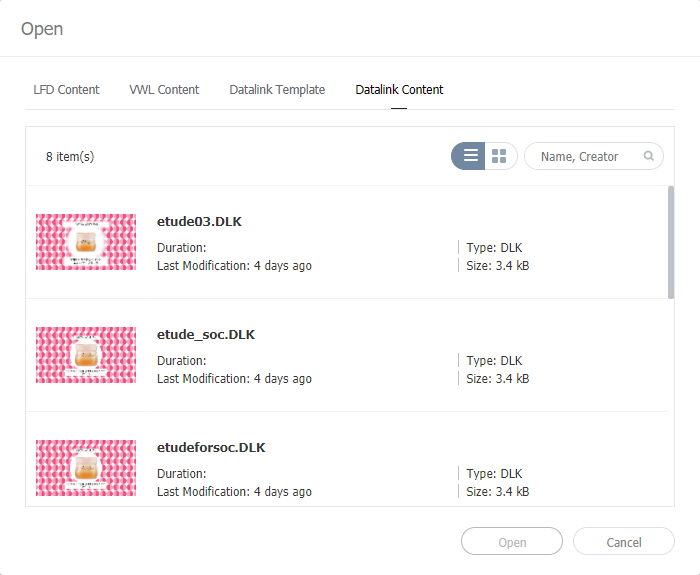
- Select a content file and click Open.
- Edit the DLK content, using the same method to create DLK content.
Configuring event triggers
- Click
 on the Web Author screen.
 Use the options to configure external event properties.

Edit Event Activate, deactivate, or edit external events from a network or serial port. For details, refer to ► Configuring Event Triggers
Previewing event schedules This allows you to view set events per page and general flow for all events. For details, refer to ► Previewing event schedules Serial ports Settings Enter the port number to directly configure the serial port. Network ports Settings The network port can be set by entering the UDP port number.
Configuring an event trigger
- Click on the Web Author screen.
- Click Edit Event.
- Click the port to activate.
Click Add to configure the trigger, action, and page settings for the event. Click Save.
Event settings are now configured and the event is activated.
Event actions are currently limited to moving to a page.
Previewing event schedules
This allows you to view set events per page and general flow for all events.
- Click on the Web Author screen.
Click Previewing event schedules

1 Test to confirm that each event is triggered in Player as set. 2 Arrange page thumbnails. 3 Zoom in or out of the screen. 4 Fit to screen size.