Page History
...
| Sv translation | ||||||||||
|---|---|---|---|---|---|---|---|---|---|---|
| ||||||||||
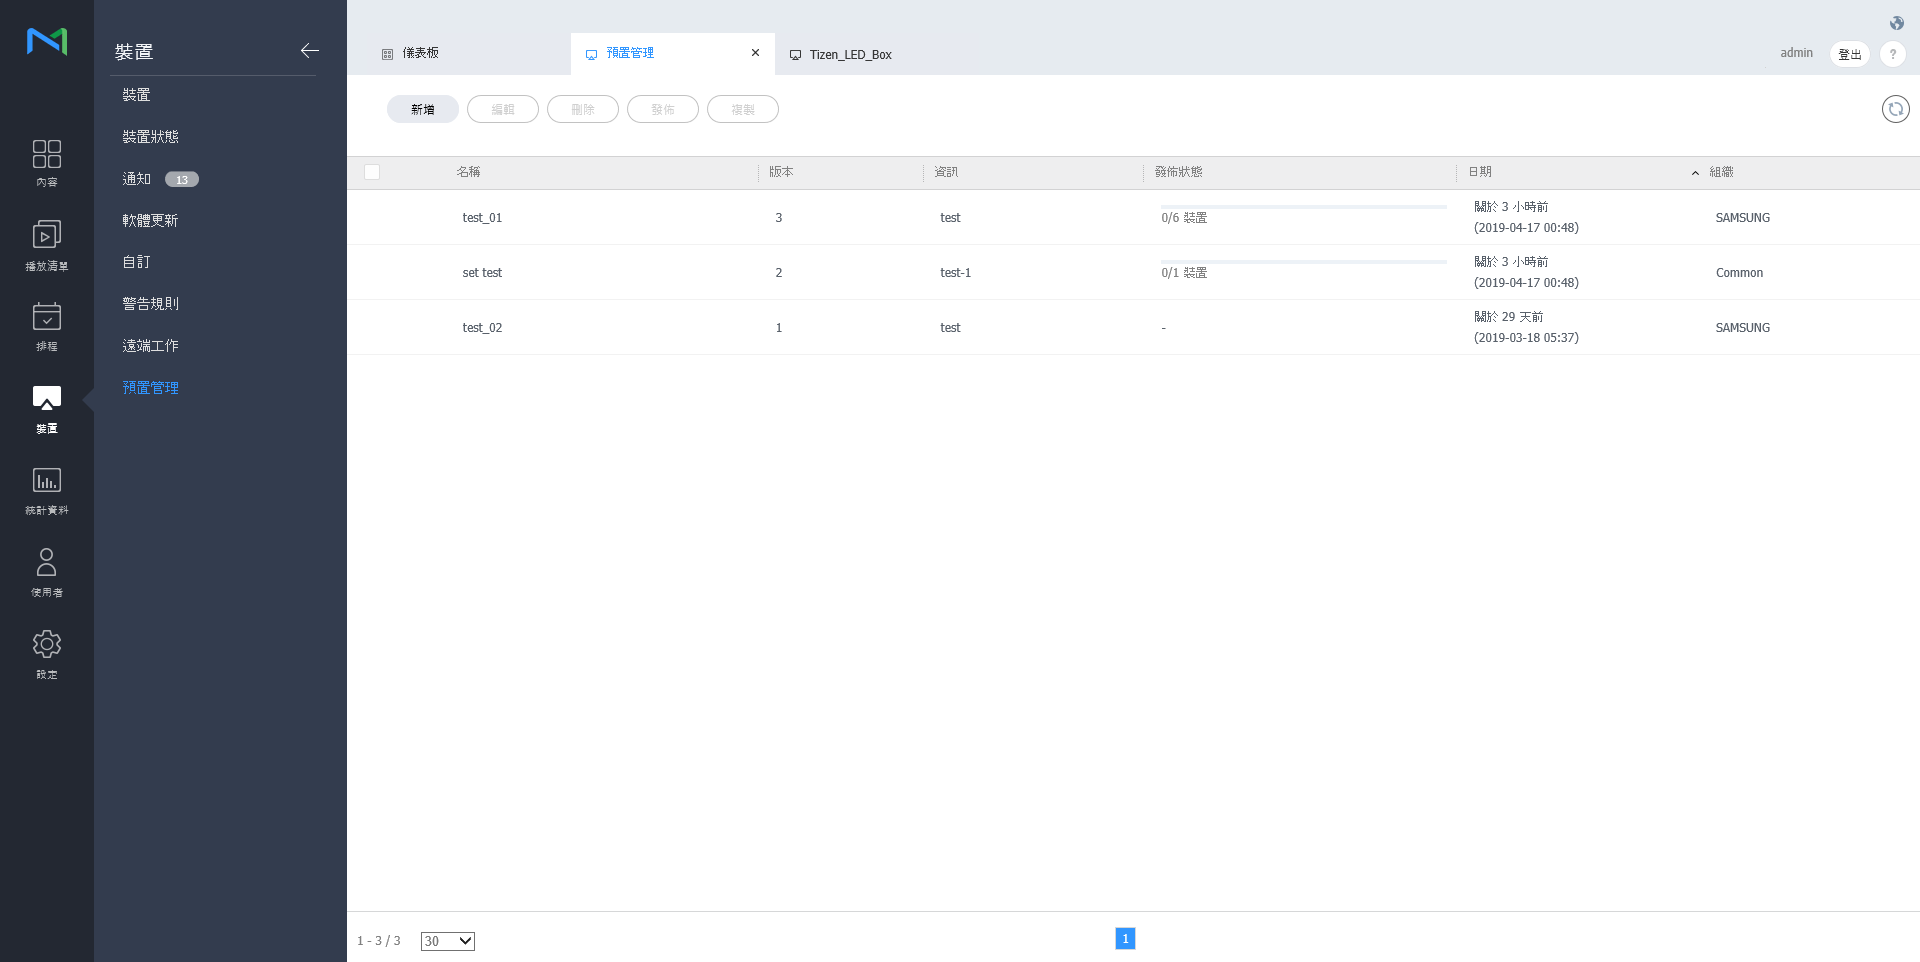
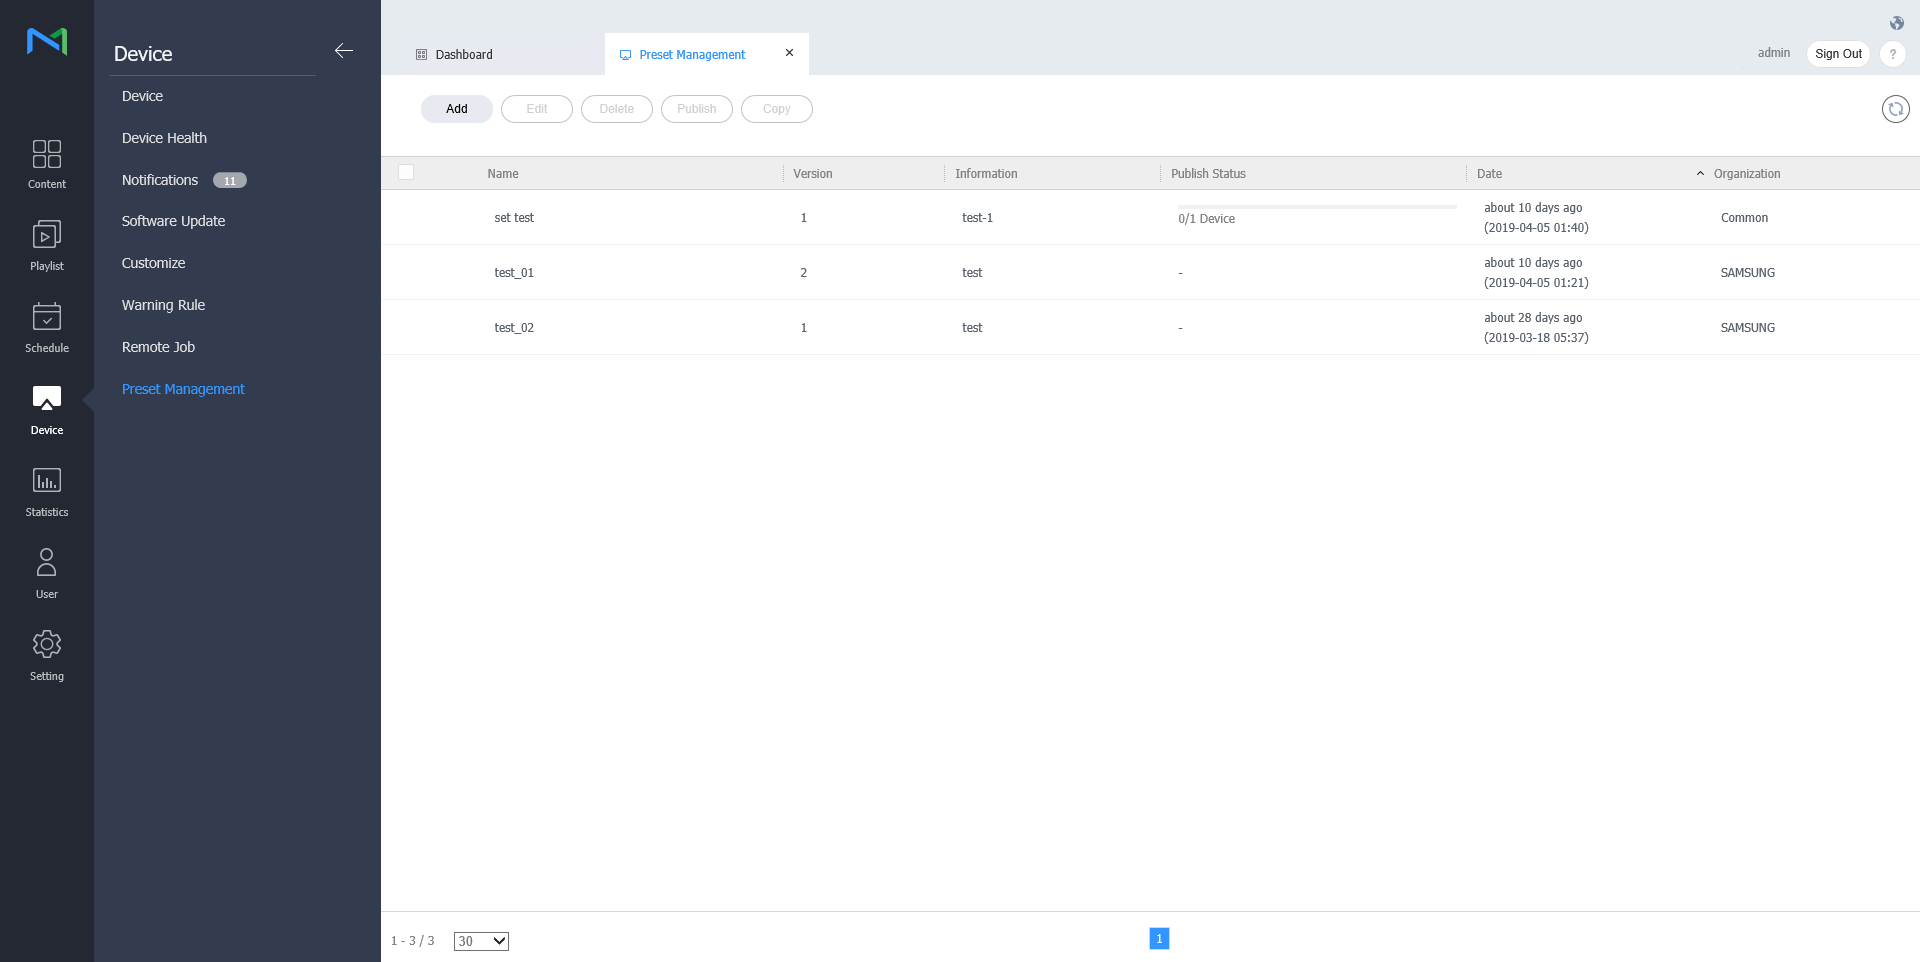
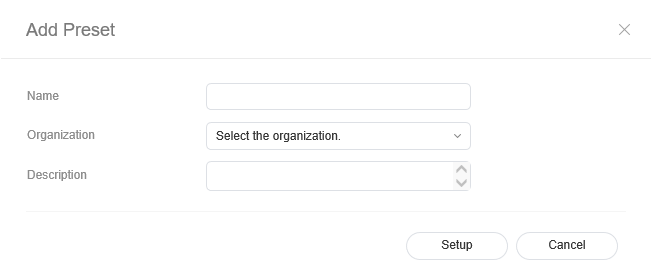
新增預設
刪除預設
發佈預設
複製預設
|

| Sv translation | ||||||||||
|---|---|---|---|---|---|---|---|---|---|---|
| ||||||||||
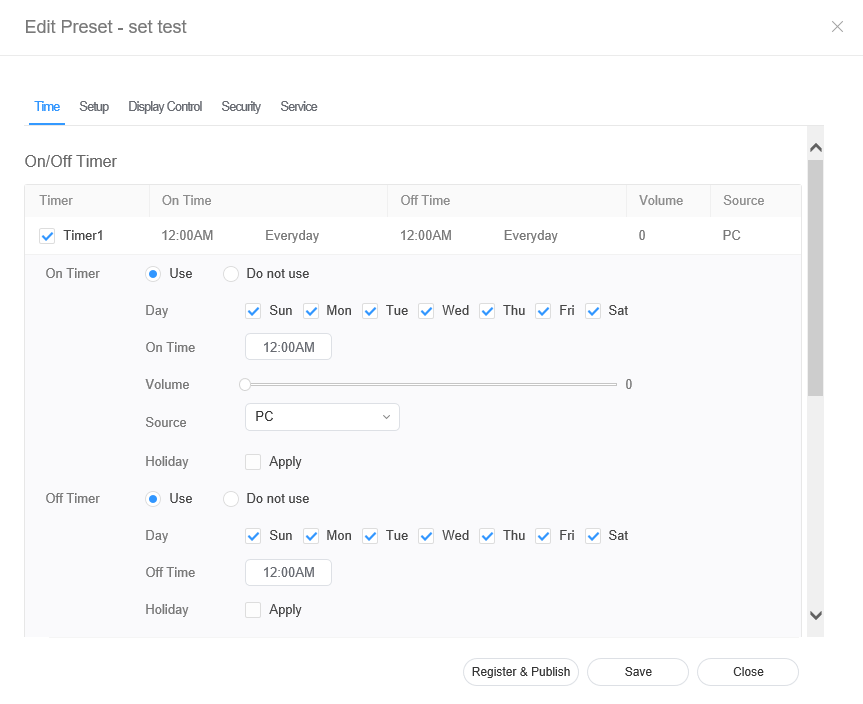
Edit preset information, using one of the following options.
Editing preset timeConfigure the time and click Save. Click Register & Publish to immediately apply the set value to a group. إضافة تعيين مسبق
| ||||||||||
| On Timer | Set the time to turn on the device. To use the timer, select Use.
| |||||||||
| Off Timer | Set the time to automatically turn off the device. To use the timer, select Use.
| |||||||||
| Holiday management | Holiday: Set holidays to prevent the device from operating on specified days. |
| Stylesheet | ||
|---|---|---|
| ||
|
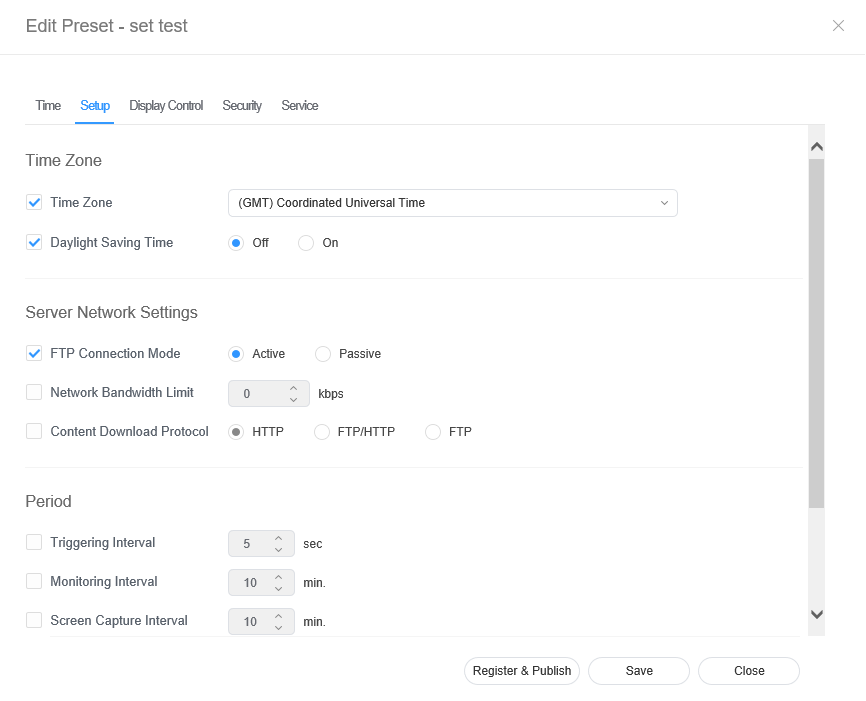
- Time Zone: Select a time zone for each city.
Daylight Saving Time: Turn daylight savings time mode on or off. To use daylight savings time mode, configure start and end settings.
Info title Note Daylight Saving Time, also known as Summer Time, is a system that advances clocks one hour forward in summer.
- FTP Connection Mode: Configure the FTP connection mode.
- Network Bandwidth Limit: Limit the bandwidth for the server network to connect.
- Download protocol: Configure the download mode.
- Triggering Interval: Specify the triggering cycle.
- Monitoring Interval: Specify the monitoring cycle.
- Screen Capture Interval: Specify the screen capture cycle.
- System Restart Interval: Specify the system restart interval..
Editing preset display control
- Select the Display Control tab from the preset editor window.
Edit information and click Save. Click Register & Publish to immediately apply the set value to a group.
Stylesheet class screen 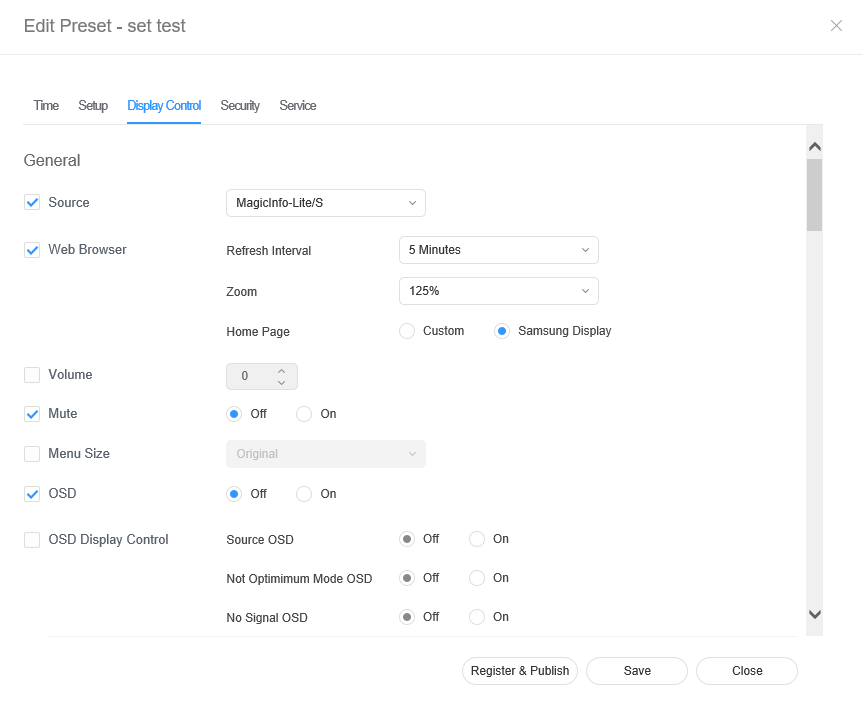
Editing preset security
- Select the Security tab from the edit preset window.
Edit information and click Save. Click Register & Publish to immediately apply the set value to a group.
Stylesheet class screen 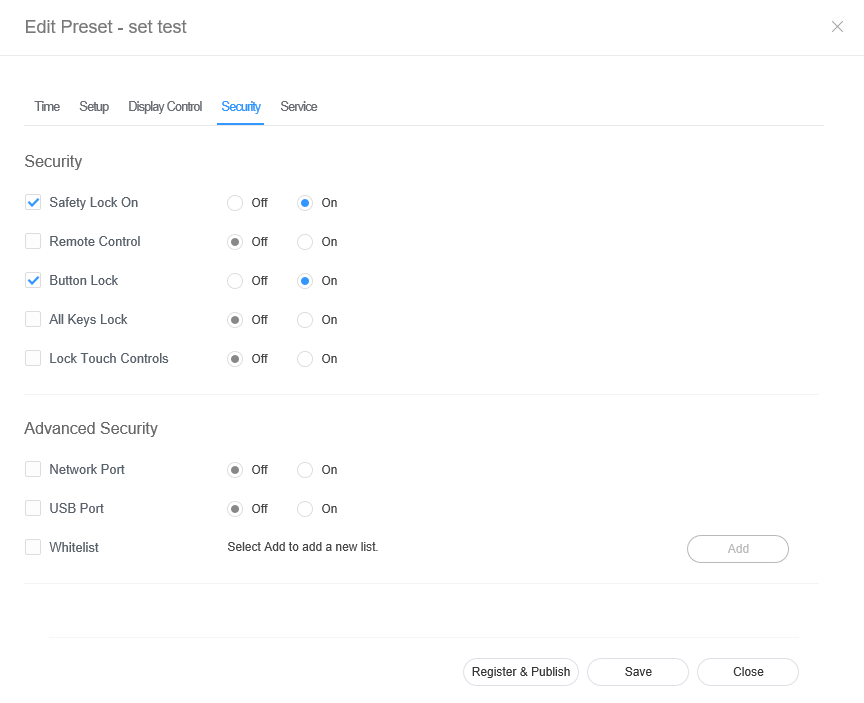
Deleting preset
Select a preset to delete from the preset list and click Delete.
Click OK to delete the selected preset.
Publishing preset
- Select a preset from the preset list and click Publish.
- Select a device to which you want to publish the preset setting and click Save.
Copying preset
- Select a preset from the preset list and click Copy
- Enter name, organization and description when the save as window appears and click Save.