The software can be installed by selecting either Express Install or Advanced Install as the installation type. Express Install automatically configures settings, and Advanced installation enables the user to customize settings. MagicINFO Server can be installed after selecting any of PostgreSQL and Microsoft SQL Server.
Note
- The installation process may vary, depending on the selected setup type and database.
- This user guide assumes that you install the software on PostgreSQL database.
Precautions when installing the software
MagicINFO Server can only be installed using a Windows administrator account.
Quick installation
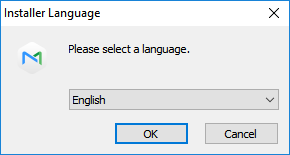
On the screen, specify the installation language and click OK.
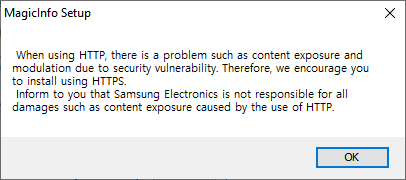
A warning window regarding use of HTTP appears. Read the details and click OK.
To proceed with the installation, click Yes.
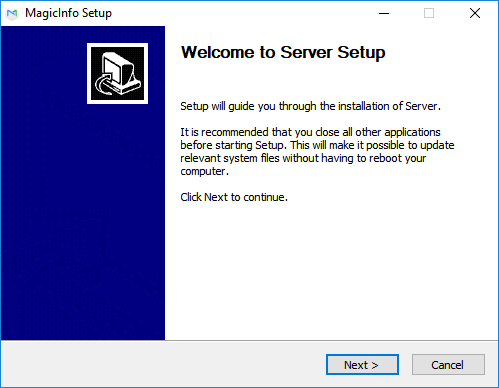
Read installation messages and click Next.
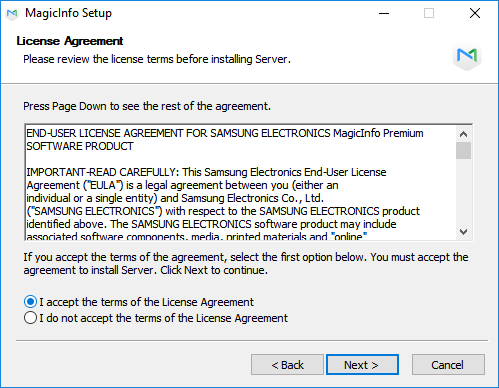
Agree to the license agreement and click Next.

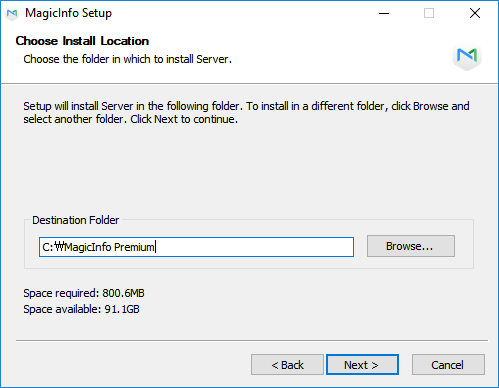
Choose the location to install MagicINFO Server and click Next.
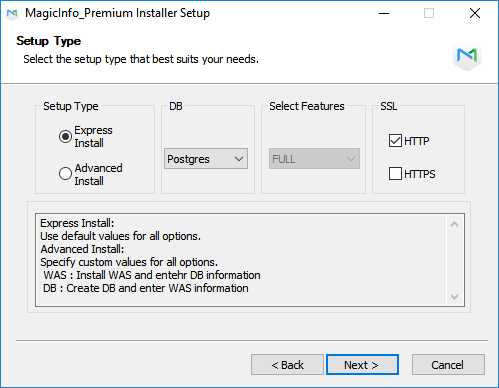
Select Express Install as the installation type, set the DB and SSL protocol, and then click Next.
Note
- The installation process varies depending on the selected setup type.
- Setting the installation type to Express Install automatically configures settings and shortens the installation process.
- Selecting Advanced Install as the installation type enables you to install FULL, WAS, or DB using custom settings.
- Select HTTP or HTTPS for SSL. One of the two options must be selected.
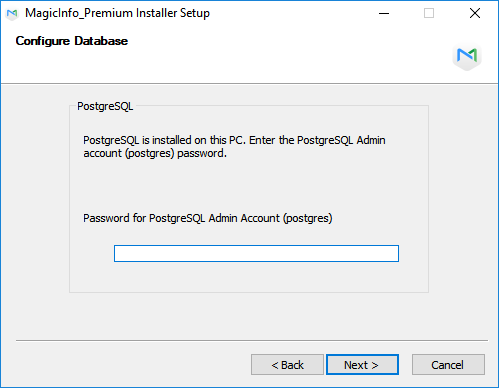
- Enter the PostgreSQL administrator password created when installing PostgreSQL, and click Next.
Enter the PostgreSQL administrator password created when installing PostgreSQL, and click Next.
Note
This step does not appear when the selected DB is MSSQL.
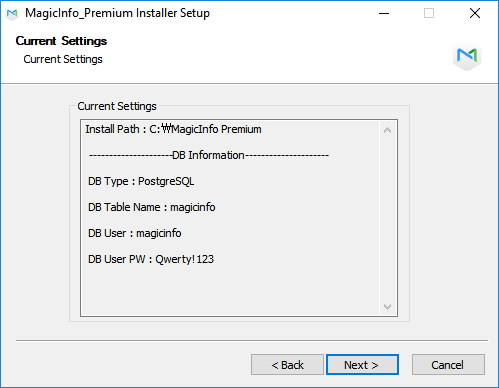
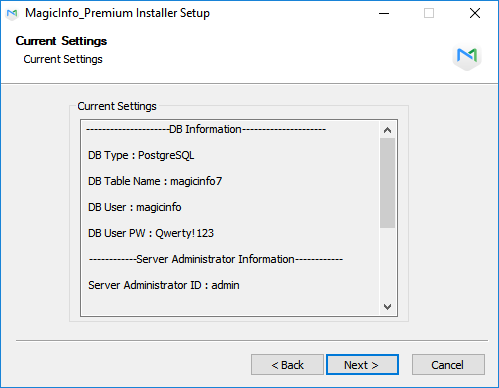
View the information created during MagicINFO Server installation, and click Next.

Note
- Installing MagicINFO Server for the first time creates a general administrator, an organization and the organization's administrator. For details on MagicINFO Server management privilege settings, refer to ▶ MagicINFO Server 관리 권한 이해하기
- Note down the database user, general administrator and organization administrator account details. These are needed to use MagicINFO Server.
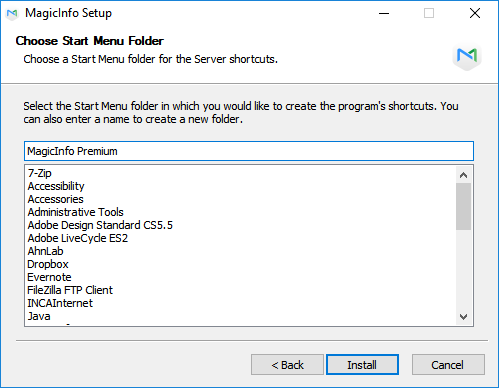
Select the Start Menu folder for MagicINFO Server and click Install.
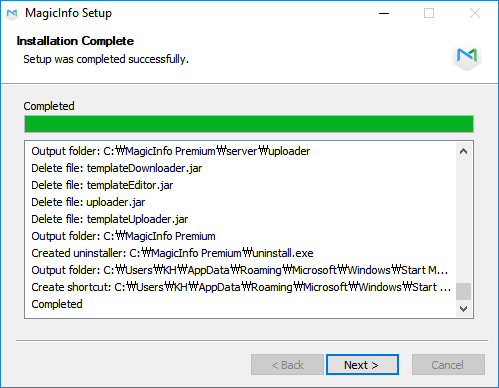
When installation is complete, click Next.
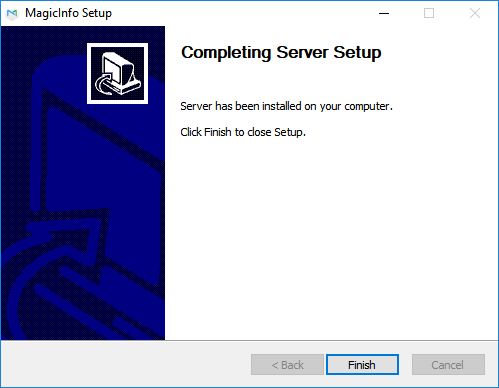
Click Finish.
Note
Change Microsoft Internet Explorer settings as follows after installing the MagicINFO Server.
- Select Tools > Internet options > Browsing history > Settings > Temporary Internet Files > Every time I visit the website.
Select Tools > Internet Options > Advanced > International > Send UTF-8 URLs.
Custom installation
Installing all features (FULL)
On the screen, specify the installation language and click OK.
A warning window regarding use of HTTP appears. Read the details and click OK.
To proceed with the installation, click Yes.
Read installation messages and click Next.

Agree to the license agreement and click Next.
Choose the location to install MagicINFO Server and click Next.

Set the installation type to Advanced Install, select FULL under Select Features, customize the DB and SSL protocol, and then click Next.

Note
The installation process varies depending on the selected setup type.
- Setting the installation type to Express Install automatically configures settings and shortens the installation process.
- Selecting Advanced Install as the installation type enables you to install FULL, WAS, or DB using custom settings.
- Select HTTP or HTTPS for SSL. One of the two options must be selected.
Enter the PostgreSQL administrator password created when installing PostgreSQL, and click Next.
Note
This step does not appear when the selected DB is MSSQL.
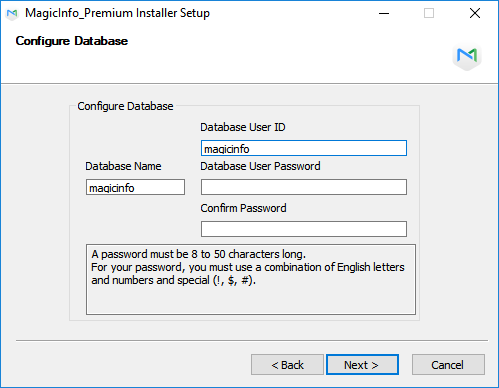
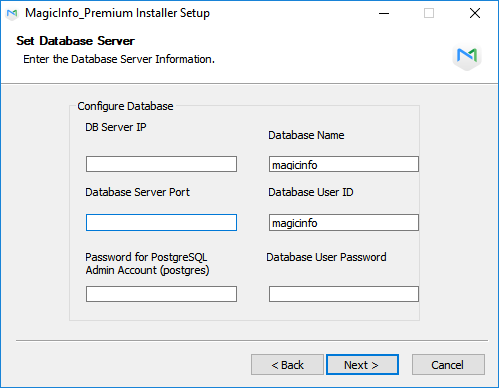
Configure settings for the database to create, such as the database name, database user ID and password. Click Next.
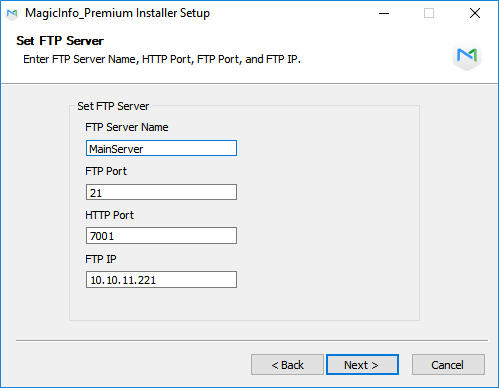
Enter FTP server information and click Next.
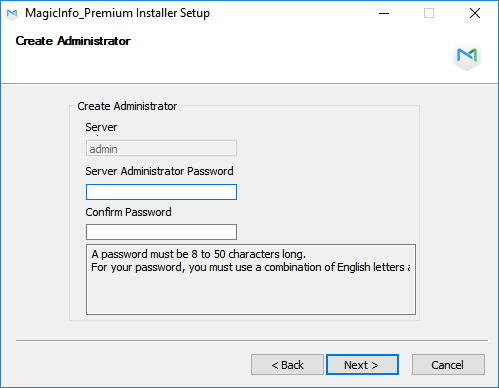
Set the general administrator password and click Next.
Note
Installing MagicINFO Server for the first time creates a general administrator account (ID:
admin).Enter an organization name to use in MagicINFO Server and information on the organization administrator. Click Next.

Enable or disable the email notification feature for device alarms and click Next.
To send email notifications to a MagicINFO Server user, select Enable and enter an IP address for the SMTP server.
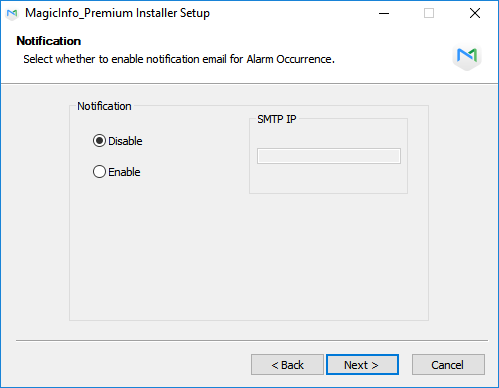
To send email notifications for device alarms to users, first configure SMTP server settings.
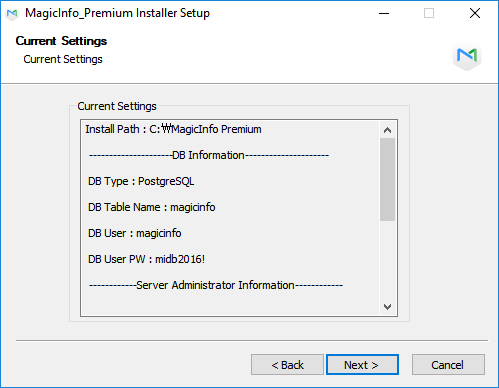
When MagicINFO Server installation information appears, click Save to save the information as a file and click Next.
Note
Note down the database user account details. These are needed to use MagicINFO Server.
Select the Start Menu folder for MagicINFO Server and click Install.
When installation is complete, click Next.
Click Finish.
Note
Change Microsoft Internet Explorer settings as follows after installing the MagicINFO Server.
- Select Tools > Internet options > Browsing history > Settings > Temporary Internet Files > Every time I visit the website.
- Select Tools > Internet Options > Advanced > International > Send UTF-8 URLs.
Installing WAS only
On the screen, specify the installation language and click OK.
A warning window regarding use of HTTP appears. Read the details and click OK.
To proceed with the installation, click Yes.
Read installation messages and click Next.
Agree to the license agreement and click Next.
Choose the location to install MagicINFO Server and click Next.
Set the installation type to Advanced Install, select WAS under Select Features, customize the DB and SSL port, and then click Next.

Note
- The installation process varies depending on the selected setup type.
- Selecting Express Install as the installation type automatically configures settings and shortens the installation process.
- Selecting Advanced Install as the installation type enables you to install FULL, WAS, or DB using custom settings.
- Select HTTP or HTTPS for SSL. One of the two options must be selected.
Enter details of the database and the server where the database is installed, and then click Next.
Enter FTP server information and click Next.
Enable or disable the email notification feature for device alarms and click Next.
To send email notifications to a MagicINFO Server user, select Enable and enter an IP address for the SMTP server.
Note
To send email notifications for device alarms to users, first configure SMTP server settings.
When MagicINFO Server installation information appears, click Save to save the information as a file and click Next.
Note
Note down the database user account details. These are needed to use MagicINFO Server.
Select the Start Menu folder for MagicINFO Server and click Install.
When installation is complete, click Next.
Click Finish.
Note
Change Microsoft Internet Explorer settings as follows after installing the MagicINFO Server.
- Select Tools > Internet options > Browsing history > Settings > Temporary Internet Files > Every time I visit the website.
- Select Tools > Internet Options > Advanced > International > Send UTF-8 URLs.
Installing DB only
On the screen, specify the installation language and click OK.
A warning window regarding use of HTTP appears. Read the details and click OK.
To proceed with the installation, click Yes.
Read installation messages and click Next.
Agree to the license agreement and click Next.
Choose the location to install MagicINFO Server and click Next.
Set the installation type to Advanced Install, select DB under Select Features, customize the DB and SSL port, and then click Next.

Note
- The installation process varies depending on the selected setup type.
- Setting the installation type to Express Install automatically configures settings and shortens the installation process.
- Selecting Advanced Install as the installation type enables you to install FULL, WAS, or DB using custom settings.
- Select HTTP or HTTPS for SSL. One of the two options must be selected.
Enter the PostgreSQL administrator password created when installing PostgreSQL, and click Next.
Note
This step does not appear when the selected DB is MSSQL.
Configure settings for the database to create, such as the database name, database user ID and password. Click Next.
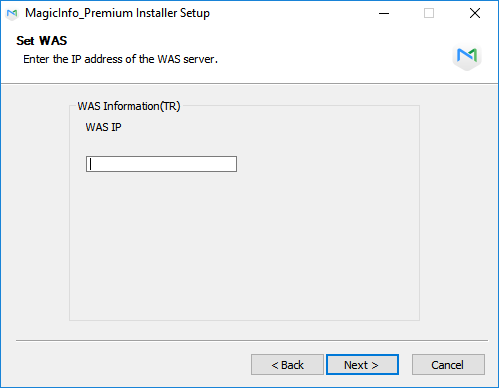
Enter the IP address for WAS server and click Next.
Set the general administrator password and click Next.
Note
Installing MagicINFO Server for the first time creates a general administrator account (ID:
admin).Enter an organization name to use in MagicINFO Server and information on the organization administrator. Click Next.
When MagicINFO Server installation information appears, click Save to save the information as a file and click Next.
Note
- For information on the MagicINFO Server privilege such as the general administrator, organization, and its administrator, refer to the following. ▶ MagicINFO Server 관리 권한 이해하기
- Note down the database user, general administrator and organization administrator account details. These are needed to use MagicINFO Server.
Select the Start Menu folder for MagicINFO Server and click Install.
When installation is complete, click Next.
Click Finish.
Note
Change Microsoft Internet Explorer settings as follows after installing the MagicINFO Server.
- Select Tools > Internet options > Browsing history > Settings > Temporary Internet Files > Every time I visit the website.
- Select Tools > Internet Options > Advanced > International > Send UTF-8 URLs.