This document describes how to create menu board using Datalink.
To create and publish DLK content using text to image conversion.
Through this, we can map our text and show images accordingly. This can help us in creating menus, updating price dynamically, flight data with airlines logos etc.
E.g. - If customer who run small business wants to operate simple menu board, they can manage Menu name and Price using Excel.
Customer should have the following applications for creating this:
- MagicInfo Server.
- MS Excel.
- Datalink Server.
- MagicInfo Player (Device) to run it.
- MS Excel file should be in the shared folder of any PC and that PC should be accessible to Datalink Server.
- Datalink server should be accessible to device (LFD) and MagicInfo Server.
- Excel should not be encrypted with any encryption software.
Final Result of this will be like below:


Create Menu using Datalink Server
- Create a table on Excel module (Excel Attached).

- To upload the content (Image, video etc.) in MagicINFO Server.
- Click on Content Tab-> New-> Upload Content.
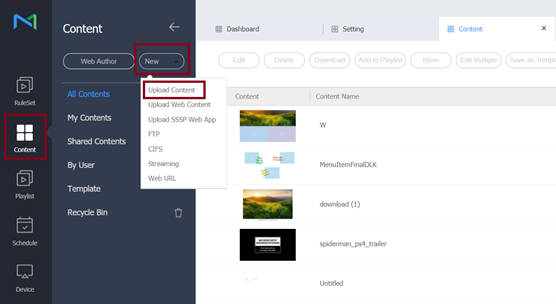
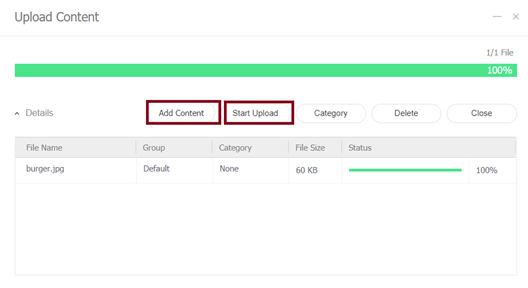
Click on Add Content, select the content you want to upload. And click Start Upload.
- Click on Content Tab-> New-> Upload Content.
- Add the Excel to Datalink server by following these steps:
- Click on Setting Tab -> External server management -> Datalink Server.

- Click on link button to open your Datalink server and login into it

Click on Default Excel Module. And click Add button.

Fill all the columns click “Next”. Collection cycle is data fetch interval.
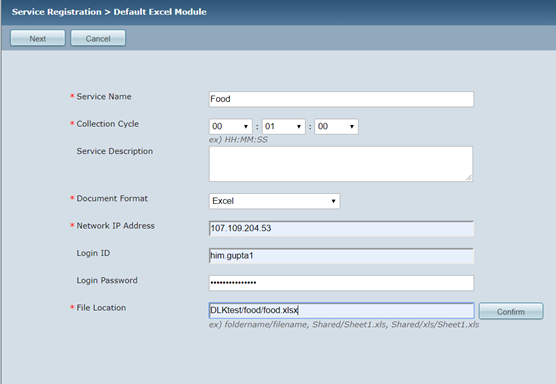
Select the tables you want to link. Click Finish.

Start the service

- Now go back to the MagicINFO Server window and Click on Content Tab > Web Author.

- Select file type as DLK and Supported Devices. Then Click “Create”

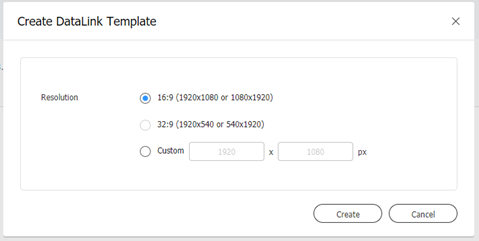
- Click Template and select Create Datalink Template.
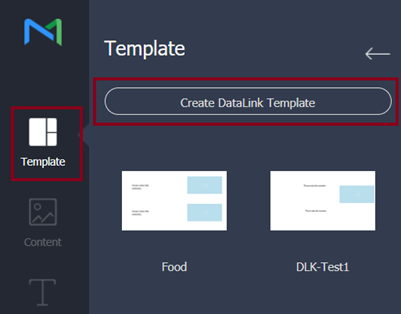
- Select the Ratio of template and click “Create”
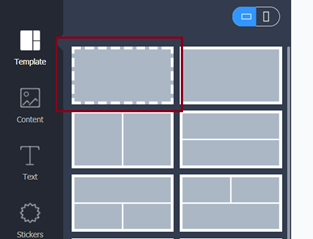
- Select the free template as shown.
- Select content from left menu,
- Add the “Datalink Image” element to the template by drag and drop. Repeat the step according to your requirement.
We have added one “datalink” image element and 15 text element as shown in below figure.
For adding text element, select the “Text” tab from left hand side menu.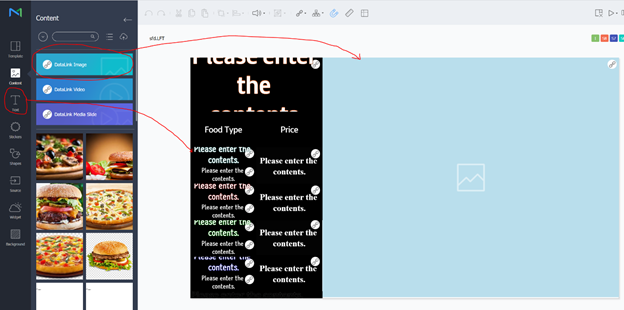
- Select the text element one by one and enable the datalink to text by clicking the icon shown.
Also, we have added the background color on text as black and given outline to text. You can add as per your requirement.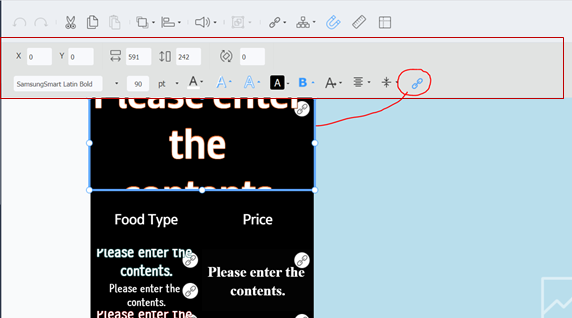
- Click close template icon to save it.

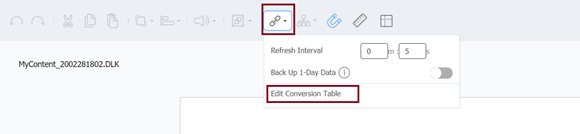
- Click on datalink icon, then on Edit Conversion Table to map your Excel data with MagicINFO Server content.
- Click on the Add button to add new conversion table.

For Text to Image mapping, select “Convert To” filed value to IMAGE. Check below snapshot for reference
- Now we need to attach the conversion table to your datalink image placeholders, and datalink columns to your text placeholder
- To add the datalink conversion table to image placeholder, Select the datalink image item and then click on add button to link data.

- Select the Datalink Table to link.
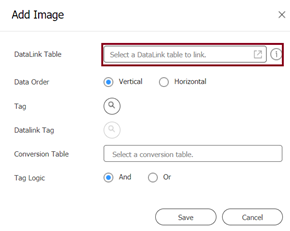
- Select the column values which you have used in conversion table.

- Select a created conversion table.

- To add the datalink conversion table to image placeholder, Select the datalink image item and then click on add button to link data.
- Now select each text datalink placeholder and select the datalink column for them.
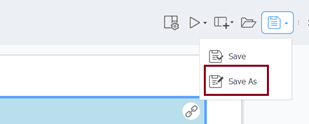
Same as we did in step 15, just ignore the step 15.d as for text we are directly mapping content. - Save as the DLK content.
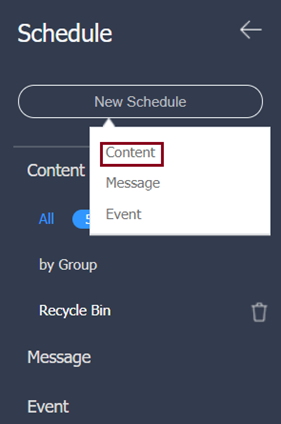
- Go back to MagicINFO Server, Click on Schedule.
- Create a Content schedule.
- Drag-drop the created DLK Content to schedule area.

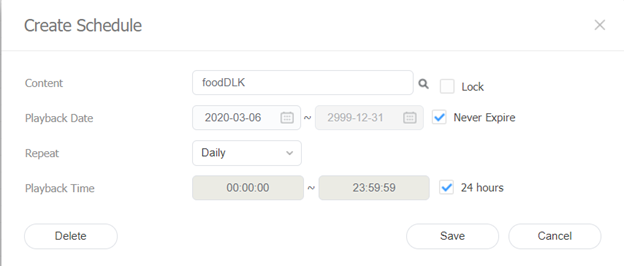
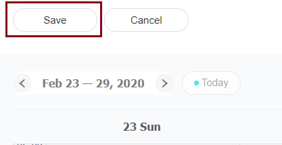
- Double click on dropped item and select the period of publishing. Click “Save".
- Click on Save Button
- Save & Publish the Schedule to LFD.

To update the price dynamically:
Go to Excel file, update price column, save the file.
The changed price will automatically update on LFD according to set interval.
Hence, you do not need to publish the data again.