


By setting a Schedule, you can publish content to screens for playback on specified dates.
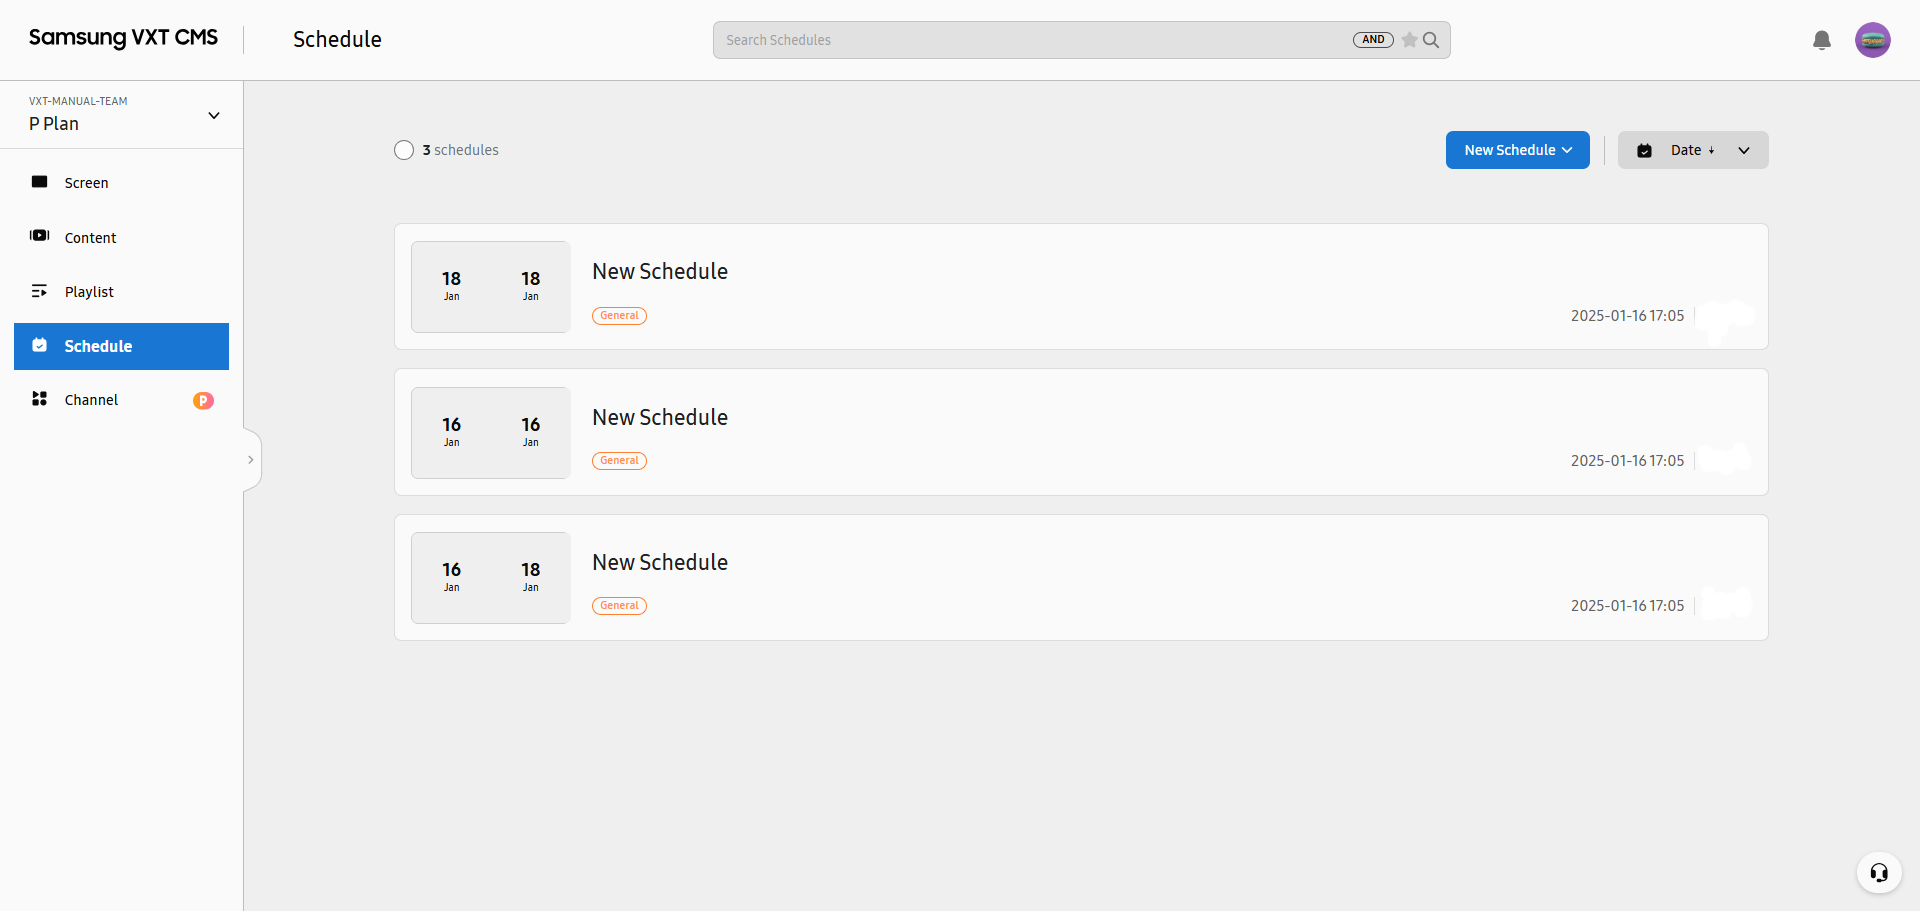 |
Creating a Schedule
-
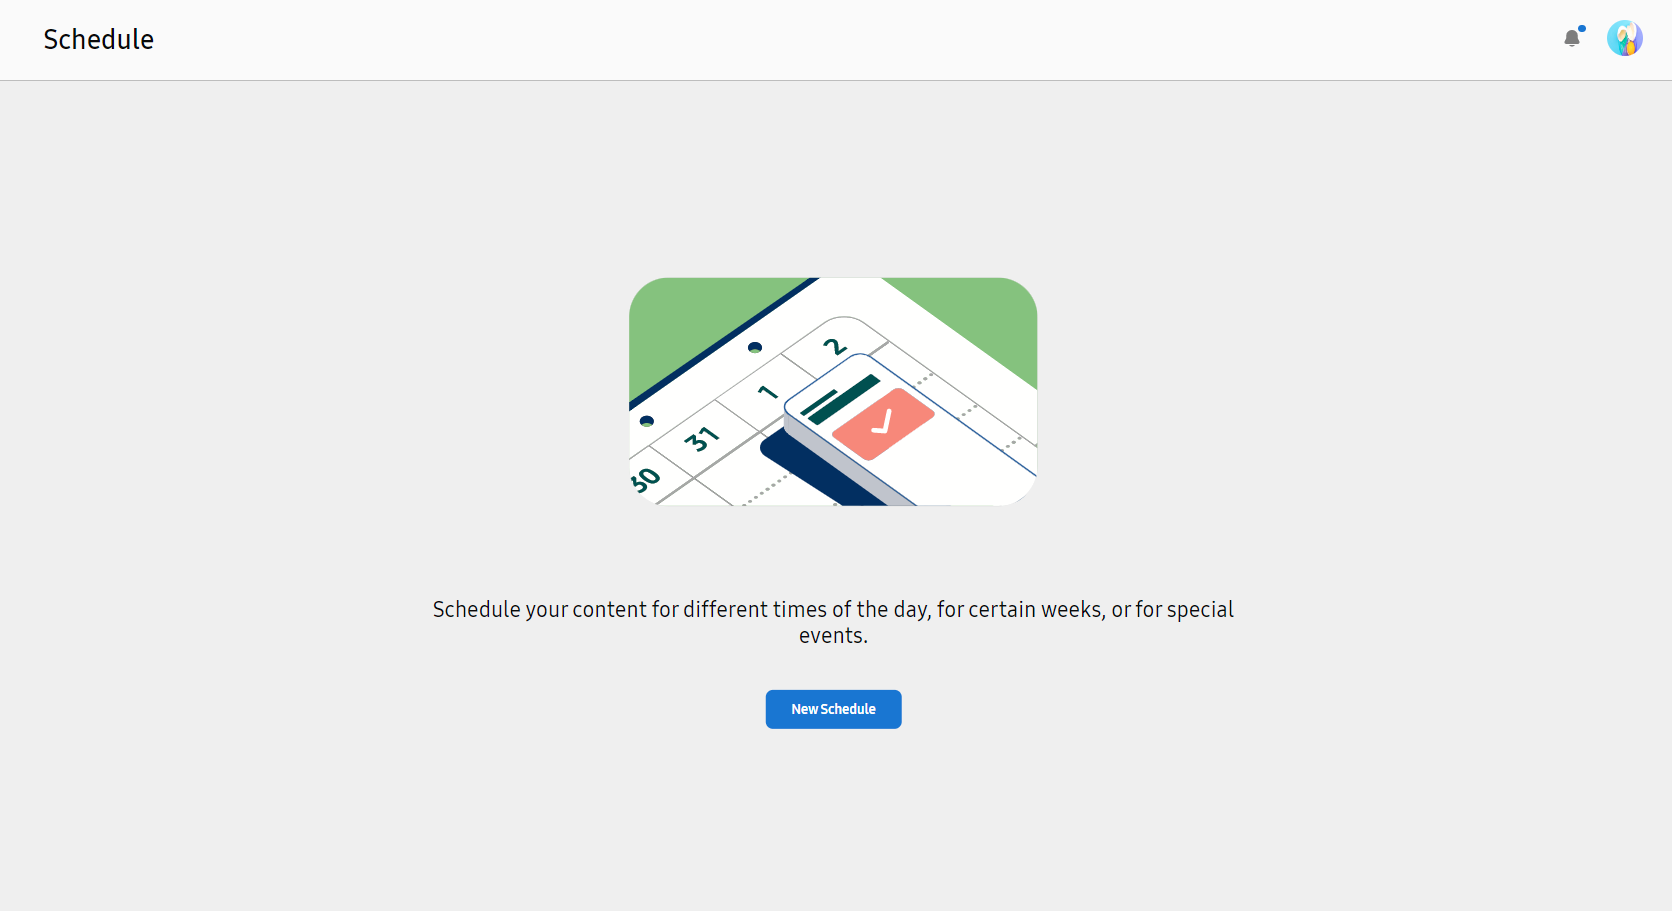
Click New Schedule.
-
You are redirected to the schedule creation menu page.
-
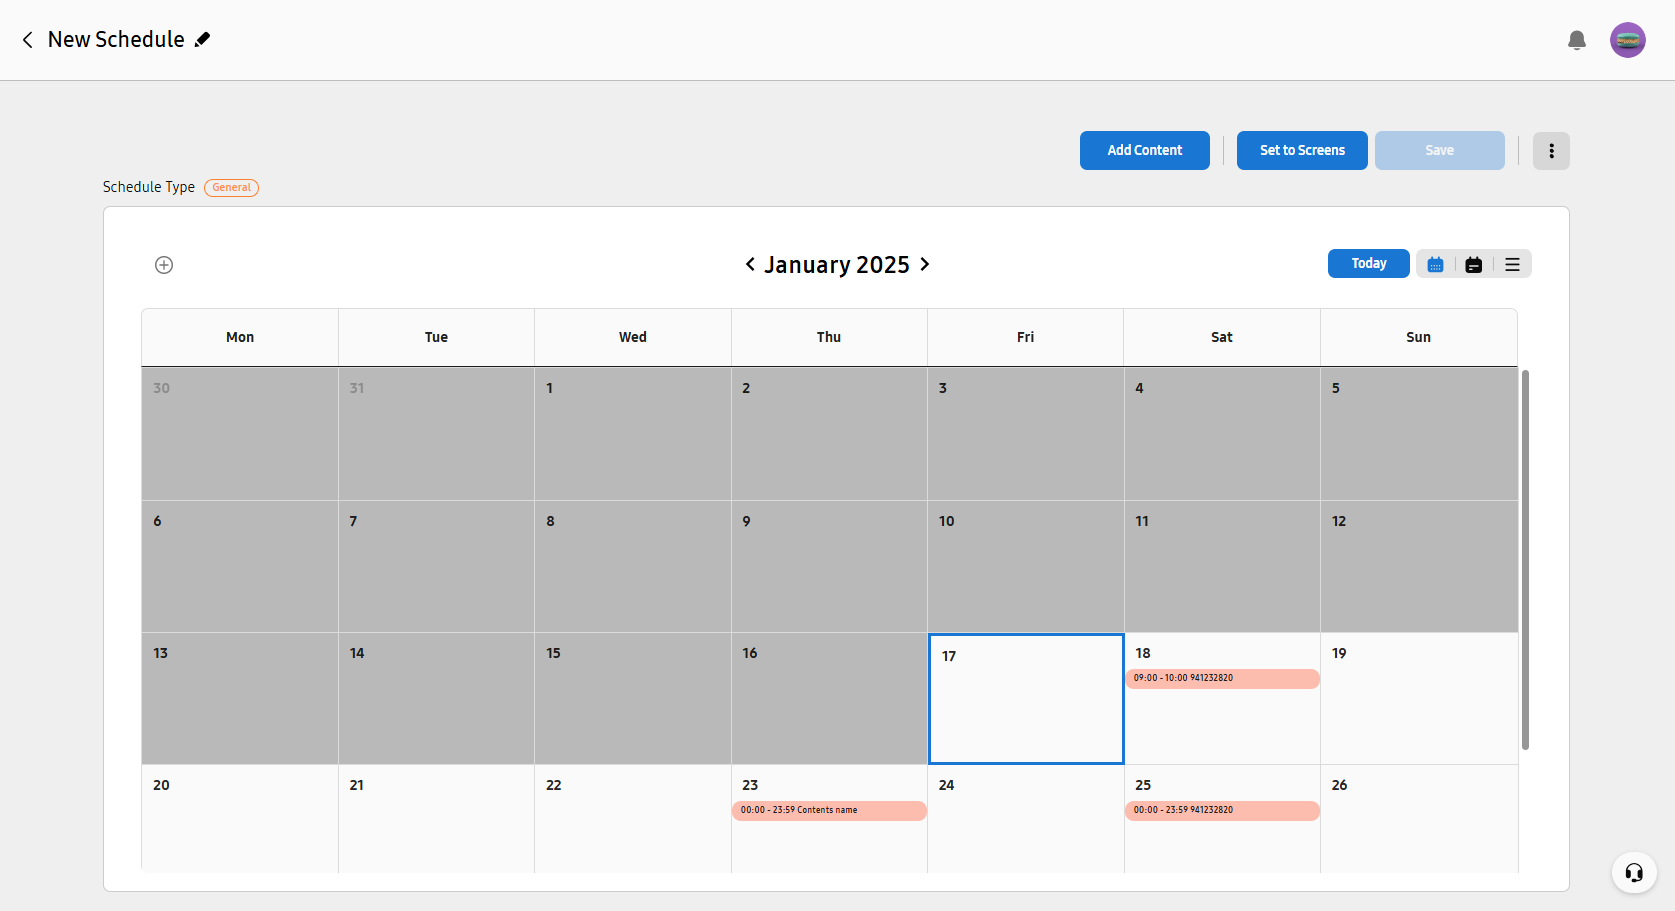
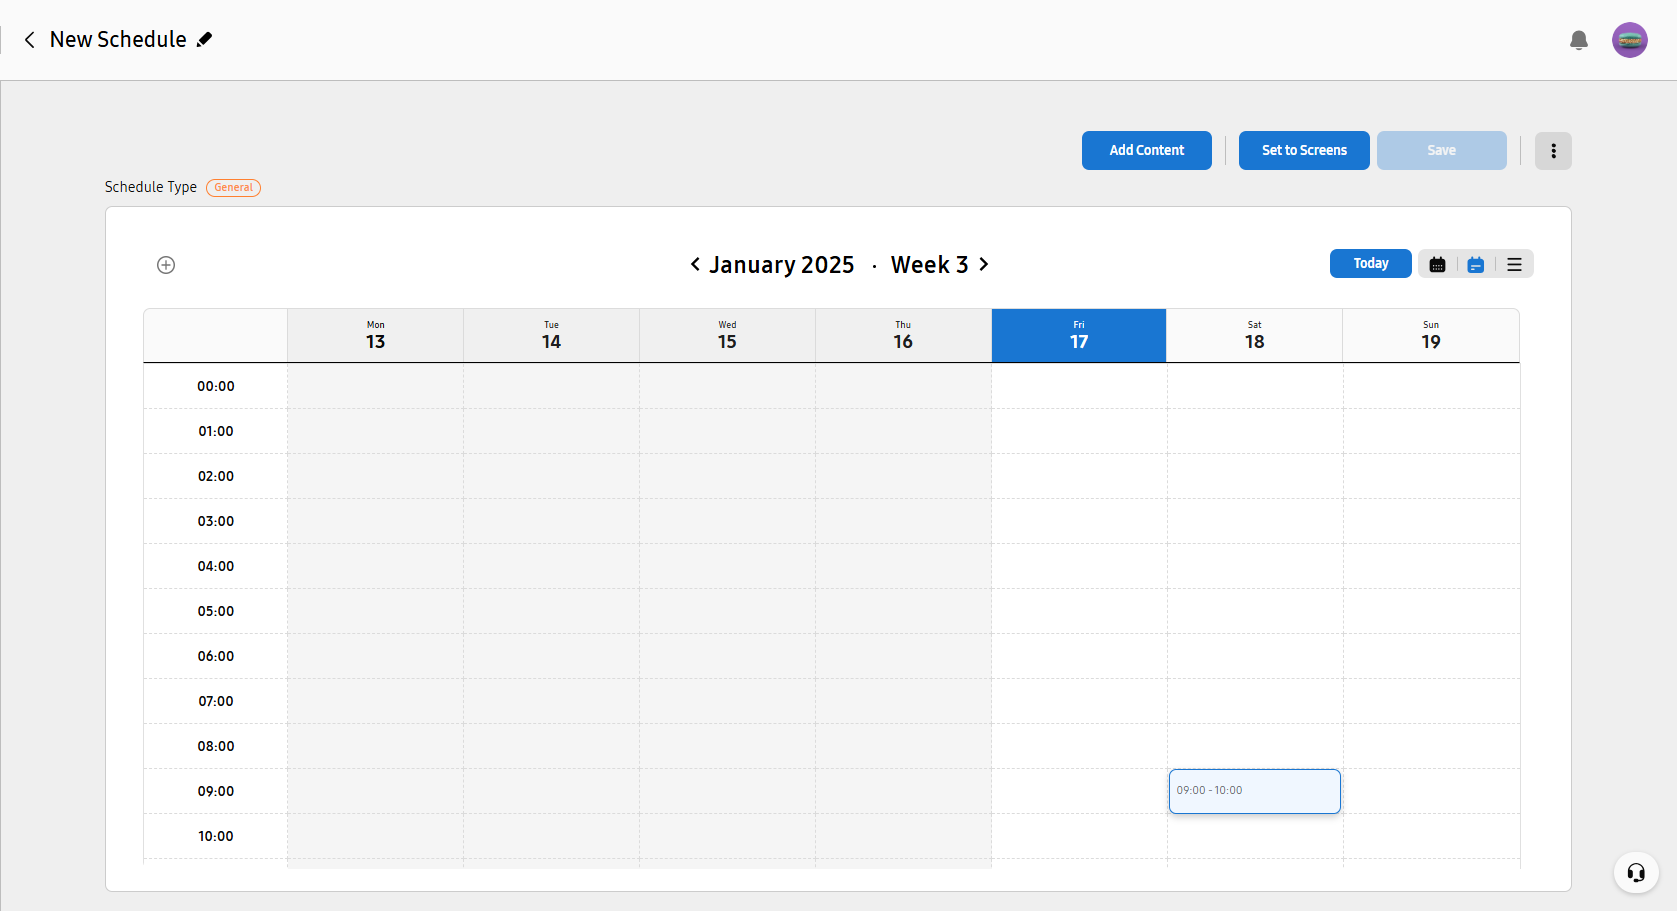
To go to the current date, click Today at the top right.
-
To change the schedule display mode, click the
 (Month View) /
  (Week View) /
  (List View) icon at the top right.
 -
(Month View)
Displays schedules in a calendar format.
-
(Week View)
Displays schedules in a timetable format.
-
(List View)
Displays schedules in a list format.

-
-
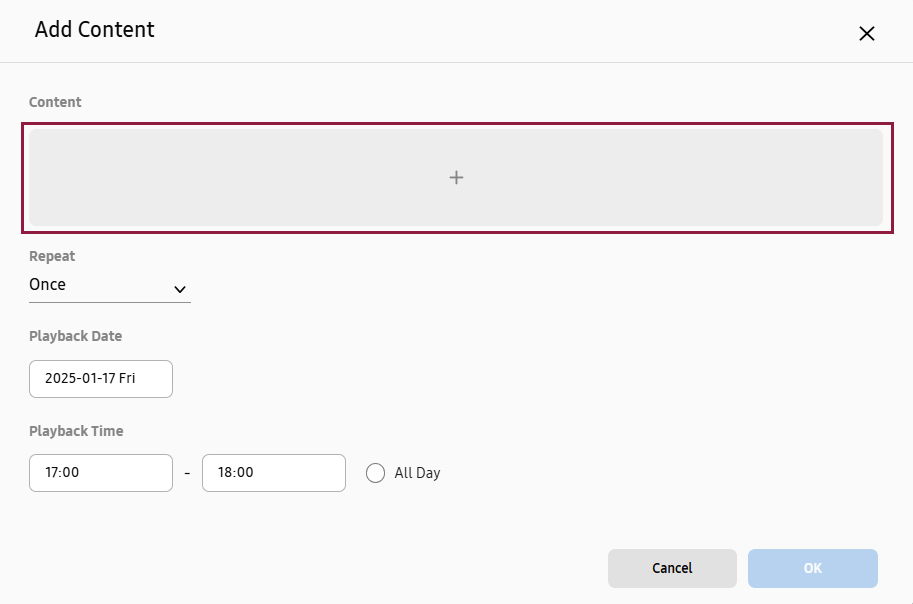
Click Add Content at the top right, or click a date or time slot to add the schedule to. The Add Content window appears.
-
Click + below the content. The content selection window appears.
-
Select the content or playlist to add to the schedule. It is possible to select more than one content or playlist. Click OK.
-
Set the content repetition count, playback date and playback time.
After configuring settings as required, click OK.
-
-
Click Save.
-
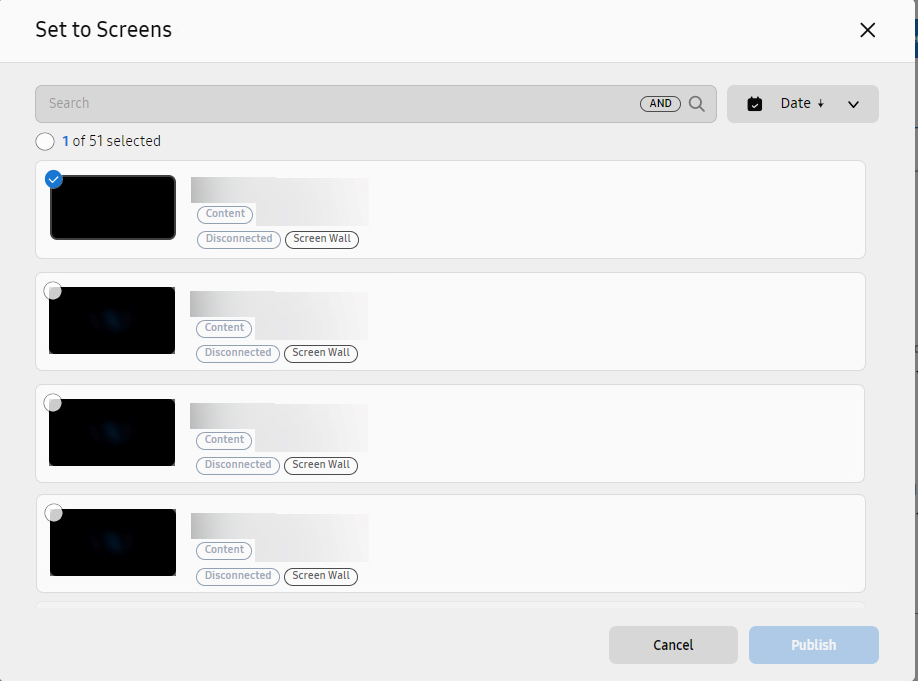
Click Set to Screens. The Set to Screens window appears with a list of screens.
Publishing to a Screen
Schedule created with content or a general playlist only
Select the screen to publish the schedule to, and click Publish.
 |
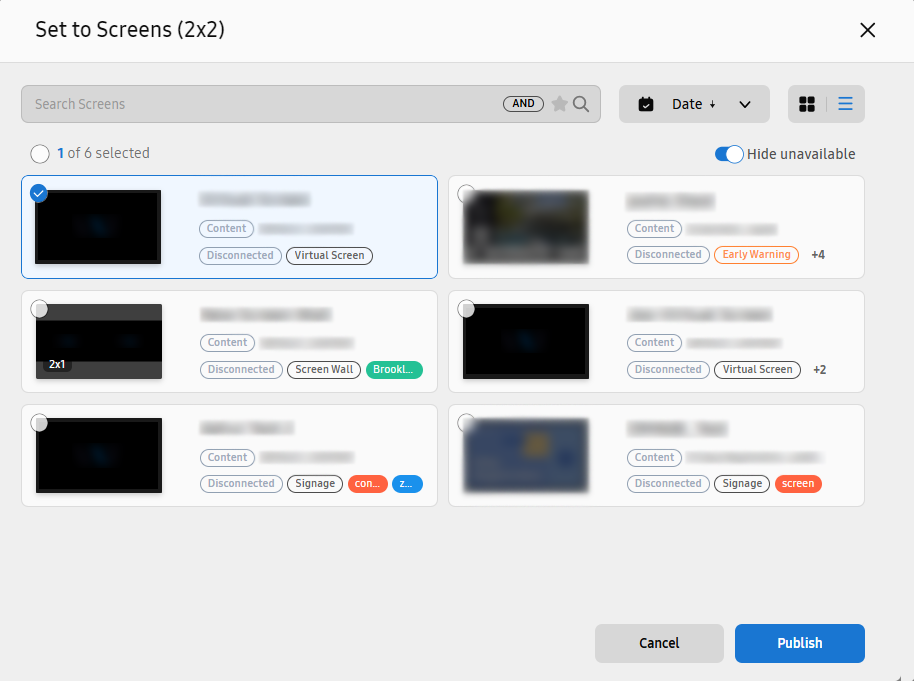
Schedule containing a synced playlist
Click + on the right, next to the group name. Select a screen to add the playlist to, and click Add.
-
Synced playlists can be published only to screens the type of which is Screen Wall.
-
Make sure that only images and videos are included in schedules that contain synced playlists.
Select the screen to publish the schedule to, and click Publish.
 |
Creating and publishing the schedule to the screen is complete.