


Main Menu
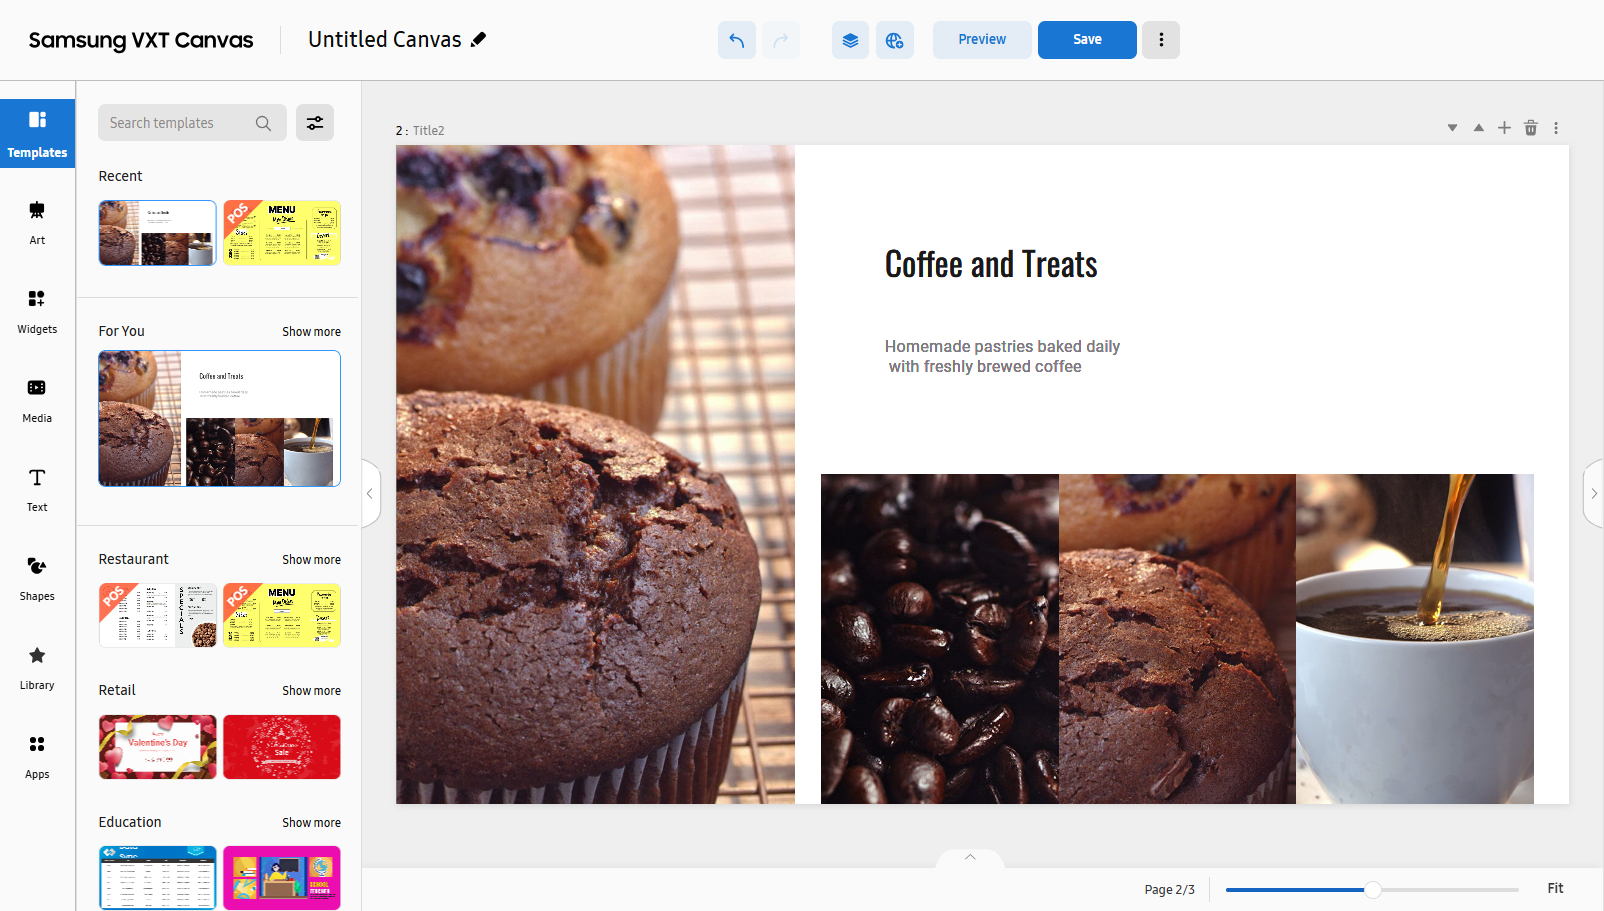
Templates
Offers various categories of templates, with which even general users with no design
skills can easily create content. If you click Templates from the main menu tab, sub-menu items appear under different categories.
Each template is configured using a variety of elements available under the Widgets,
Media, Text, Shapes and Library categories provided in Canvas.
Use the element properties menu to edit style, alignment and animation settings to
suit your specific needs.
 |
|
Item |
Description |
|---|---|
|
Search templates |
Search with a keyword to easily find specific templates. |
|
Recent |
Displays recently used templates. |
|
For you |
Displays recommended templates based on the business category set for your organization. |
|
Restaurant |
Displays restaurant business-related templates. |
|
Retail |
Displays retail business-related templates. |
|
Education |
Displays education-related templates. |
|
Health care |
Displays health and medicine-related templates. |
|
Grid |
Displays blank, split templates. |
|
Allocation |
Displays all available templates. |
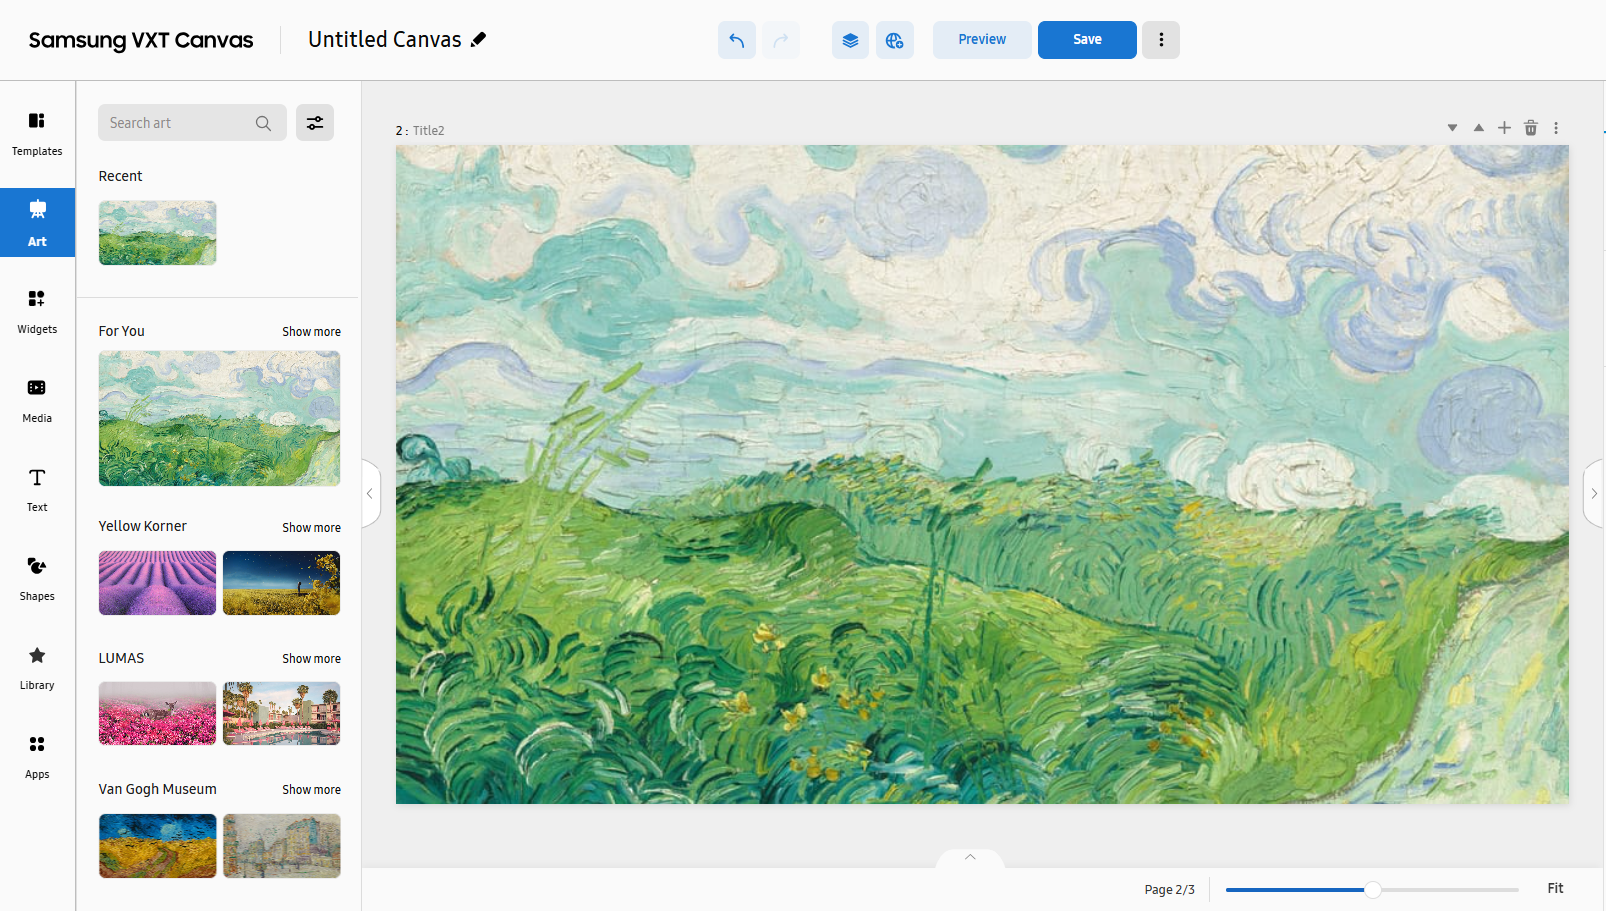
Art
Offers paintings, photos and other art content. Select and load images of your choice
from among various art content offered by category, as shown below.
Using the element properties menu, you can view or edit content properties to suit
your specific needs.
 |
|
Item |
Description |
|---|---|
|
Search art |
Search with a keyword to easily find specific art content. |
|
Recent |
Displays recently used art content. |
|
For you |
Displays recommended art content. |
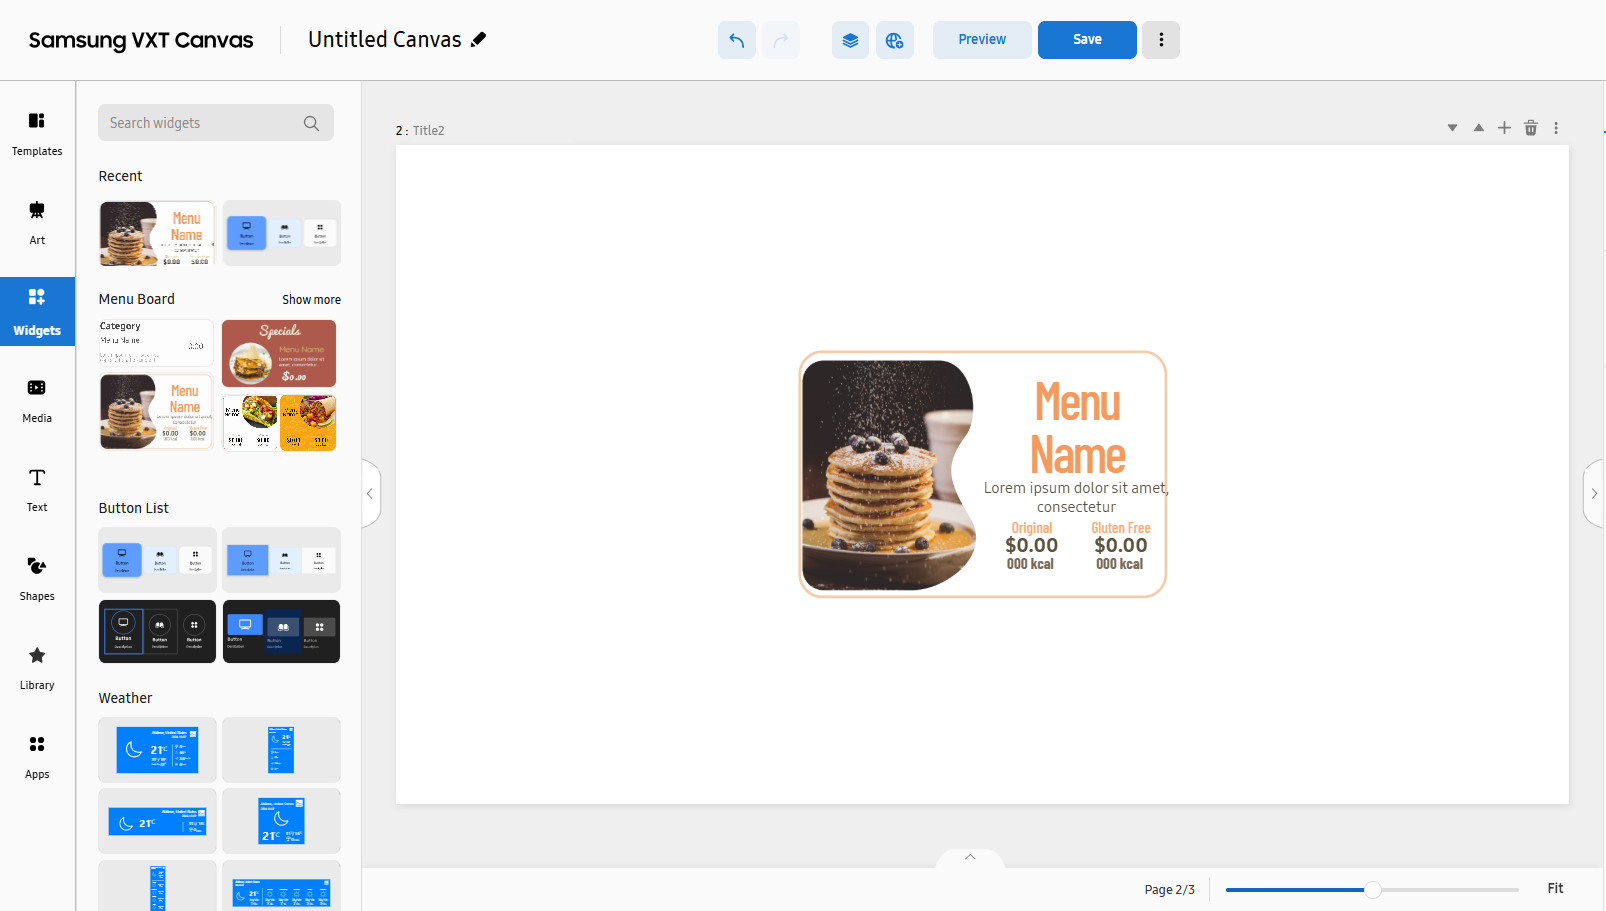
Widgets
Offers a menu board, clock and other widgets.
Use the element properties menu to edit style, alignment and animation settings to
suit your specific needs.
-
When playing a URL using a web widget, VXT Player plays the URL by inserting it in an iframe format. If the URL is not played properly, confirm that the URL is in an iframe format.
For more information on iframe, refer to the following webpage:
https://developer.mozilla.org/en-US/docs/Web/HTML/Element/iframe
 |
|
Item |
Description |
|---|---|
|
Search widgets |
Search with a keyword to easily find specific widgets. |
|
Recent |
Displays recently used widgets. |
|
Menu Board |
This is the menu board widget. |
|
Button List |
This is the button list widget. |
|
Others |
Displays all available widgets other than the menu board widget. |
Button List Widget
Button-type widgets are provided.
 |
Under the Style menu, use the Button List Name item to edit the name of a button list.
To edit a button item, click Edit Button Items.
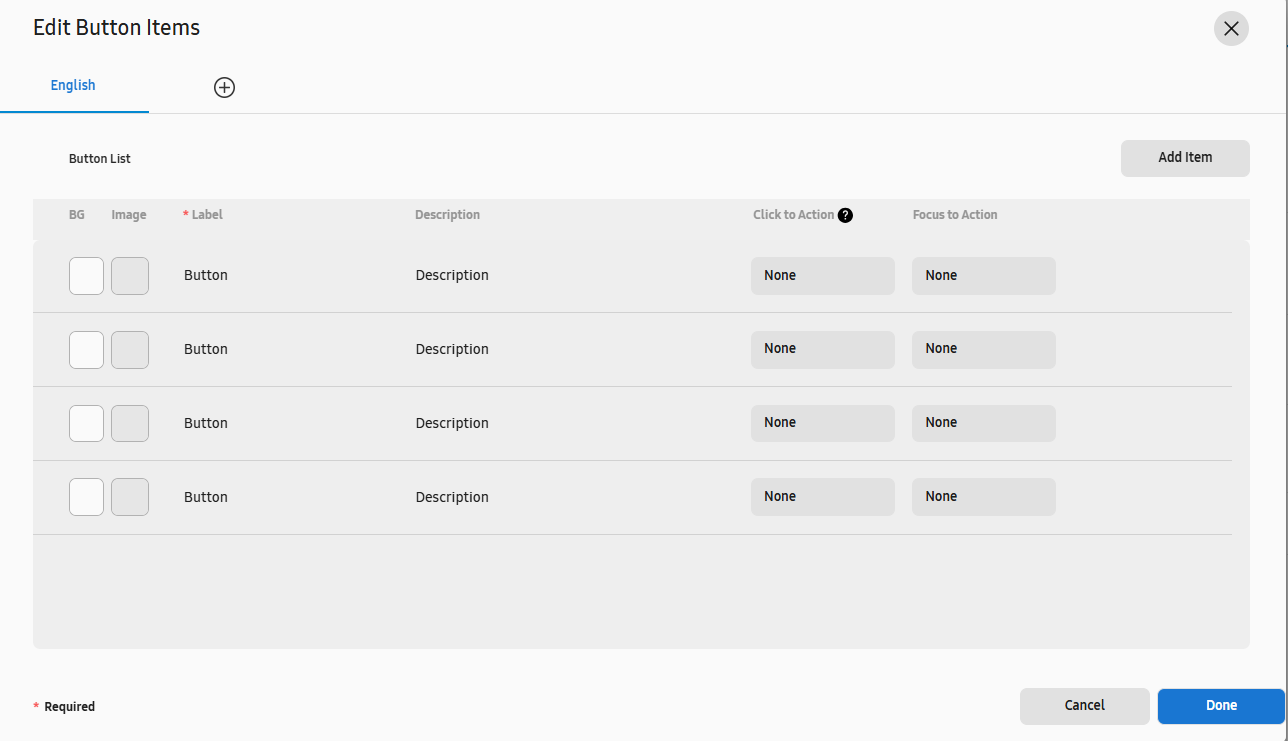 |
The Edit Button Items window appears.
-
Click Add Item to add a button.
-
If you place the mouse cursor on a menu item, the
 (Hide),
  (Move), and
  (Delete) icons appear. To hide the item, click (Hide). To rearrange the item, drag and drop (Move). To delete the item, click (Delete).
 -
Click
 (Add Language) next to the language name to add a supported language for button names.
-
When an added language is in use, a button list appears, comprised of the same items as the items for the default language. Items other than button names or descriptions can be added, edited or deleted.
-
|
Feature |
Description |
|---|---|
|
BG |
Set the background color for a button. |
|
Image |
Set the icon image for a button. |
|
Label |
Enter a button name. |
|
Click to Action |
Set the action to perform when a button is clicked.
|
|
Focus to Action |
Set the action to perform when a button is focused. |
|
Description |
Enter a description of a button. |
Instagram Widget
An Instagram widget for business is supported. The Instagram widget can be found under
the 기타 item.
Follow the steps below to use the Instagram widget.
-
Samsung VXT CMS only provides pairing with the user's Instagram account for displaying content on a Signage device, and is not involved in actual data processing.
-
All data is processed according to the terms of use and privacy policy of Instagram.
-
Samsung is not involved in any Instagram content and assumes no responsibility for Instagram content unrelated to Samsung.
-
Exercise caution when uploading content to Instagram, as the content may be displayed on the Signage device.
-
Before Getting Started
Follow the instructions below to create an account and page, and link your Instagram business account to your Facebook page.
Facebook account and Facebook business page creation
To use the Instagram widget, you should have your own Facebook account and business page. If you do not have one, please refer to the following for guidance:
Creating a Facebook account
-
Go to facebook.com and click Create New Account.
-
Enter your name, email or mobile phone number, password, date of birth and gender.
-
Click Sign Up.
-
To finish creating your account, you need to confirm your email or mobile phone number.
For more information on signing up for an account, refer to the following webpage:
Creating a Facebook page for business
To create a Facebook business page, you should have a Facebook account.
-
From the Page section, click Create new Page.
-
Add your Page name and category.
-
Add your Page’s bio and click Create a page.
-
(Optional) Add information, such as Contact, Location and Hours, and click Next.
-
(Optional) Add profile and cover photos, and edit the action button, and click Next.
-
(Optional) Invite friends to connect with your Page, and click Next.
-
-
Click Done.
For more information on opening a Facebook page, refer to the following webpage:
https://www.facebook.com/business/help/473994396650734?id=939256796236247
Instagram business account creation
Next, you need to have your own Business Account on Instagram. You may only have 5 Instagram accounts at a time. Please refer to the following for guidance:
-
Navigate to Profile and click Edit Profile.
-
Click Account type and tools.
-
For some accounts, the Switch to professional account option will be listed directly under Settings.
-
-
Click Switch to professional account.
-
Select the Business checkbox and click Next.
-
Click Next.
-
Select a Category for your Business and tap Done.
-
Add contact details and tap Save.
-
To skip this step, tap Don't use my contact info.
-
If you'd like, you can follow the steps to connect your business account to a Facebook Page associated with your business. This step is optional, and will make it easier to use all of the features available for businesses across Meta. At this time, only one Facebook Page can be connected to your business account.
-
-
Click Done. You are returned to the profile page.
For more information on creating an Instagram business account, refer to the following webpage:
Linking your Instagram business account to your Facebook business page
Lastly, add and link your Instagram business account to your Facebook business page.
Connect an Instagram account with classic Pages
To connect an Instagram account from your classic Facebook Page:
-
Open your Facebook Page.
-
Select Settings from the left menu.
-
Select Instagram.
-
To connect an Instagram account to your Page, select Connect Account. Make sure "Allow access to Instagram messages in Inbox" is toggled on and then click Continue. Enter your Instagram account's Username and Password, and select Sign In.
-
If you do not have an Instagram professional account, you will be prompted to convert your personal account.
-
Connect an Instagram account with the new Pages experience
To connect an Instagram account to your new Facebook Page:
-
Switch into your new Page.
-
From your new Page, click Manage.
-
From the left menu under Professional dashboard, click Linked accounts.
-
To connect an account, click Connect Account. Enter your Instagram account's Username and Password, and select Sign In.
For more information on linking your Instagram business account to your Facebook business page, refer to the following webpage:
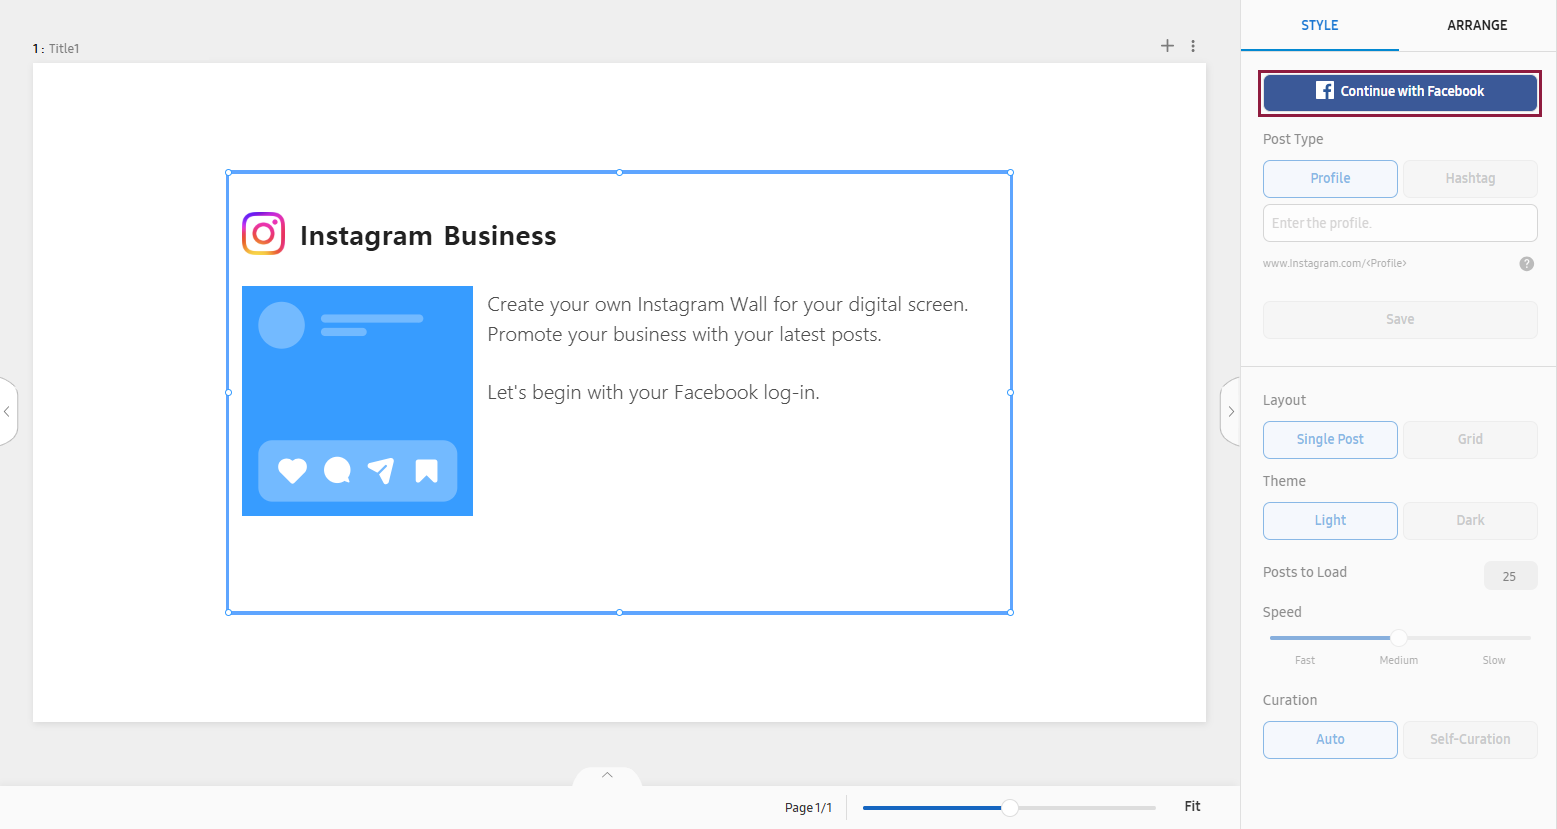
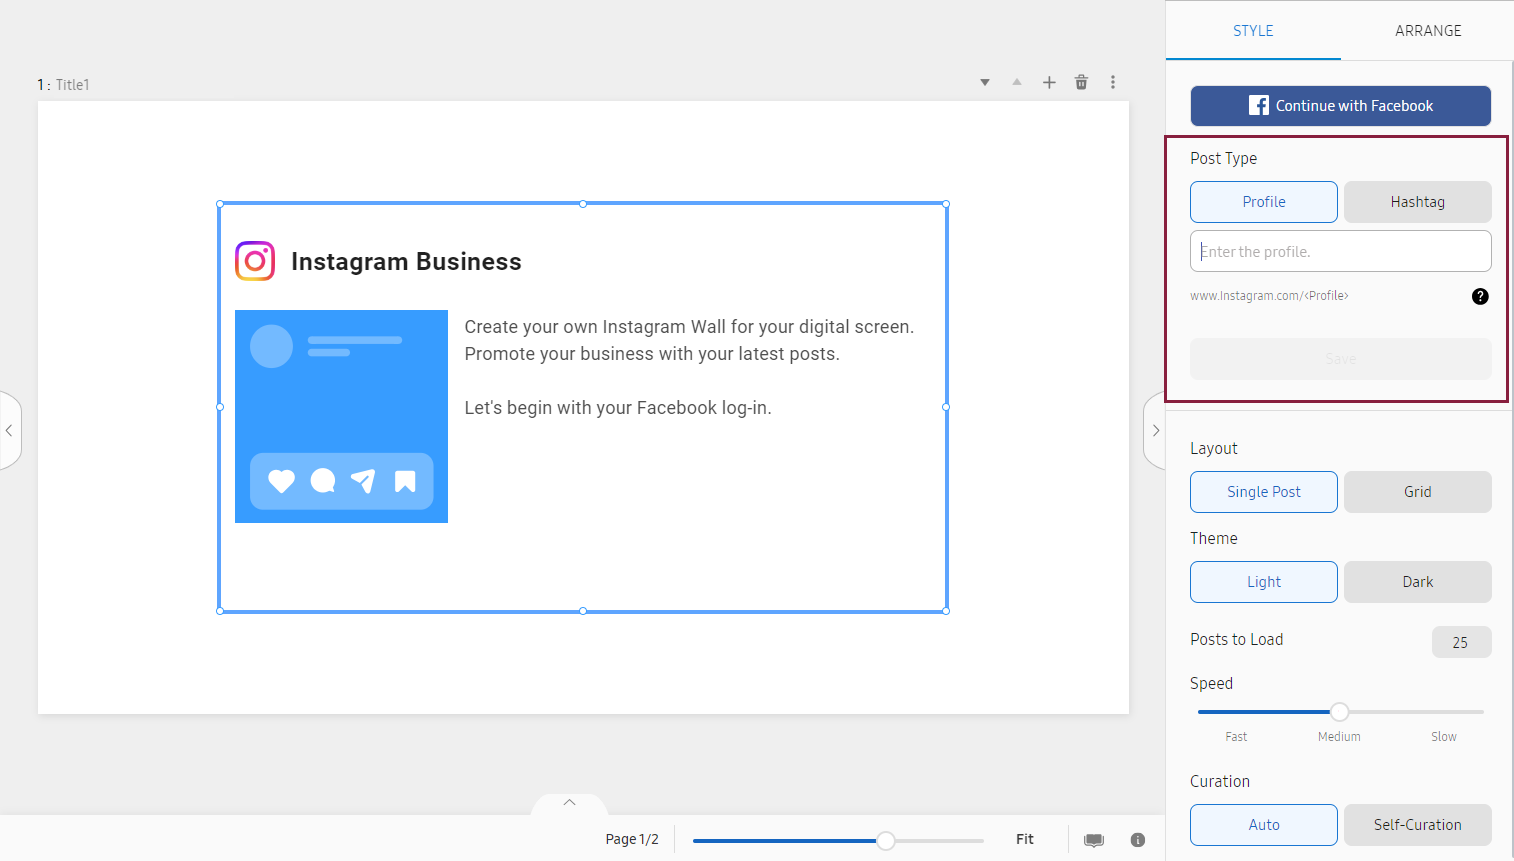
Your Instagram widget is ready to use. Now, let's begin with Clicking Continue with Facebook.
Log-in Process
Continue with Facebook
Once you have created your Facebook account, Facebook business page, and Instagram business account and connected Instagram business account with Facebook page, please click Continue with Facebook.
 |
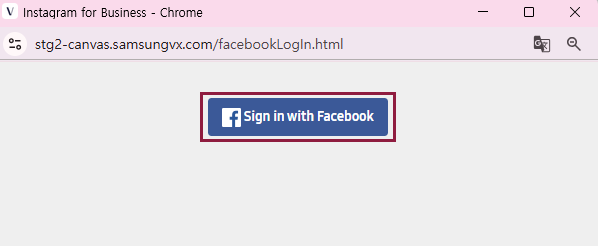
Sign-in with Facebook
Click on Sign in with Facebook to log-in with the Facebook account that you created.
-
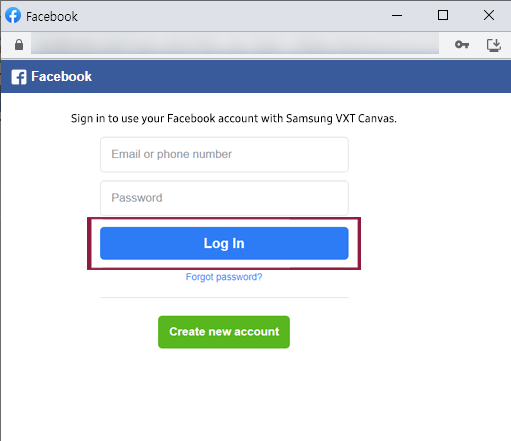
If you have a Facebook account that is already logged in, select the account displayed under "Or choose an account" and use the Instagram widget.
Enter your Facebook account information and log in.
 |
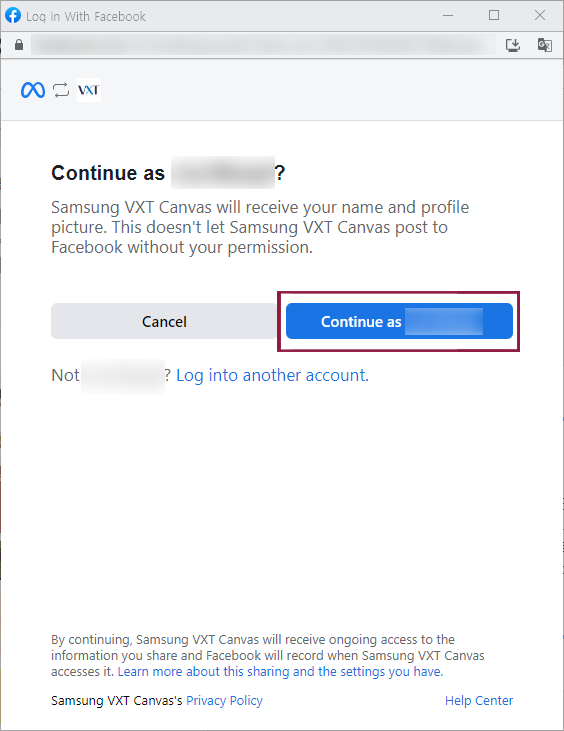
To use the Samsung VXT Canvas app with your logged-in Facebook account, click the continue button.
 |
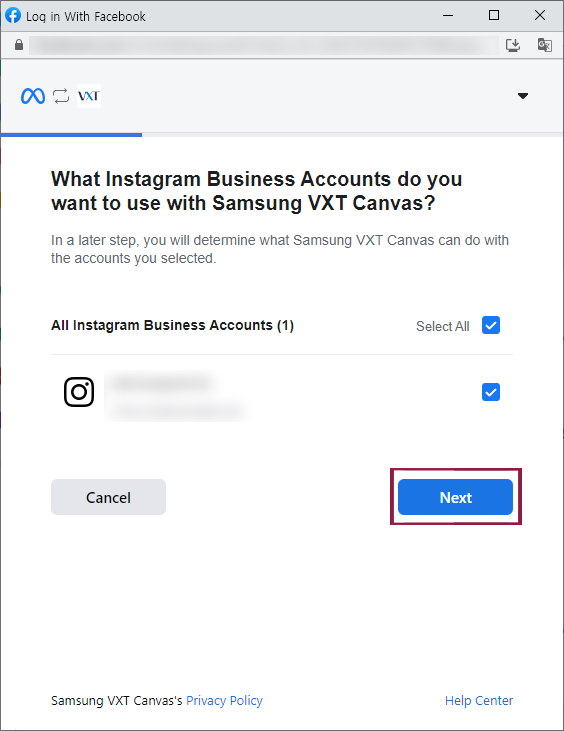
Select the Instagram business account with which to access the Samsung VXT Canvas app, and click Next.
 |
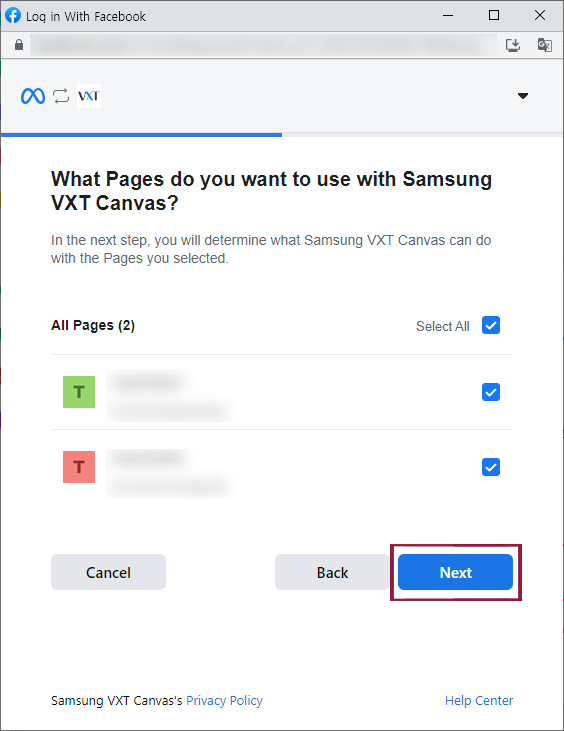
Select the Facebook business page to grant the Samsung VXT Canvas app access, and click Next.
 |
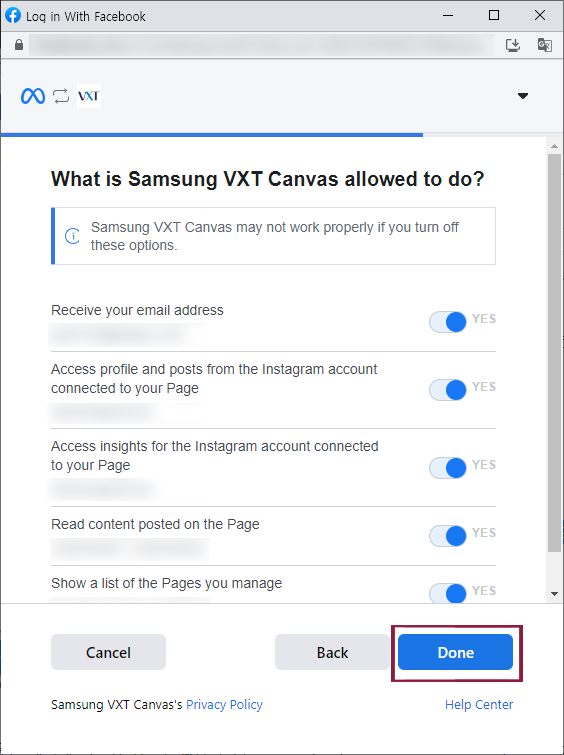
Check the privileges granted to the Samsung VXT Canvas app, and click Done.
-
If you disable this option, the app may not work properly.
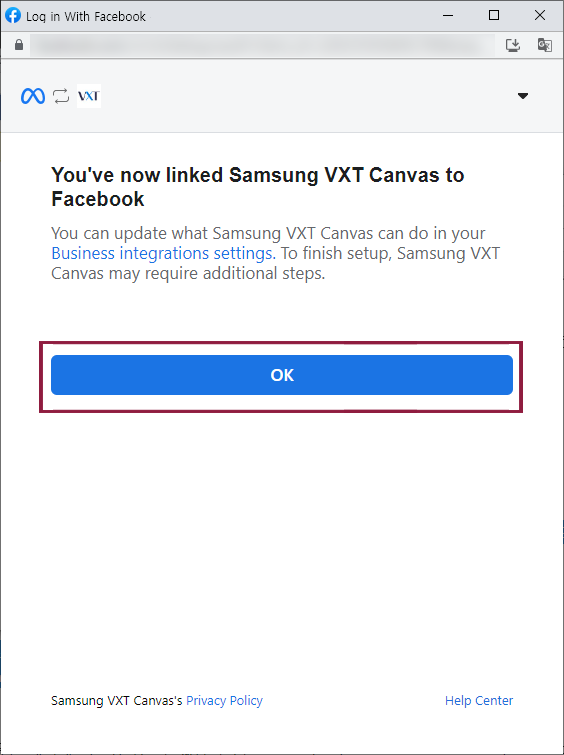
The Samsung VXT Canvas app has been connected to your Facebook account. Click OK.
 |
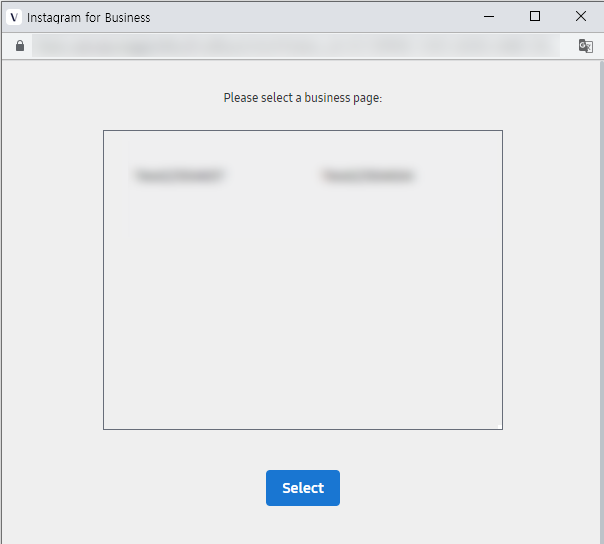
Select Your Facebook Business Page
If you have multiple Facebook business pages, select the page that you would like to use. If you have only one Facebook business page, your log-in process will be automatically completed.
 |
You are finally logged-in. Now you are all set to use the Instagram widget. Now please feel free to use Instagram Widget.
How to Use Instagram Widget
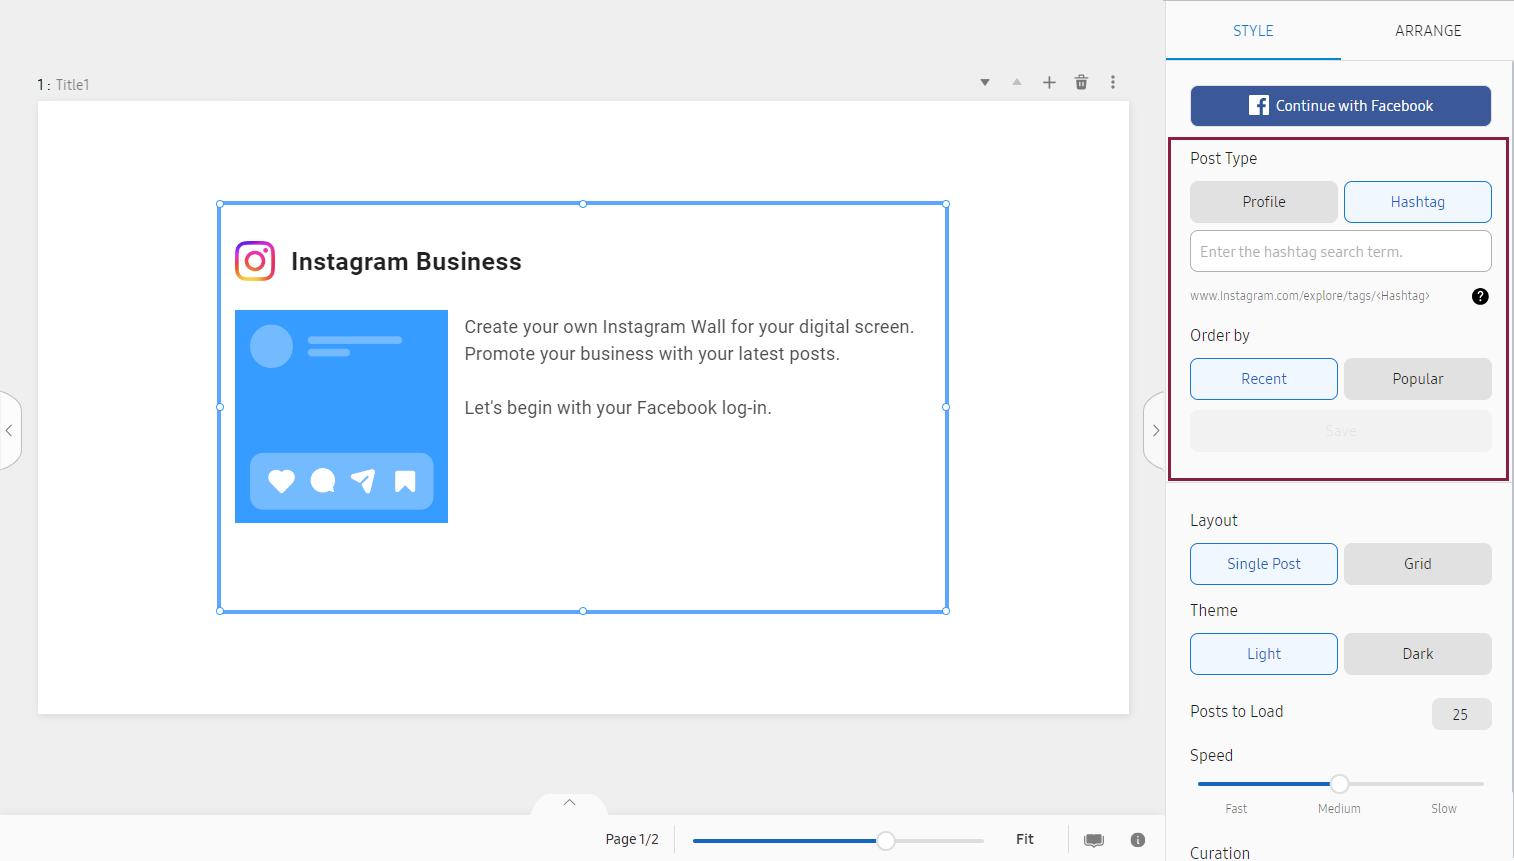
Search by Profile and Hashtag
First, click on either Profile or Hashtag and type in the keyword that you would like to search. Once you are done, click on Save.
 |
With your inputted Profile, the Instagram posts are sorted by latest order Recent.
-
Instagram consumer accounts do not support profile browsing. Only Instagram business or creator accounts support profile browsing.
-
Data about age-gated Instagram Business Instagram Users will not be returned.
If you are searching by Hashtag, you will be able to choose Recent or Popular for the order of the Instagram Posts before clicking on Save.
-
You can query a maximum of 30 unique hashtags within a 7 day period.
-
Recent: Only returns media objects published within 24 hours of query execution.
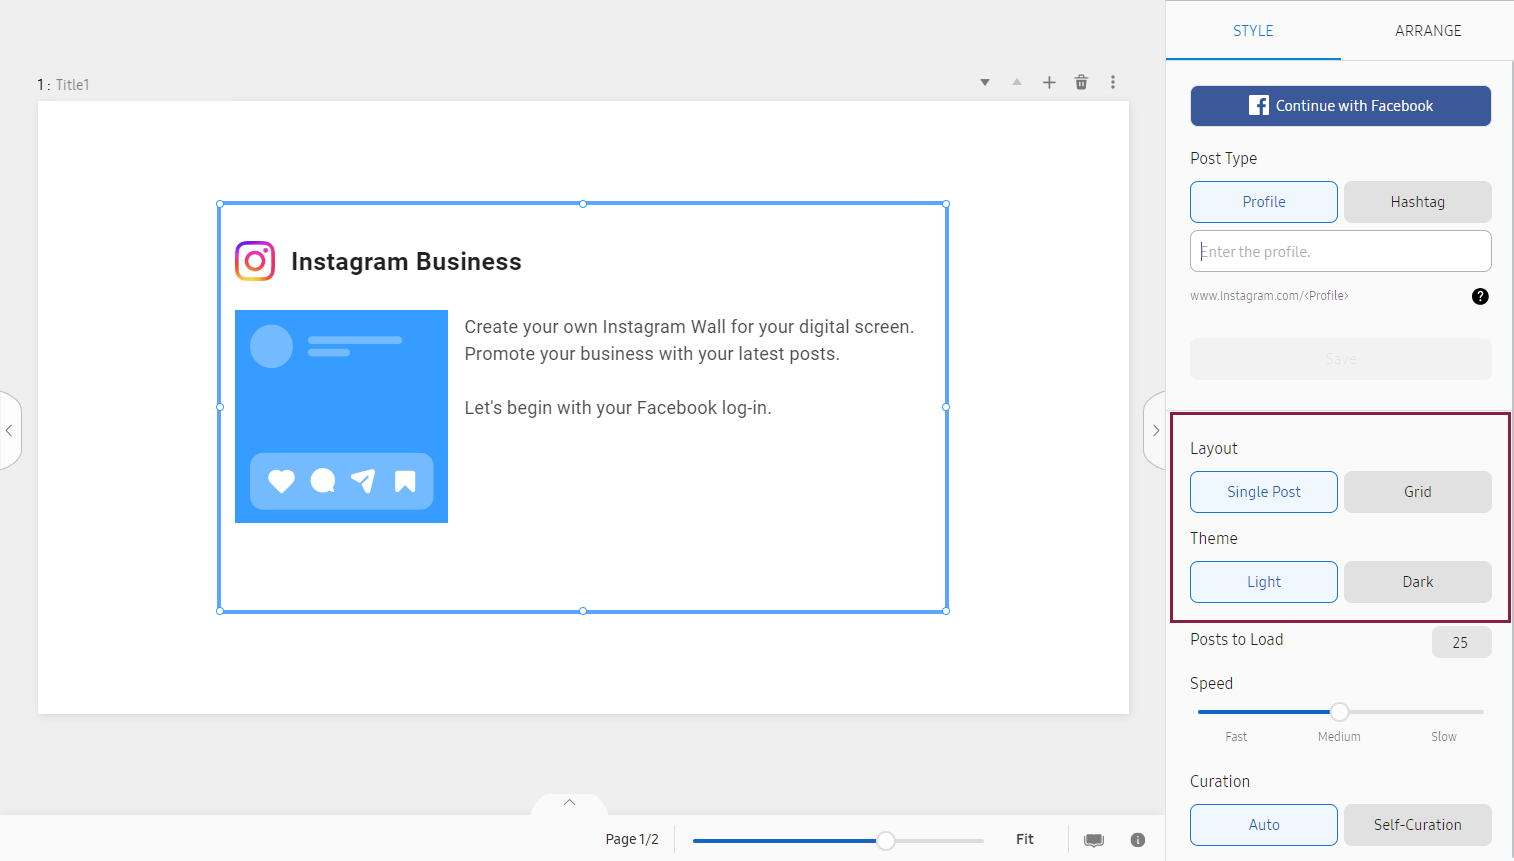
Select Layout and Theme
After you have Instagram posts with Profile or Hashtag of your choice, you can choose Layout and Theme.
For the Layout, you can choose between Single Post and Grid.
For Theme, you have a choice between Light and Dark. Upon your selection, the background color of Instagram posts will turn either light
or dark.
 |
Post to Load and Speed
Instagram posts with Profile or Hashtag of your choice will be refreshed every 5 minutes. Within that cycle, the Instagram posts will continuously be switched.
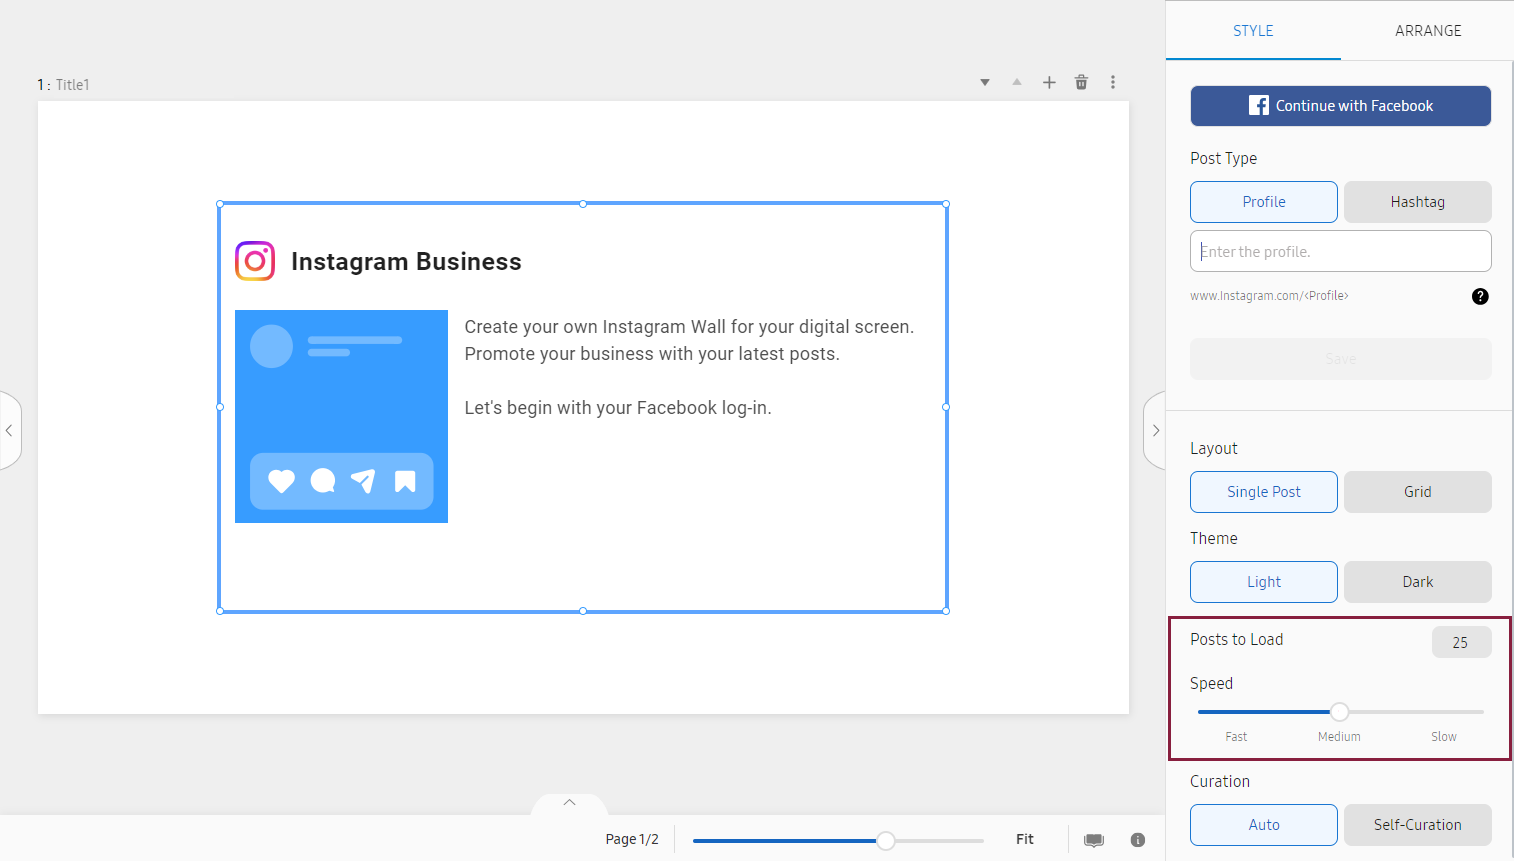 |
Post to Load
Within that cycle, the Instagram posts will continuously be switched and you can specify
the number of those switching Instagram posts in Post to Load. (0~50)
For example, if you input 10 in Post to Load, 10 Instagram posts will be shuffled for 5-minute mark at which Instagram posts will
be refreshed.
Speed
Speed (0~60) is the duration of each Instagram post to be displayed.
For example, if you designate 10 for Speed, each Instagram post will be displayed for 10 seconds until it is refreshed.
-
In case of video clip, Instagram post will be transitioned to the next post after it is played until its completion.
Curation
If you want to pick and choose which Instagram posts to show, you can use Curation. Please click on Self Curation.
Then you will see a list of Instagram posts that is searched with Profile or Hashtag
of your own choice.
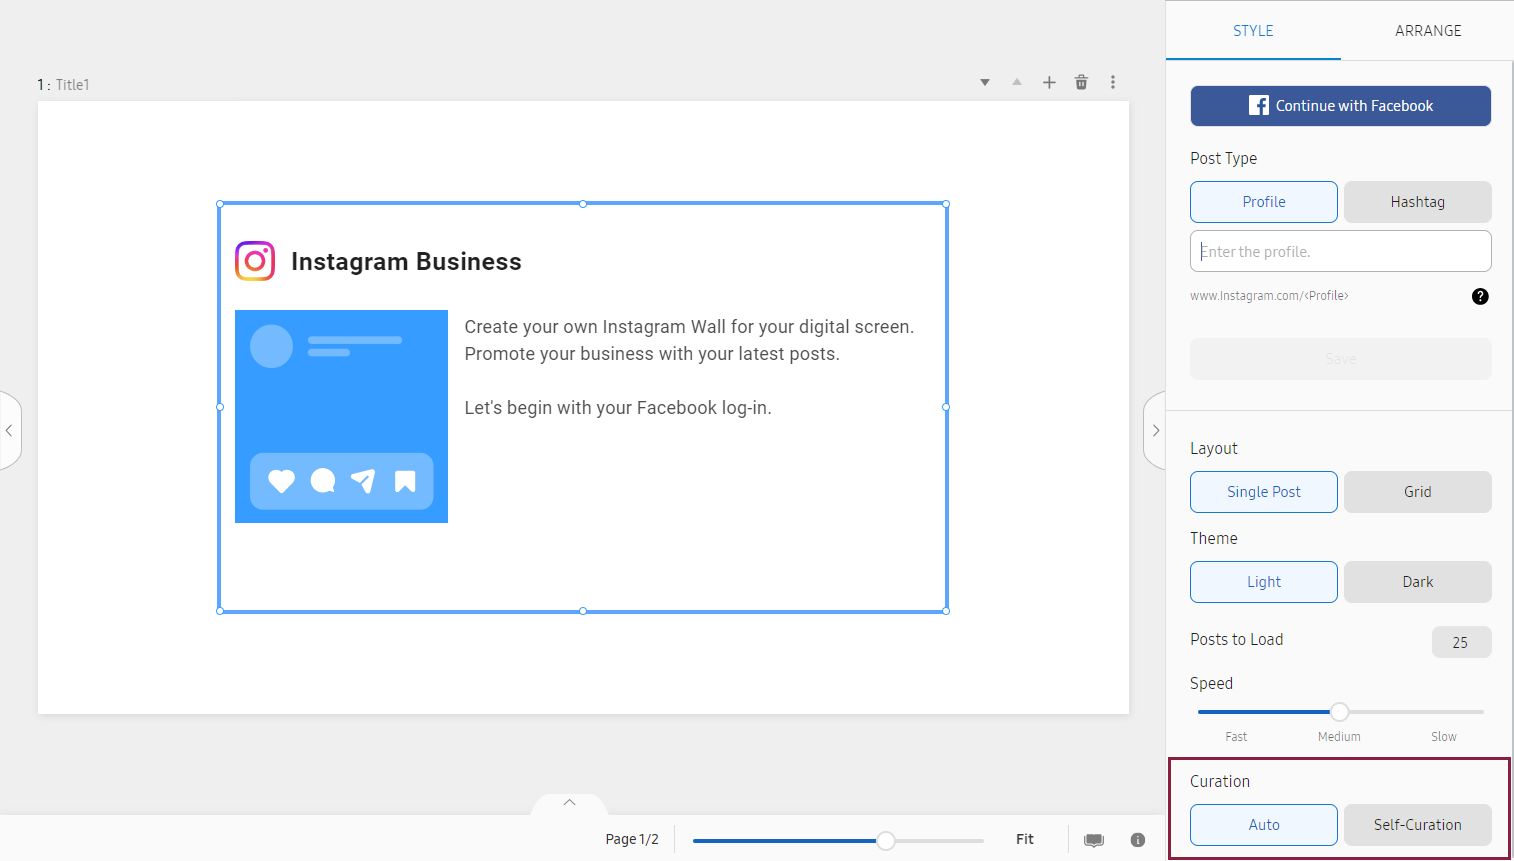 |
You can click on Instagram posts that you would like to hide. Posts that you chose to hide will be shaded.
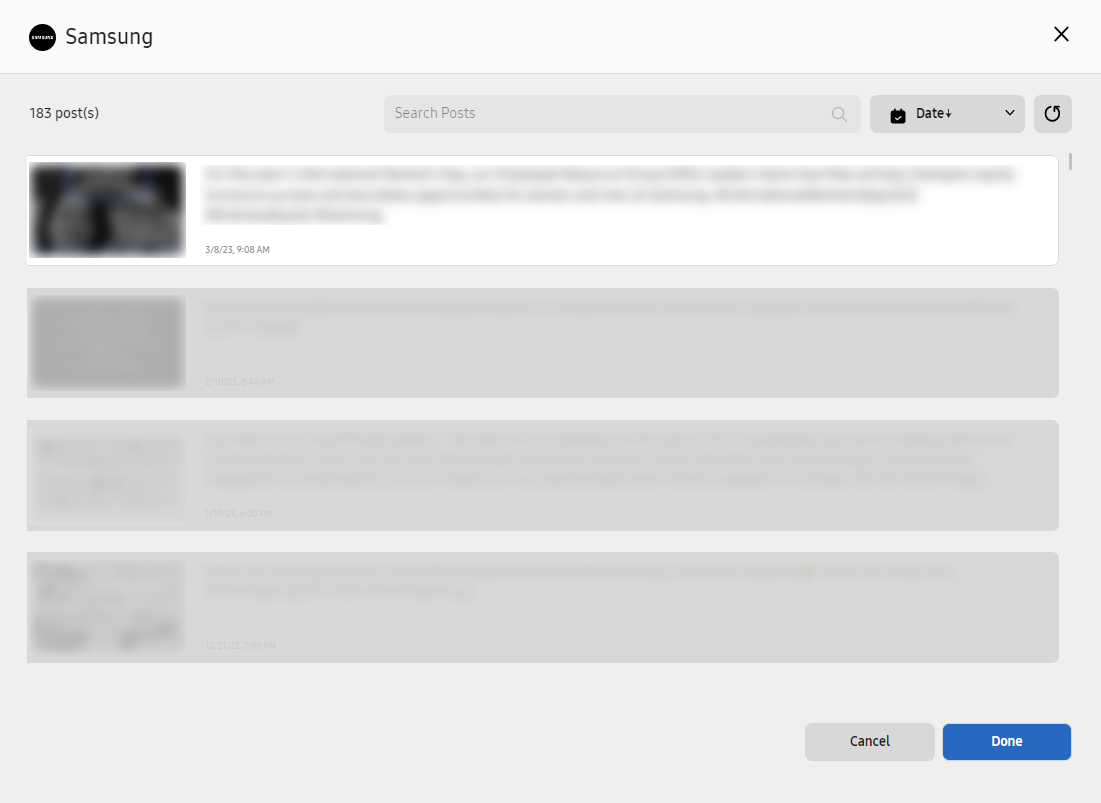 |
Finally, click on Done. You have created your self-curated Instagram wall.
Media
Load media content (e.g., images, video, web content) from a workspace.
-
If there is no media content found, a message appears that say “There is no media.” a message appears that says “There is no media.”
-
4K video cannot be used together with video of a different resolution
Use the element properties menu to edit style, alignment and animation settings to suit your specific needs.
-
For video content, the animation option is not supported.
Item
Description
Search media
Search with a keyword to easily find specific media content.
Recent
Displays recently used media content.
Image, Video, Web, Office
View media content by type.
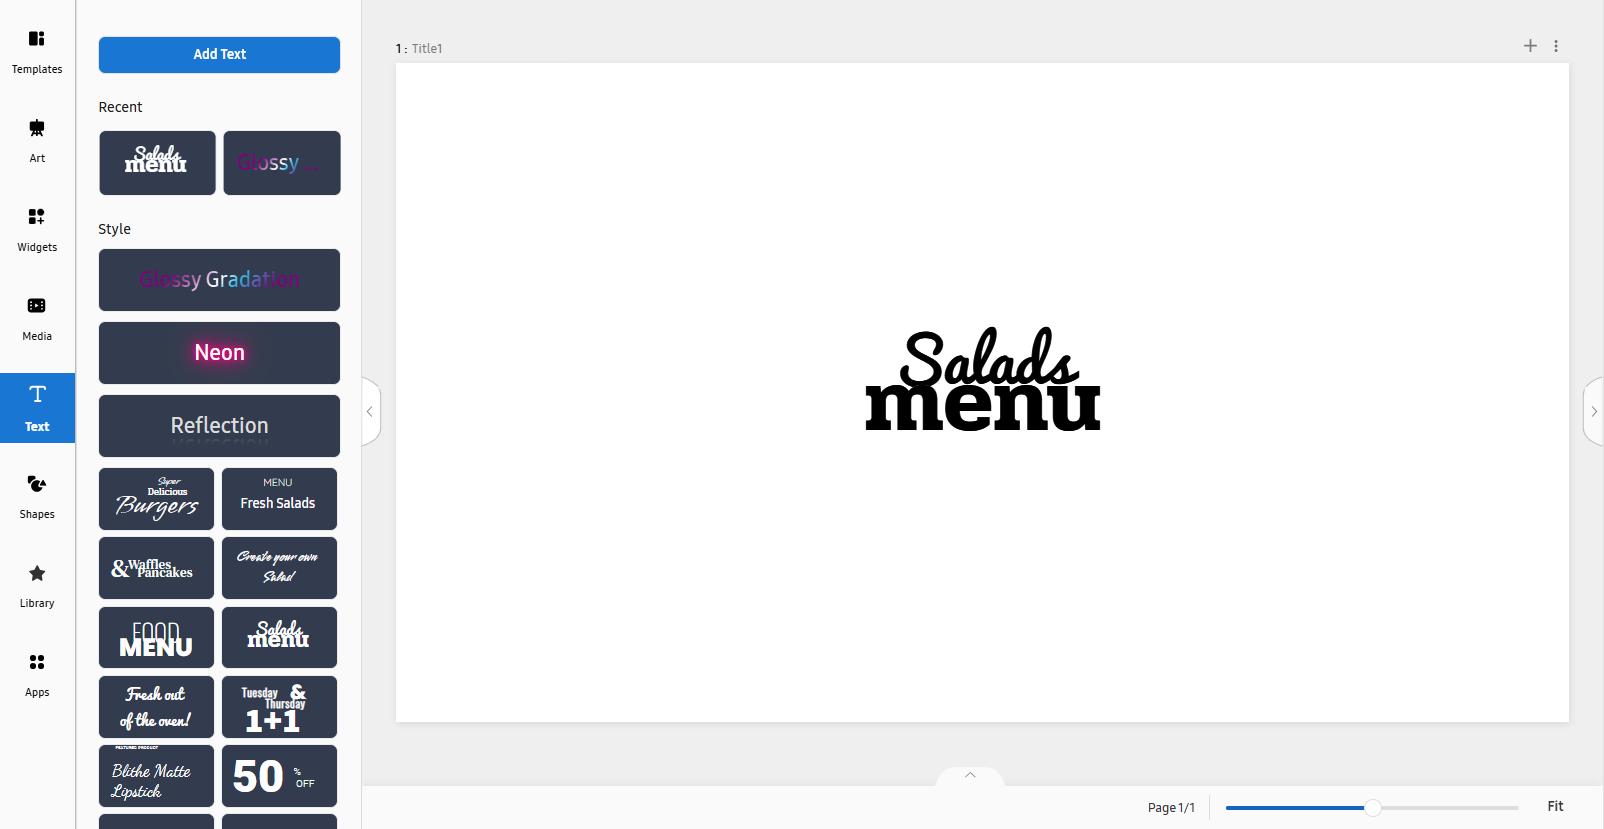
Text
Add text.
Use the element properties menu to edit style, alignment and animation settings to
suit your specific needs.
 |
|
Item |
Description |
|---|---|
|
Add Text |
Add text that has no style specified. |
|
Recent |
Displays recently used text. |
|
Style |
Displays various styles of text. |
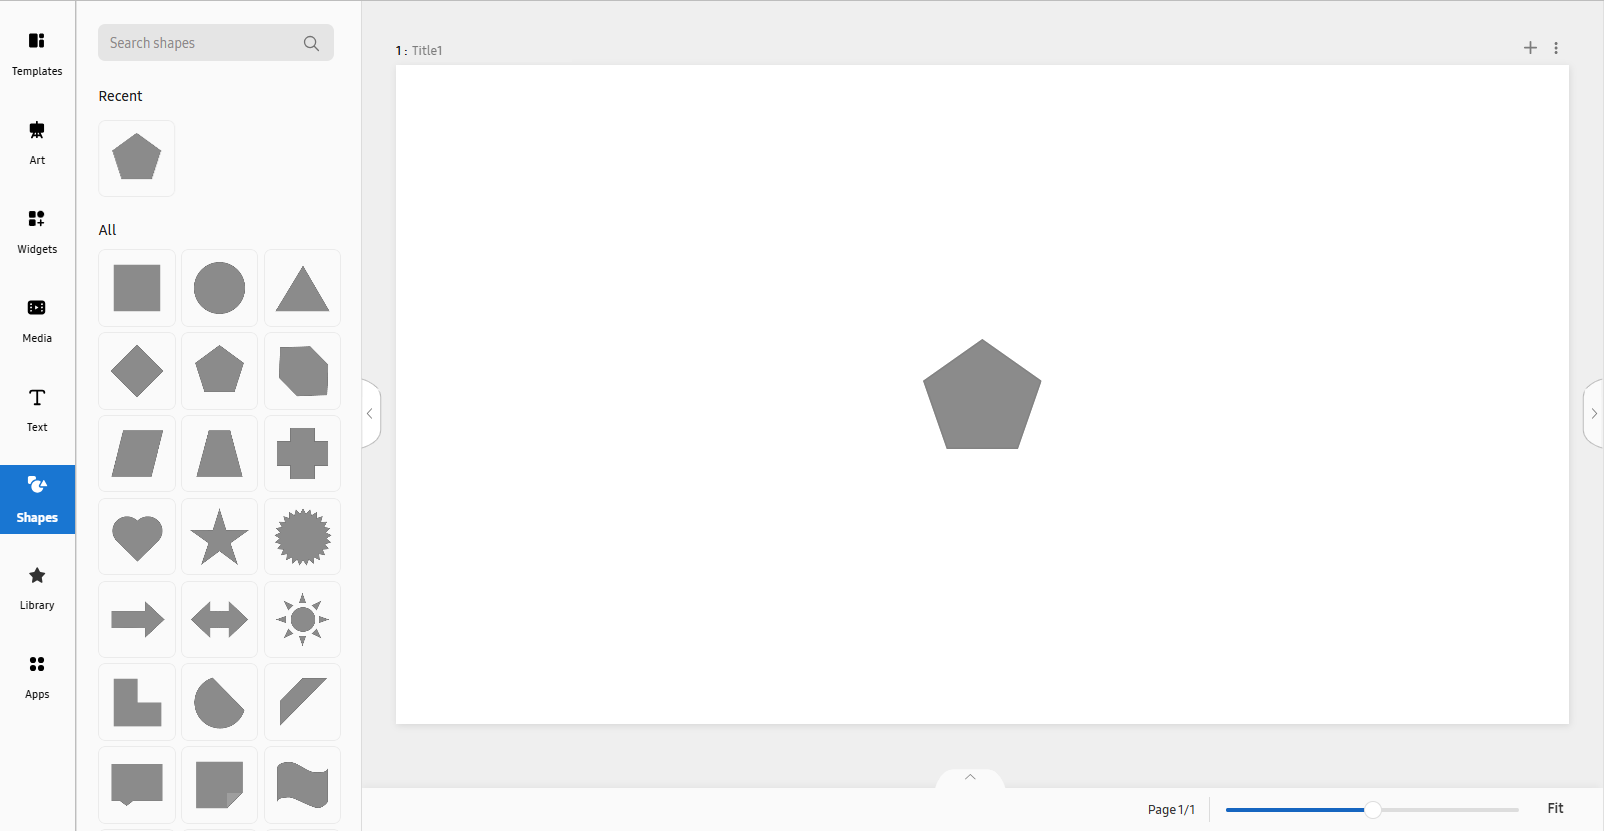
Shapes
Add shapes.
Use the element properties menu to edit style, alignment and animation settings to
suit your specific needs.
 |
|
Item |
Description |
|---|---|
|
Search shapes |
Search with a keyword to easily find specific shapes. |
|
Recent |
Displays recently used shapes. |
|
Allocation |
Displays all available shapes. |
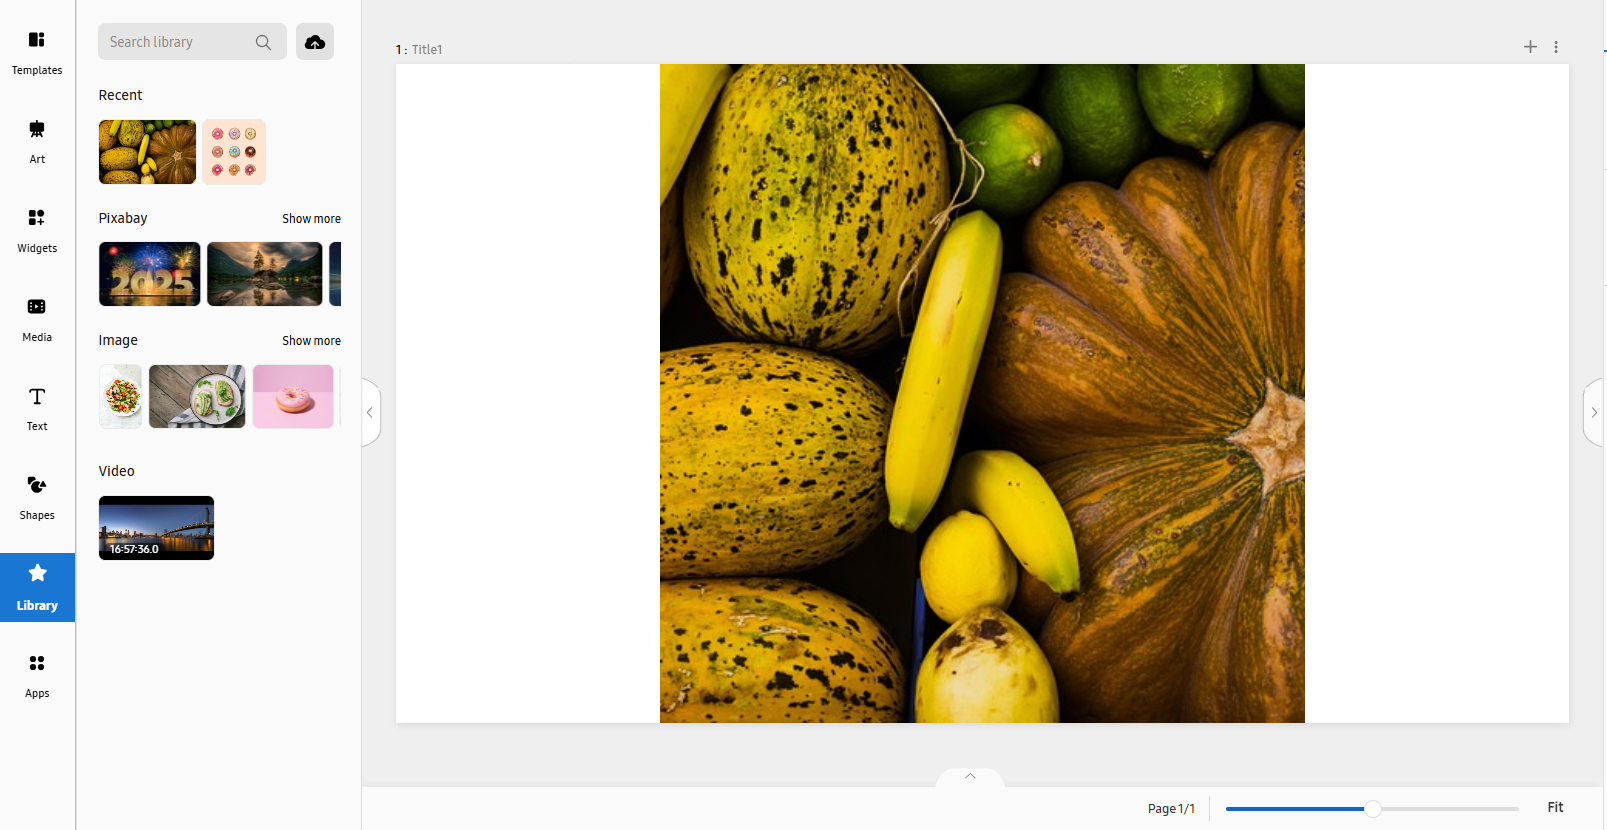
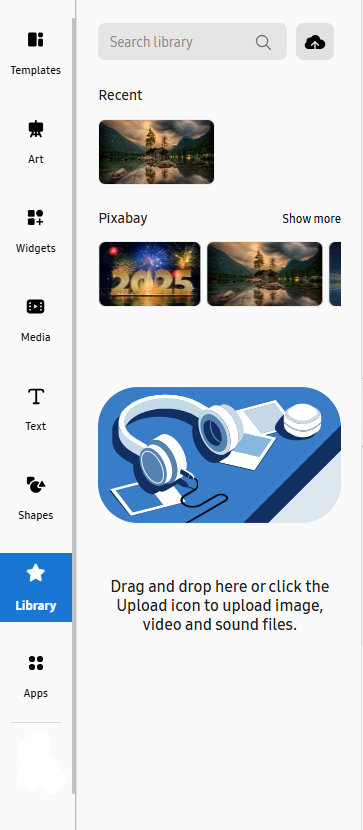
Library
Offers various elements by category, with which you can configure content.
You can upload files from your device, or search and load images from Pixabay.
 |
Uploading from Your Device
-
Click
 at the right of the search box. The Upload window appears.
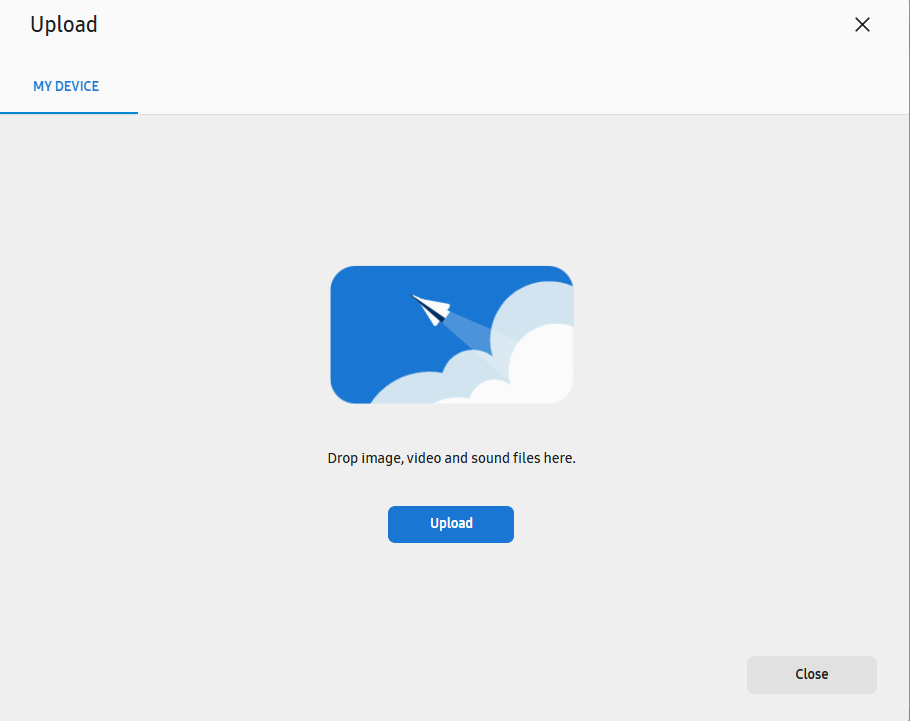
-
Click Add Content, and find and upload the desired content items from the explorer window.
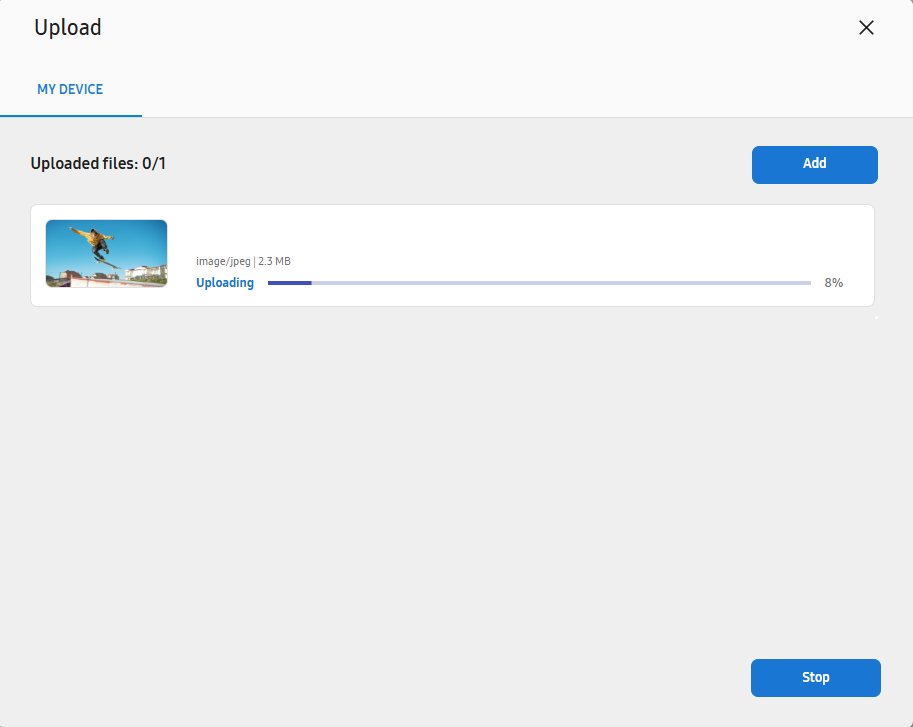
When uploading is complete, the content is added under the corresponding category.
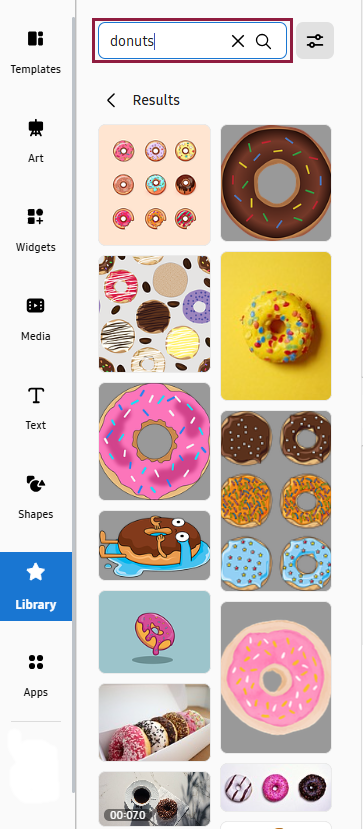
Using Pixabay Images
Use the Pixabay option to load images offered free of charge.
To view more free images offered by Pixabay, click Show more. Search with a keyword to easily find specific images.
 |
 |
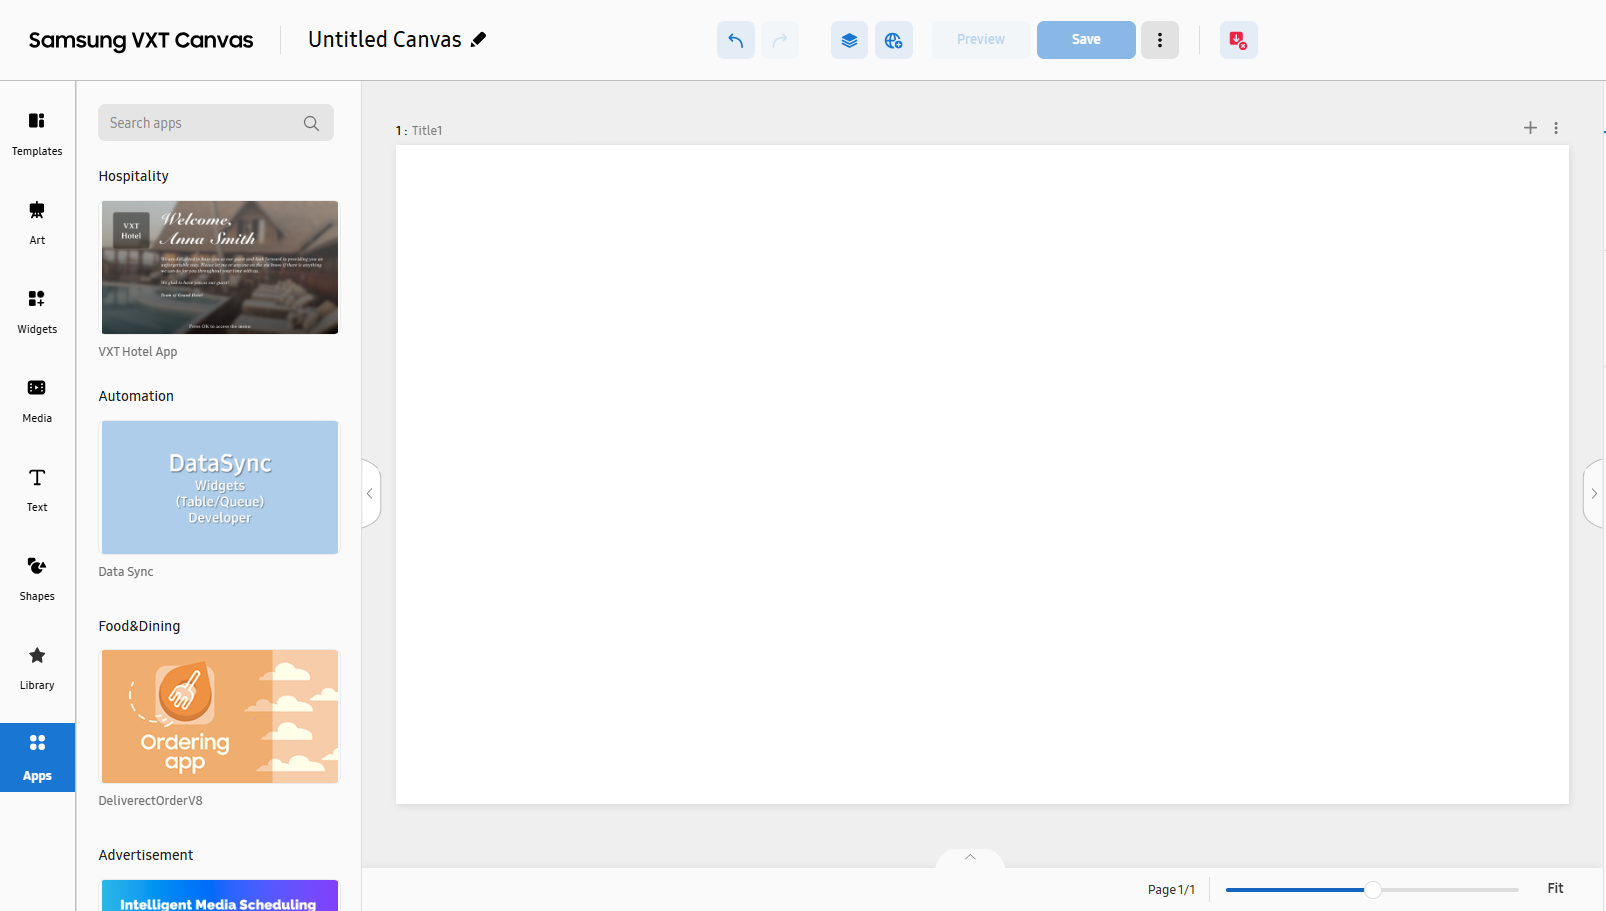
Apps
Use a variety of additional content by using apps.
Install and use apps, as required.
 |
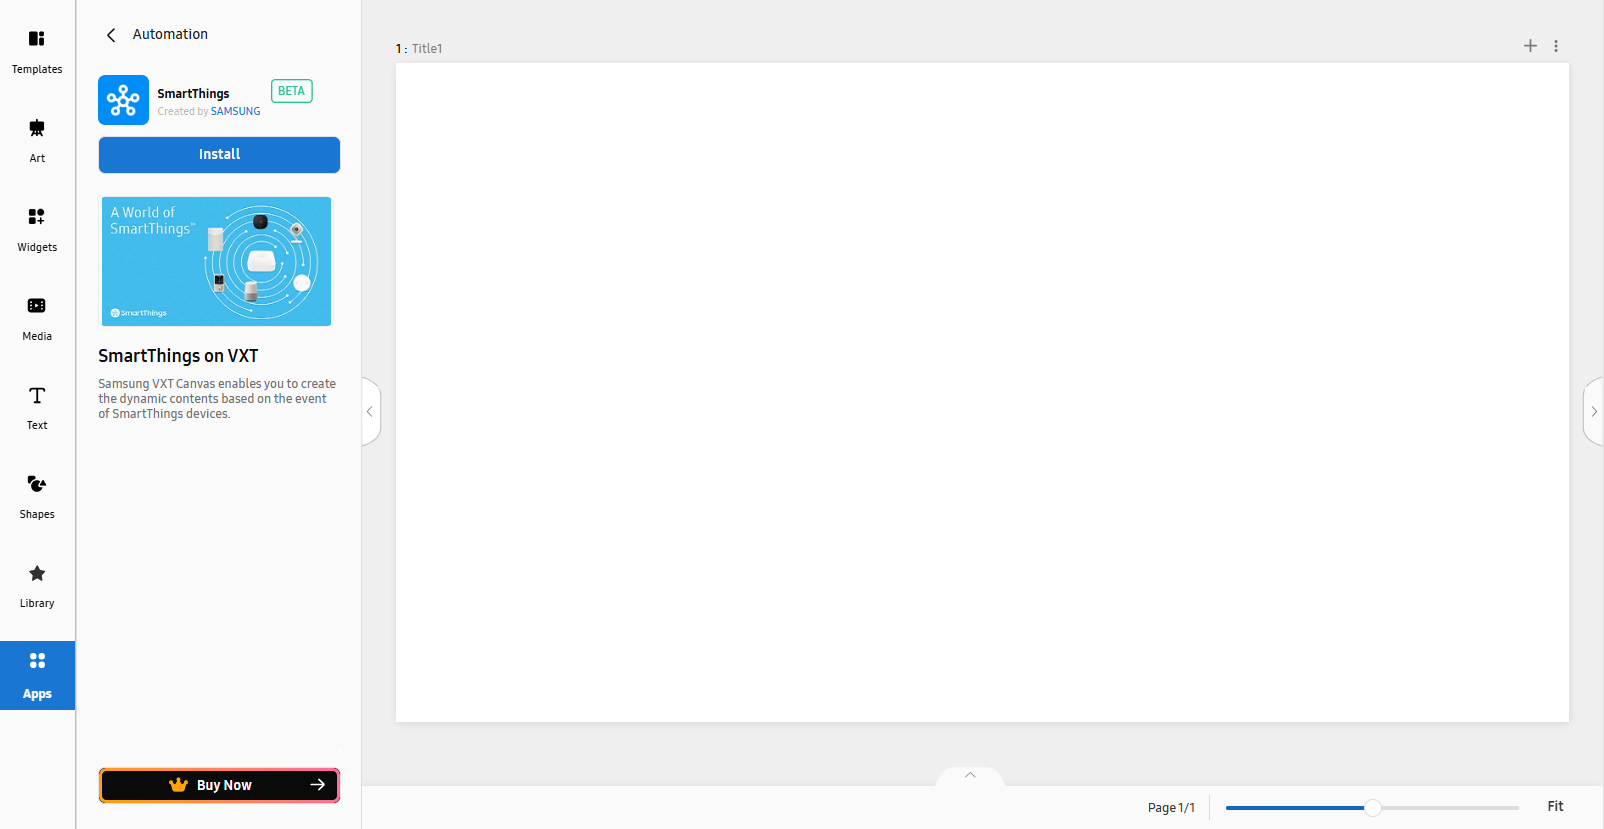
Using the SmartThings App
Using the SmartThings app, create dynamic content based on events on your SmartThings
devices.
From Apps, search for SmartThings, and click Install to install the app.
 |
Range of functions supported in the SmartThings app
|
SmartThings devices (category) |
Supported functions (capabilities) |
|---|---|
|
Button |
alarm: Alarm and flashing light status |
|
ContactSensor |
|
|
Door |
|
|
GenericSensor |
|
|
LightSensor |
|
|
MotionSensor |
|
|
MultiFunctionalSensor |
|
|
PresenceSensor |
|
|
Siren |
|
|
Switch |
|
|
TempHumiditySensor |
|
|
TempSensor |
|
|
RainSensor |
|
|
Range |
|
|
Safe |
|
|
Thermostat |
|
|
Tracker |
|
|
VisionSensor |
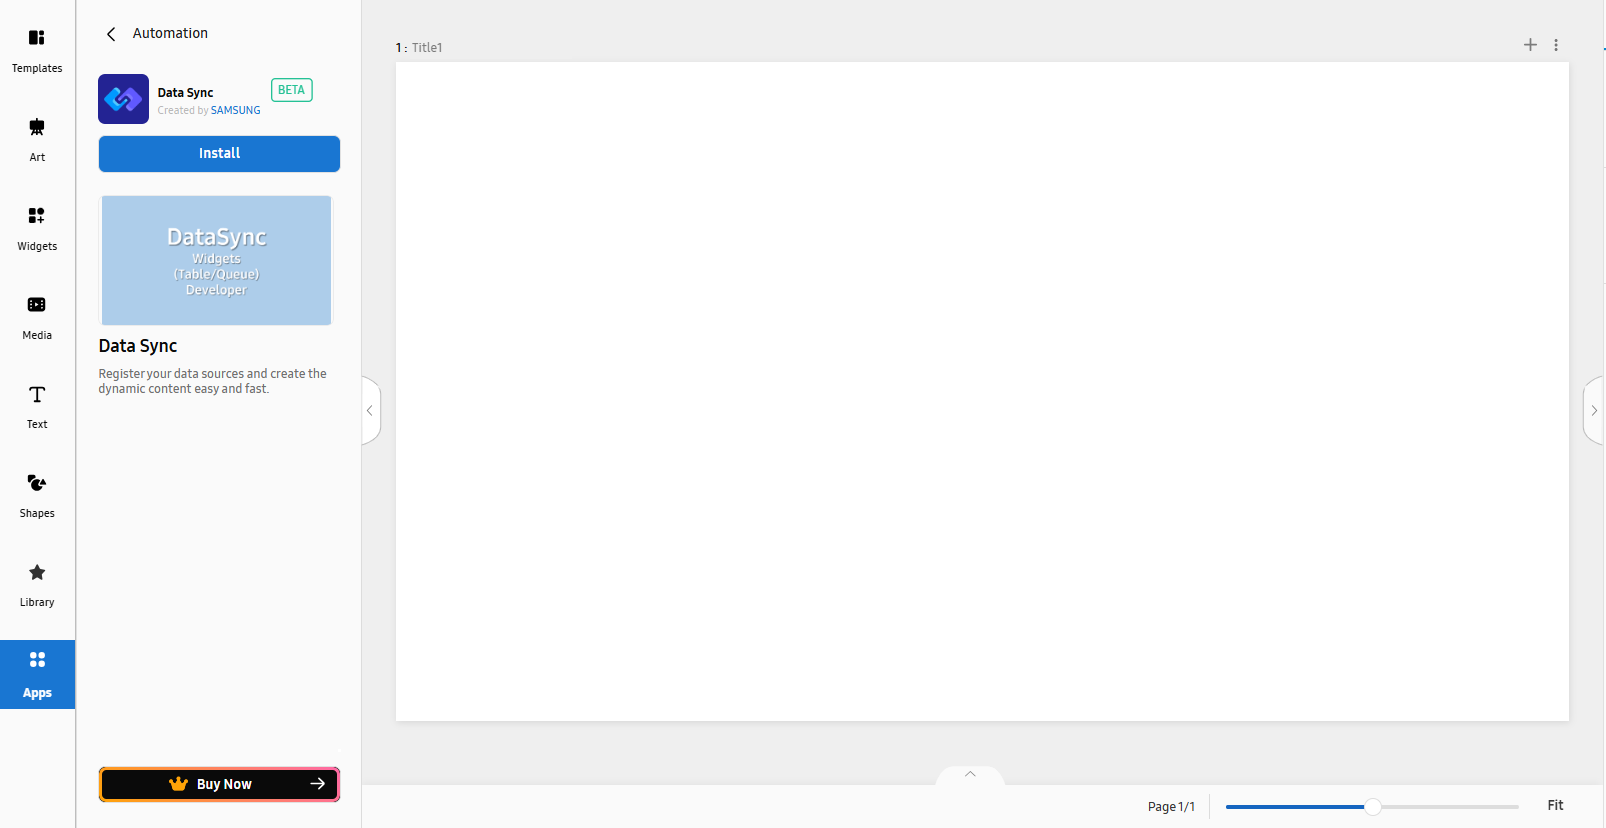
Using the Data Sync App
Register data sources to create dynamic content easily and quickly.
From Apps, search for Data Sync, and click Install to install the app.
 |
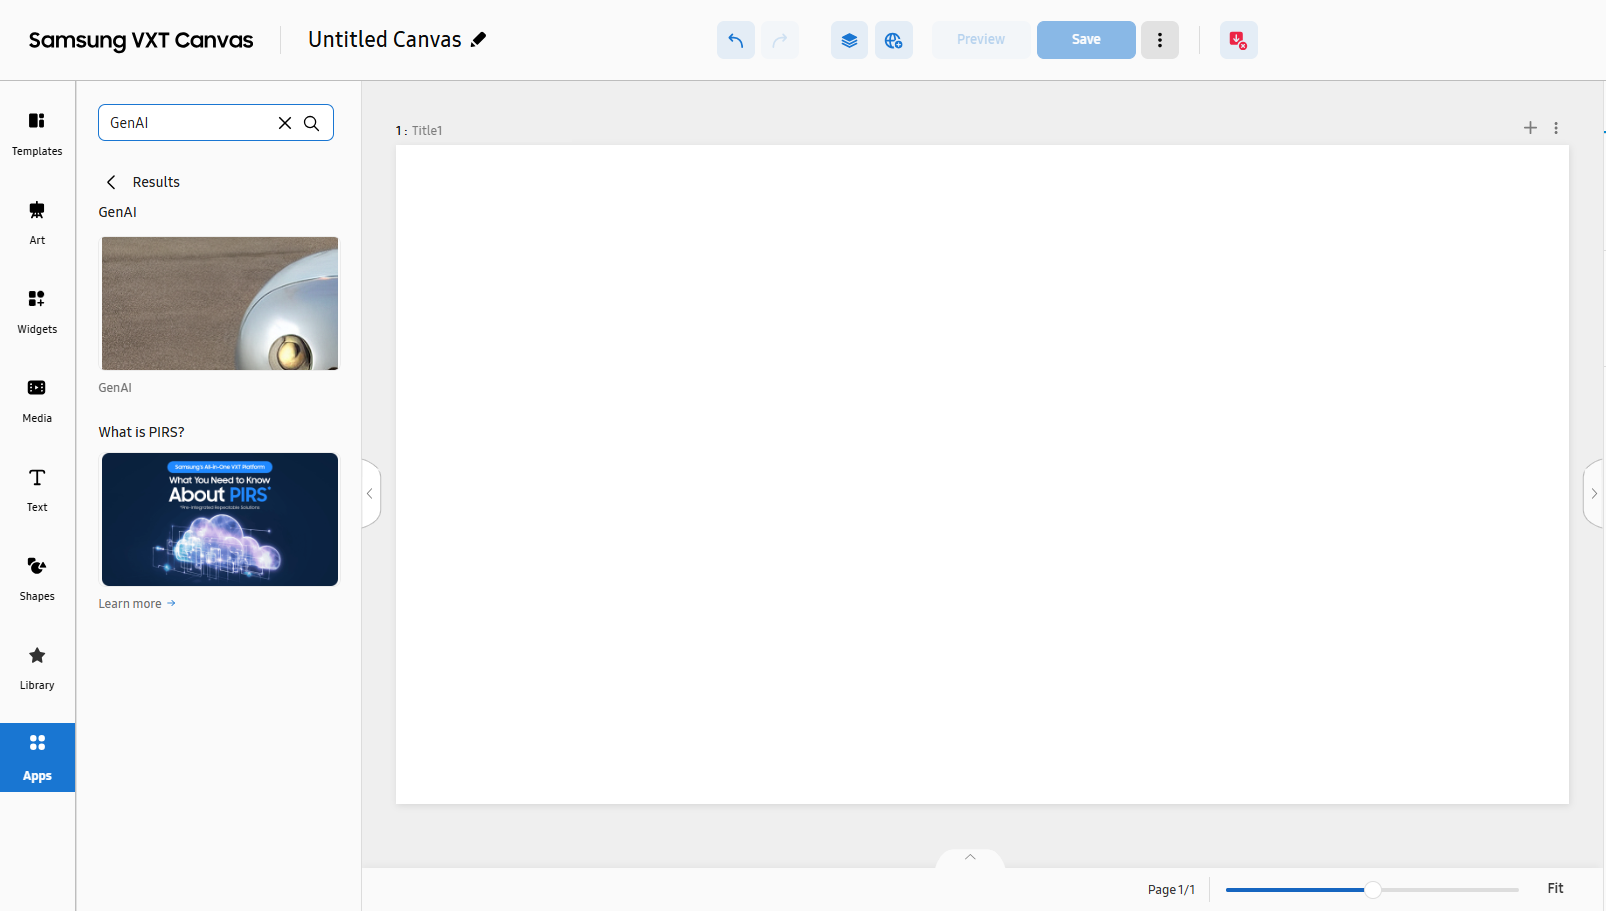
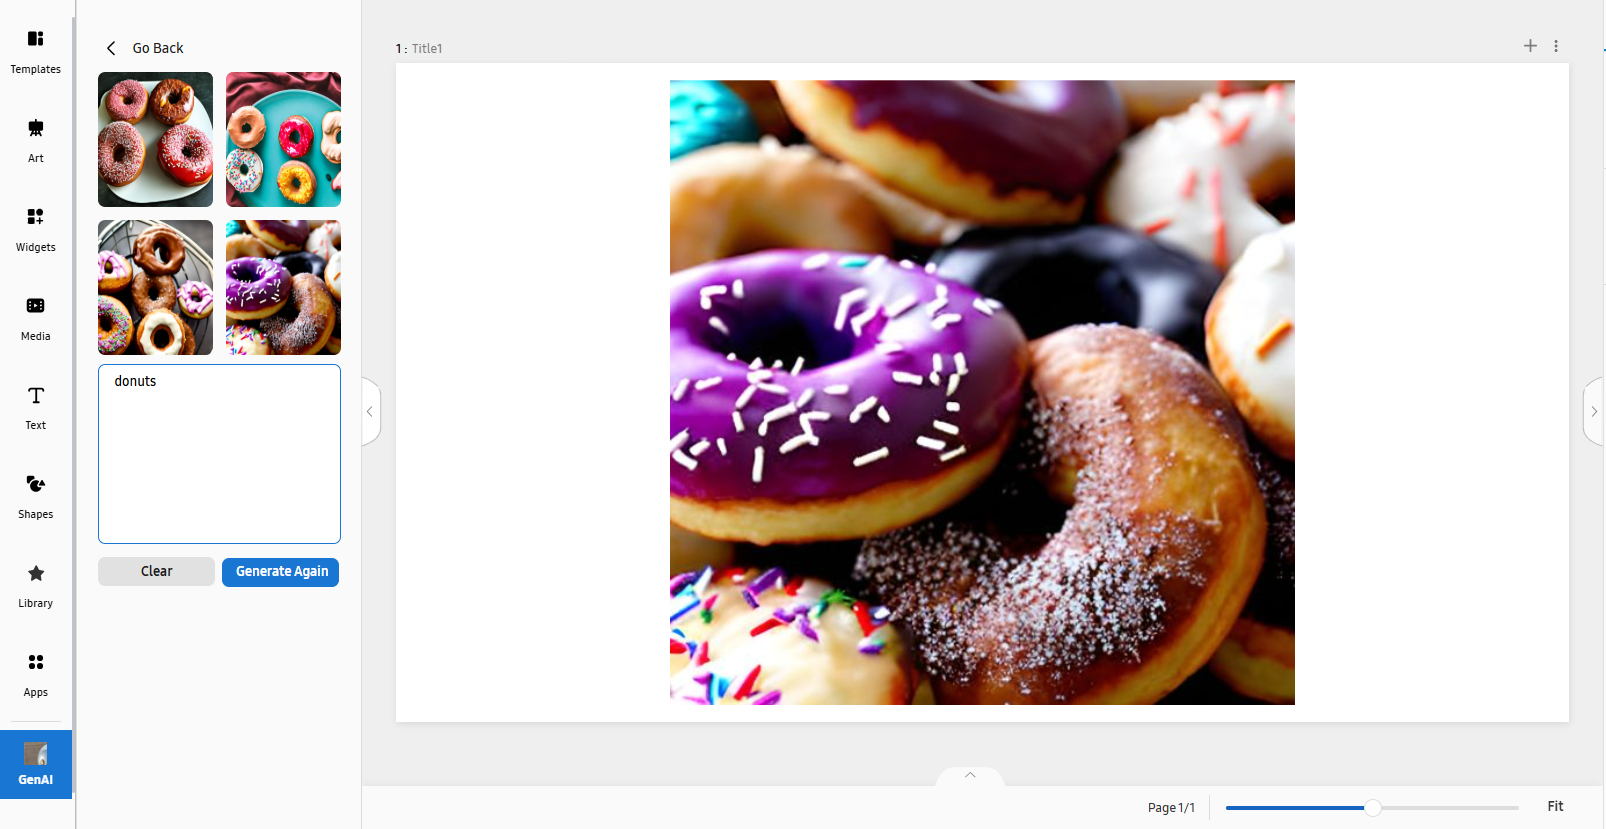
Using the Gen AI App
Create content, using the Gen AI app.
From Apps, search for Gen AI, and click Install to install the app.
 |
In the Message field, type in what kind of content you want to create. Specify the style, aspect ratio and size of the content to create, and click Generate.
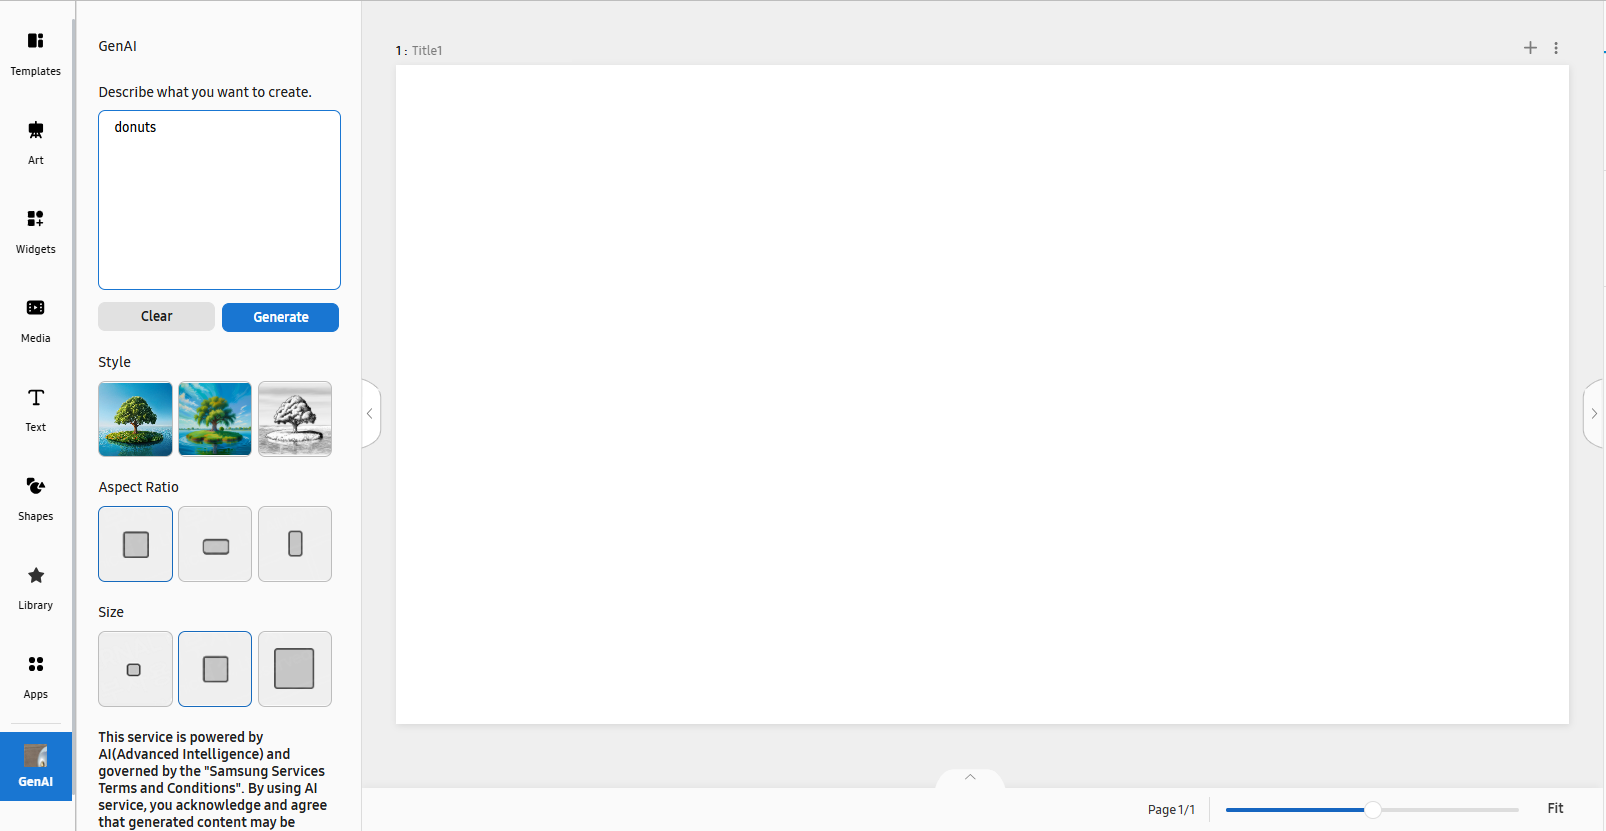 |
Choose one of the AI-generated content items and import it into the page.
 |