Page History
| Sv translation | |||||||||||||||||||||||||||||||||||||||||||||||||||||||||||||||||||||||||||||||||||||||||||||||||||||||||||||||||||||||||||||||||||||||||||||||||||||||||||||||||||||||||
|---|---|---|---|---|---|---|---|---|---|---|---|---|---|---|---|---|---|---|---|---|---|---|---|---|---|---|---|---|---|---|---|---|---|---|---|---|---|---|---|---|---|---|---|---|---|---|---|---|---|---|---|---|---|---|---|---|---|---|---|---|---|---|---|---|---|---|---|---|---|---|---|---|---|---|---|---|---|---|---|---|---|---|---|---|---|---|---|---|---|---|---|---|---|---|---|---|---|---|---|---|---|---|---|---|---|---|---|---|---|---|---|---|---|---|---|---|---|---|---|---|---|---|---|---|---|---|---|---|---|---|---|---|---|---|---|---|---|---|---|---|---|---|---|---|---|---|---|---|---|---|---|---|---|---|---|---|---|---|---|---|---|---|---|---|---|---|---|---|---|
| |||||||||||||||||||||||||||||||||||||||||||||||||||||||||||||||||||||||||||||||||||||||||||||||||||||||||||||||||||||||||||||||||||||||||||||||||||||||||||||||||||||||||
DataLink 기능을 이용해 콘텐츠 안의 요소가 실시간으로 바뀌는 동적 콘텐츠를 제작할 수 있습니다. 이 콘텐츠에는 MagicInfo Server에 등록된 일반 미디어 파일뿐만 아니라, DataLink 서버에 수집된 외부 데이터를 맵핑할 수도 있습니다.
Web Author를 이용해 DataLink 템플릿을 생성할 수 있습니다.
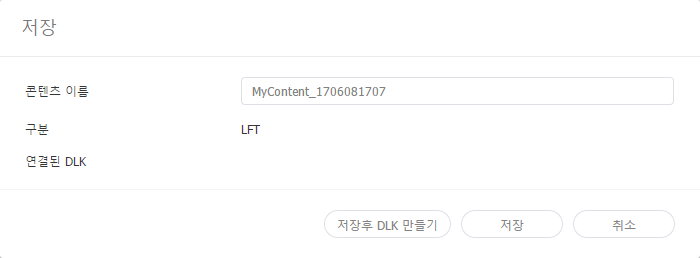
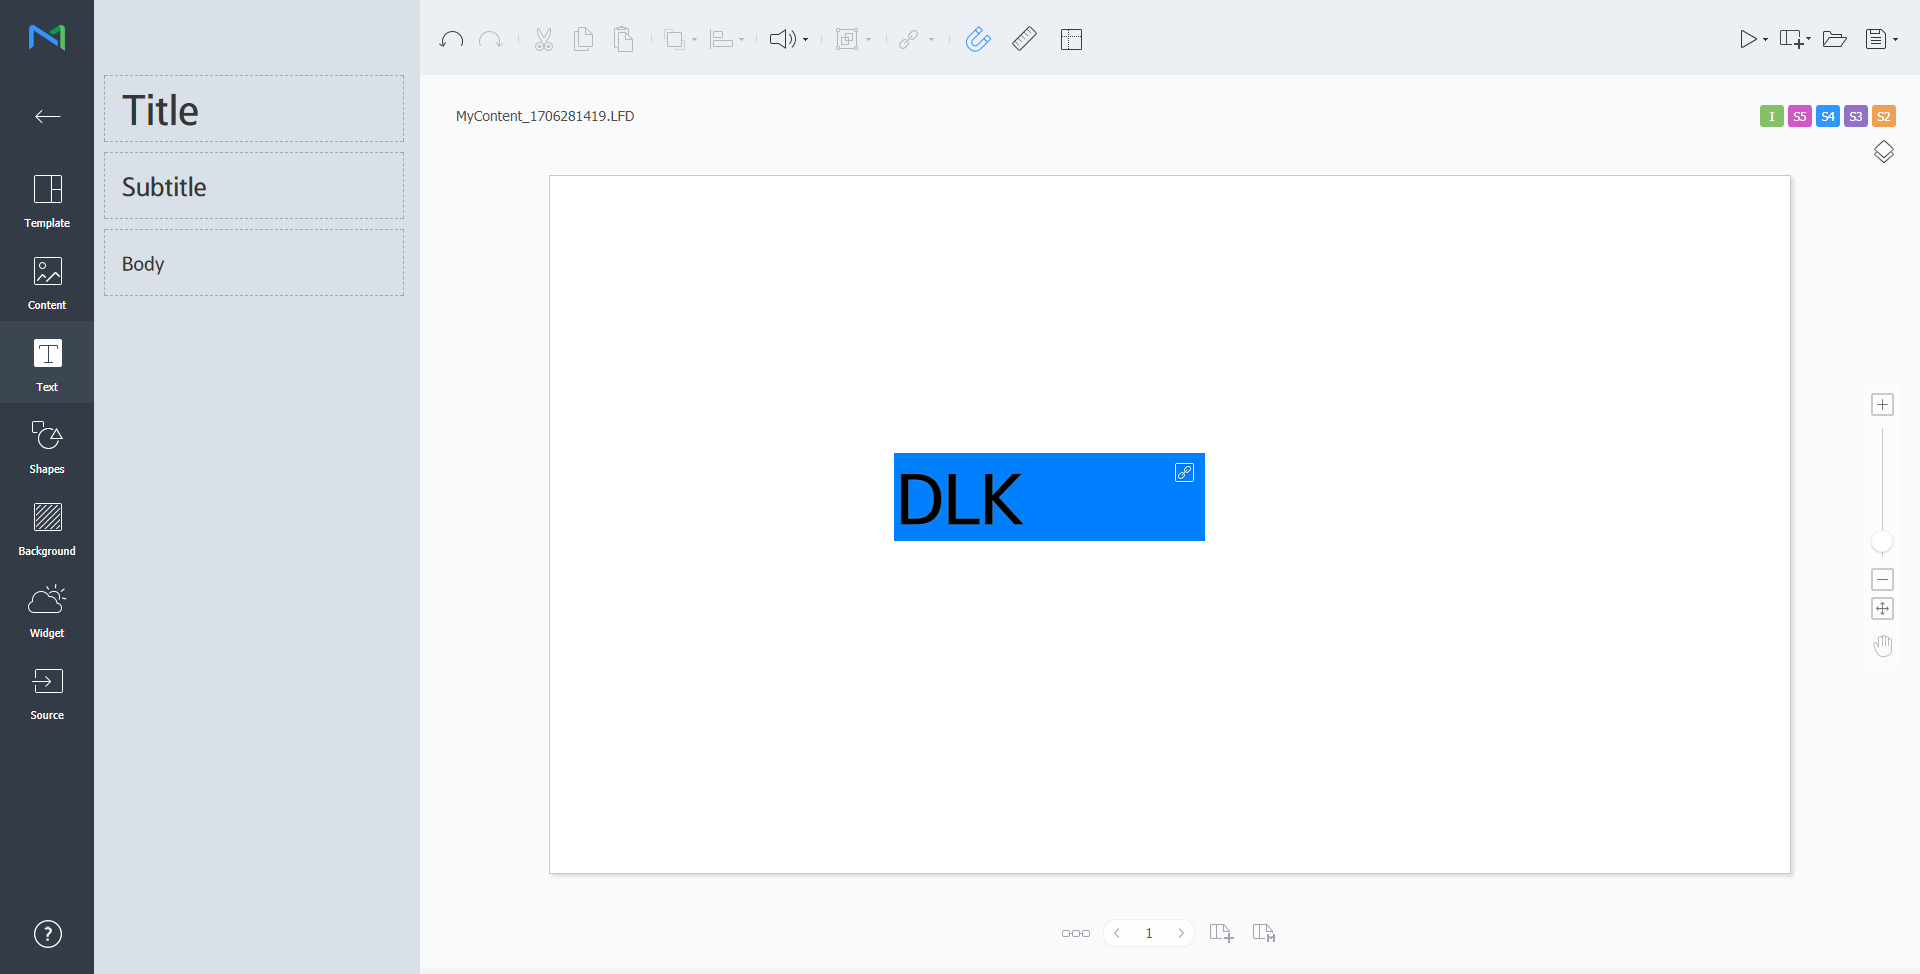
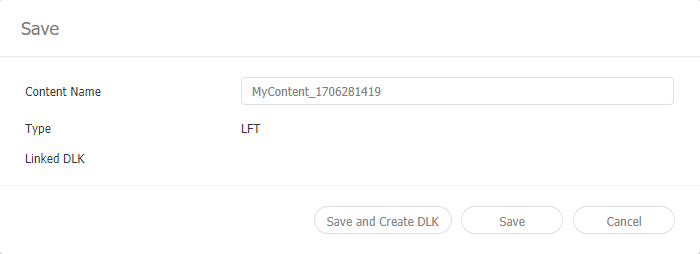
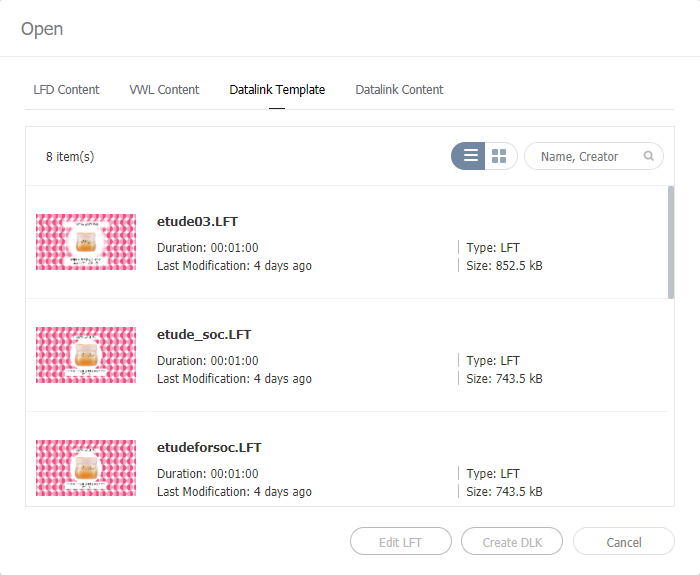
DataLink 템플릿 수정하기저장한 DataLink 템플릿을 불러온 후 수정할 수 있습니다.
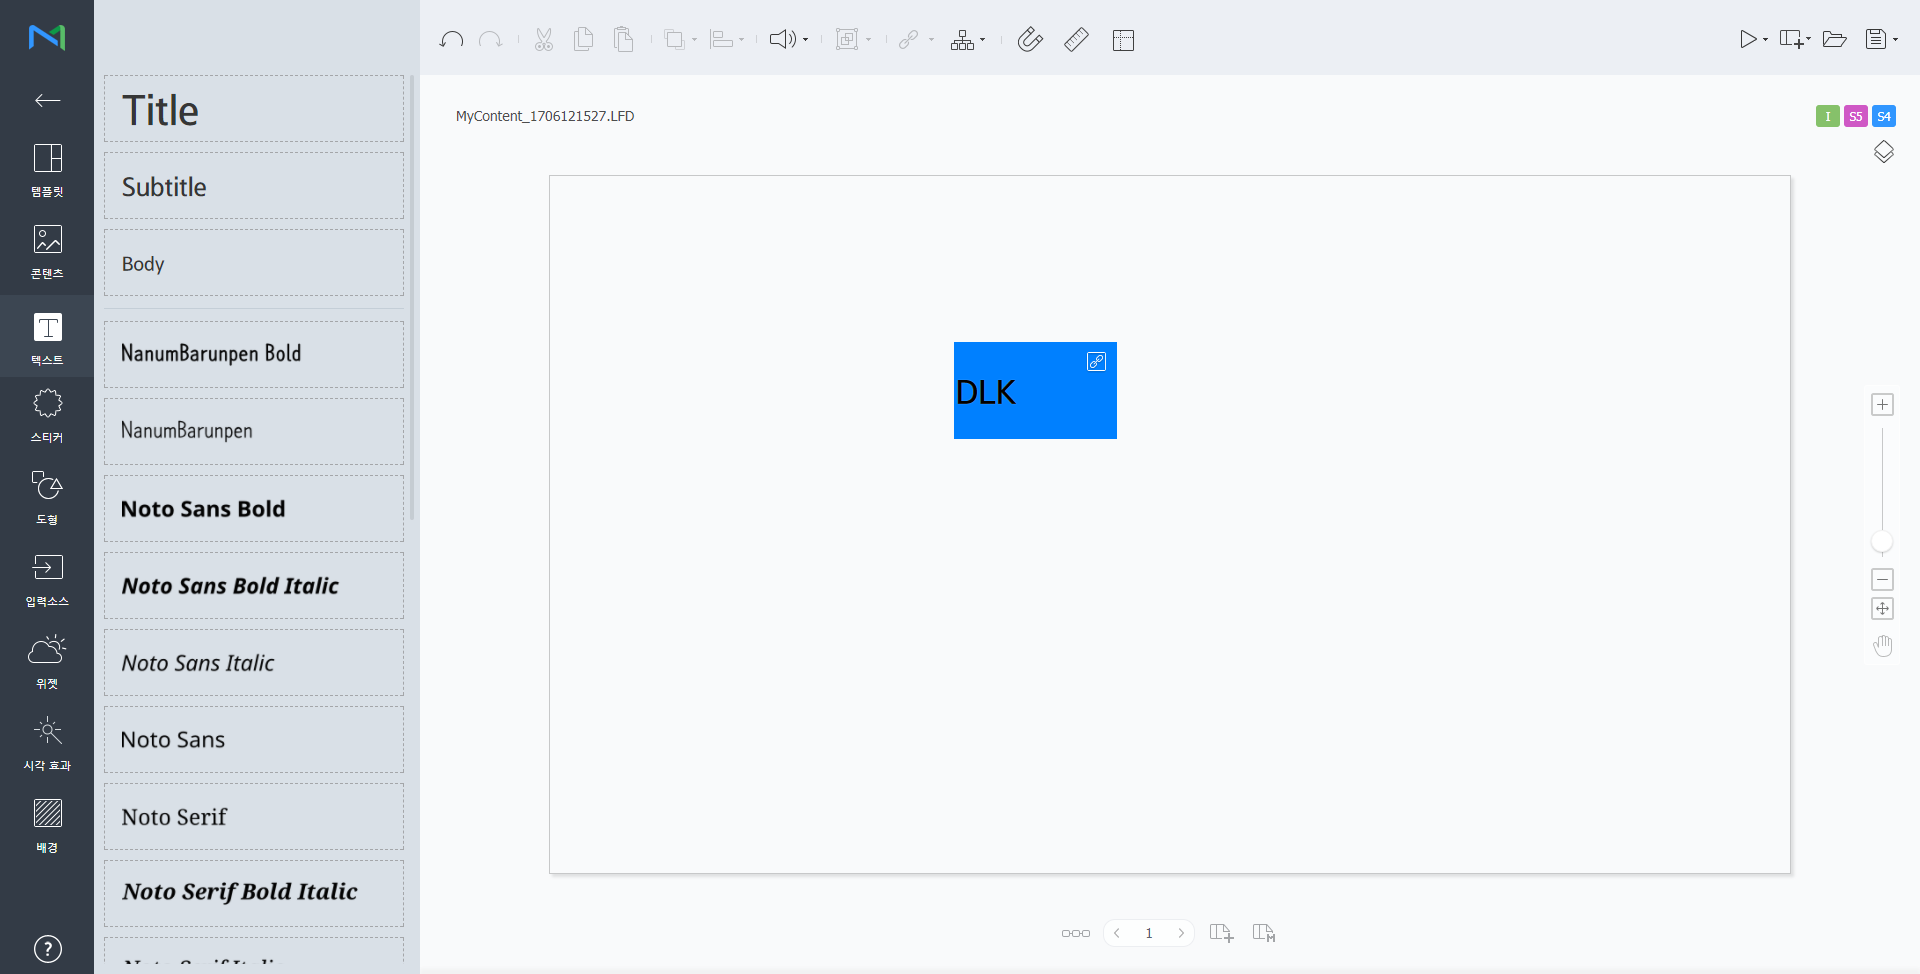
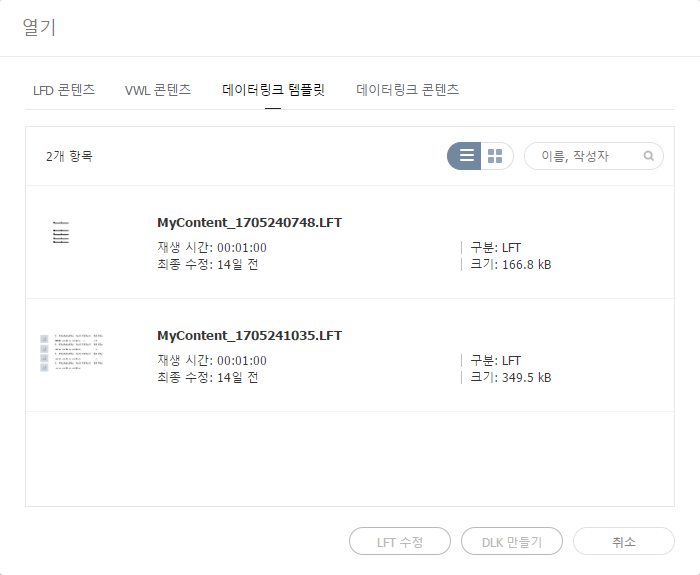
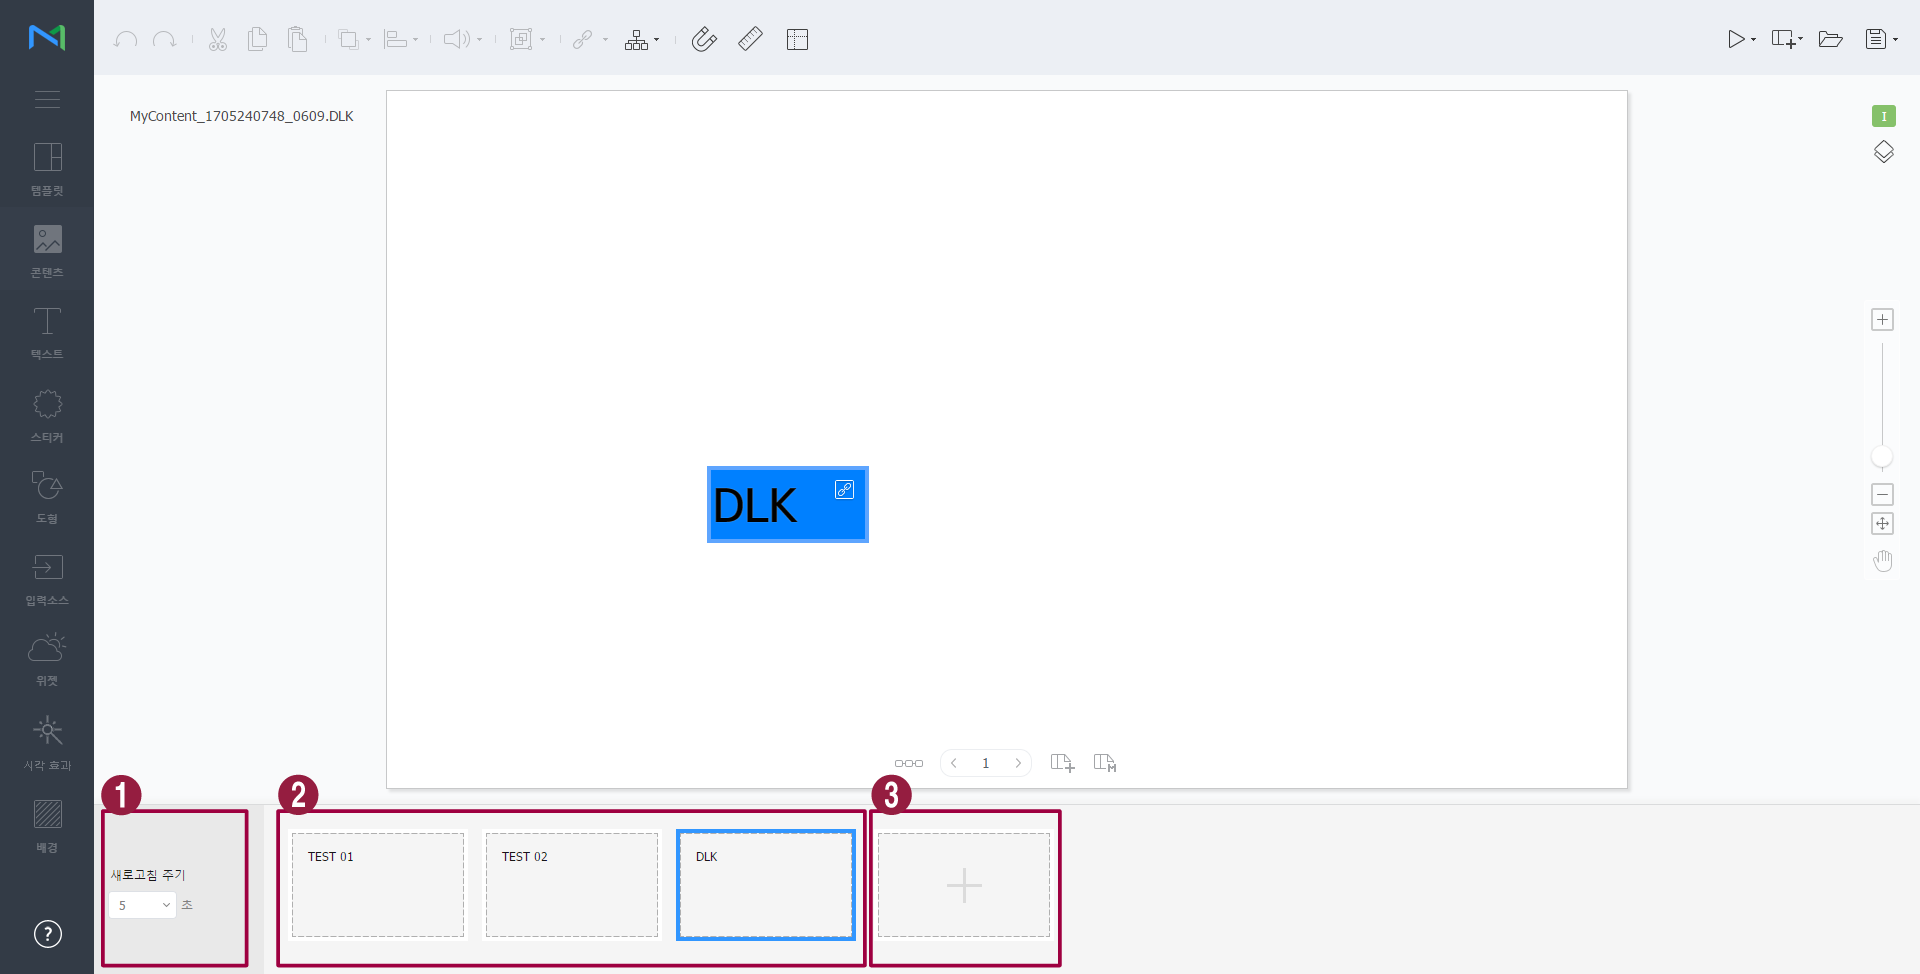
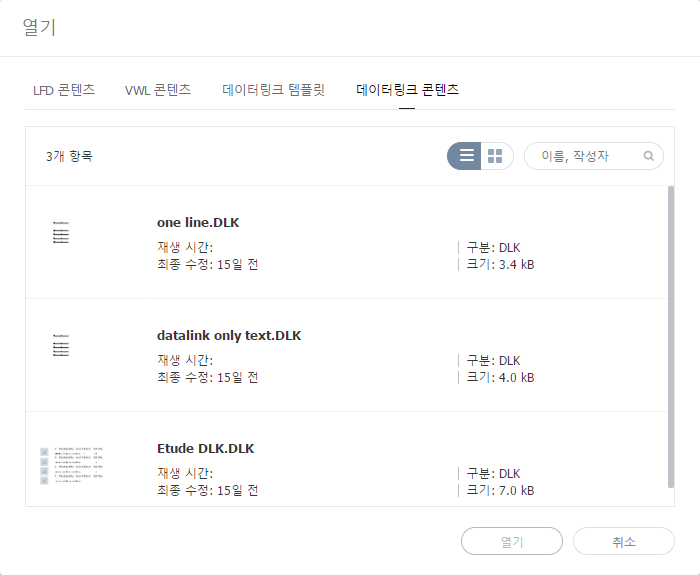
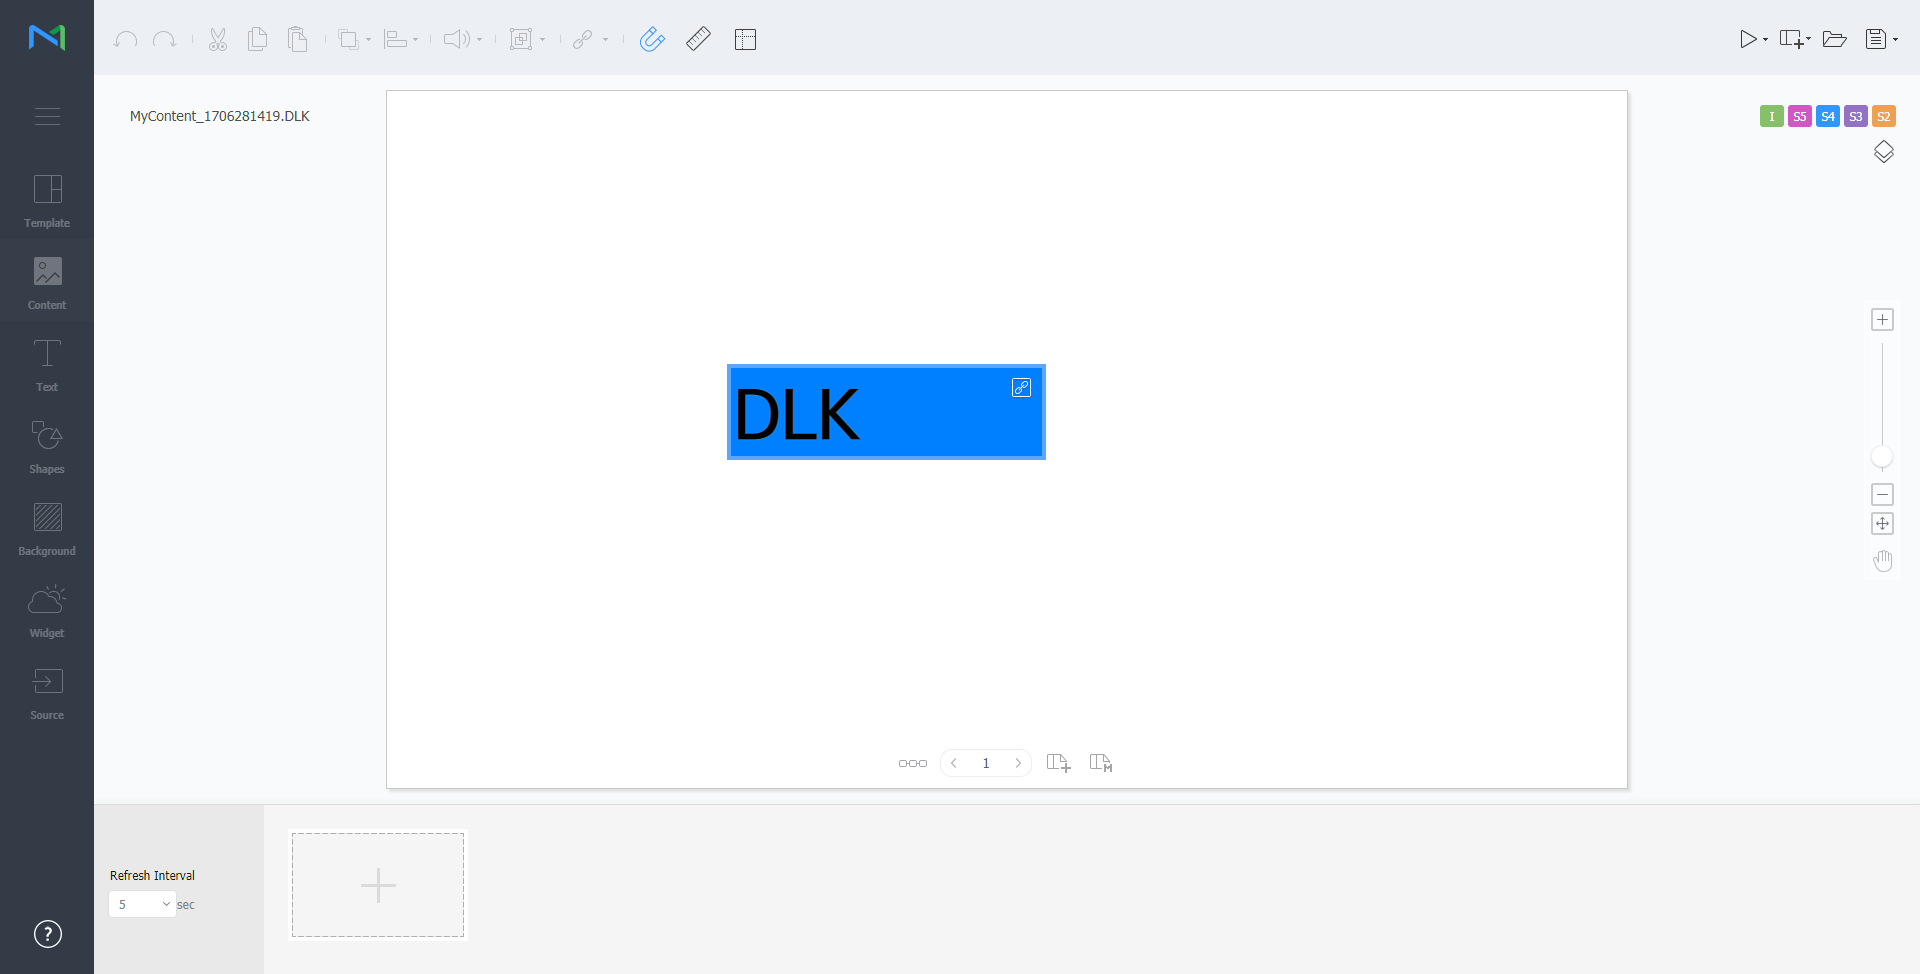
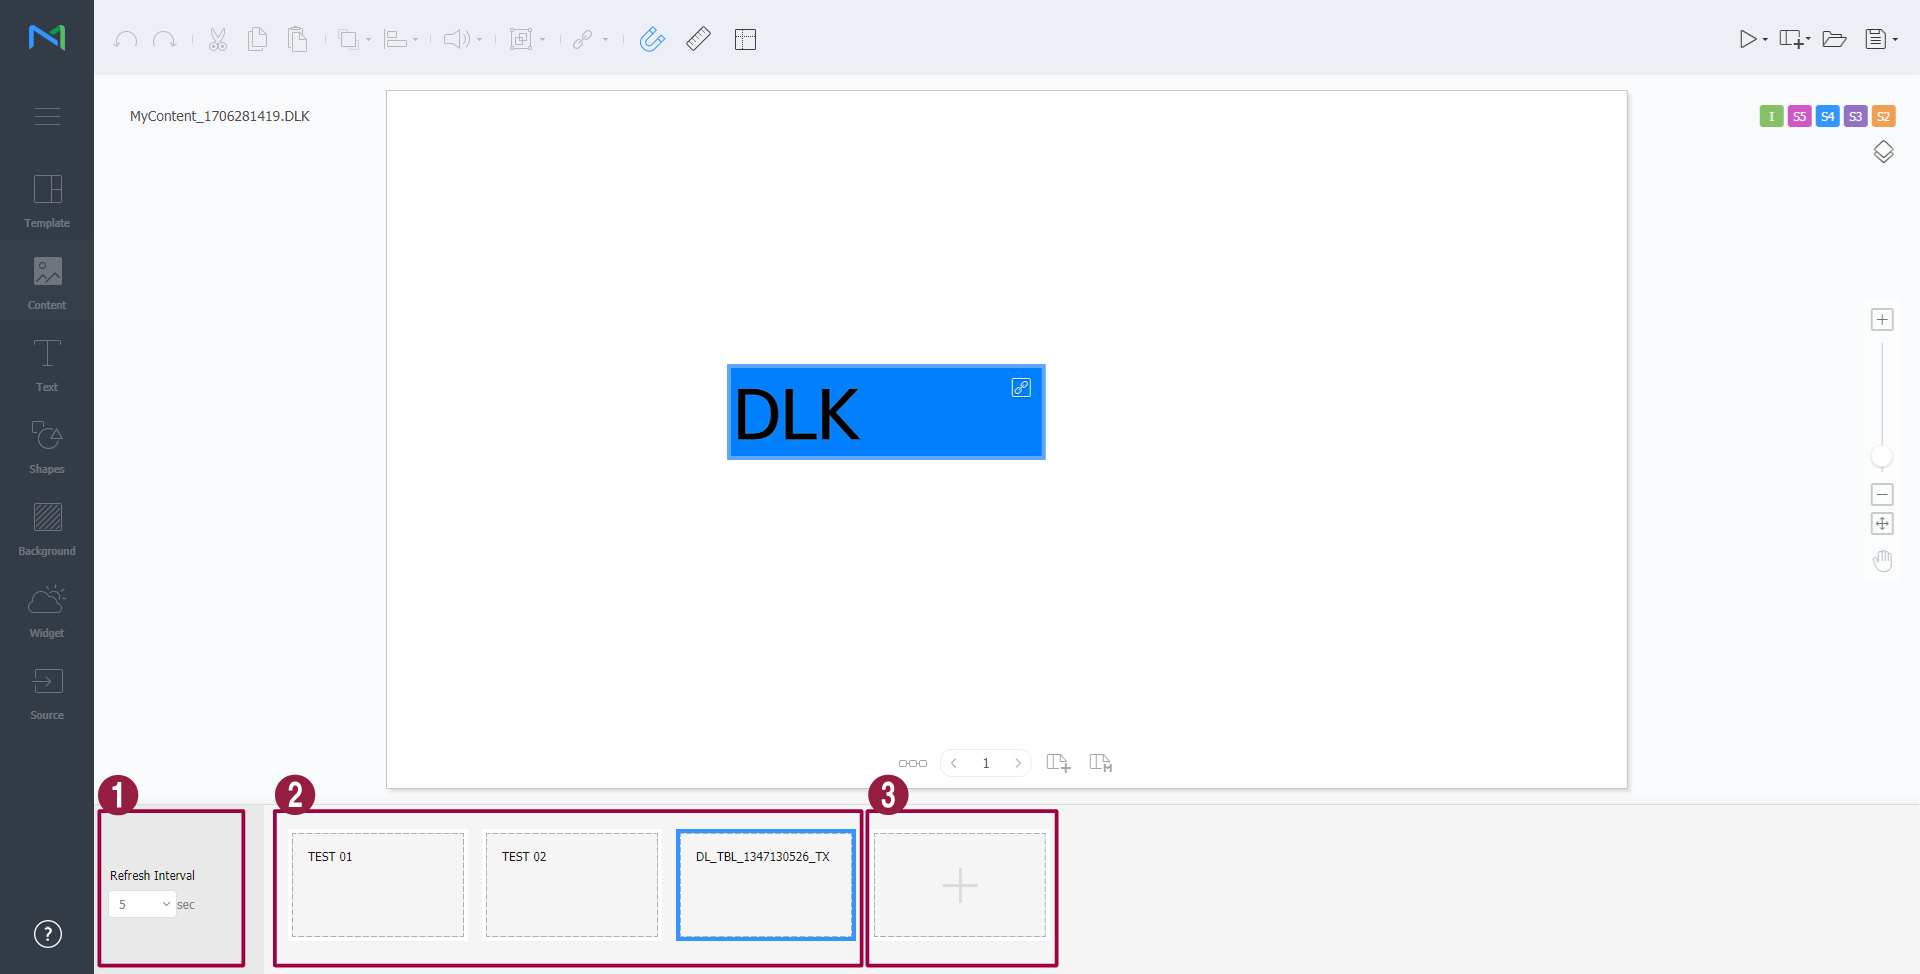
DLK 콘텐츠 생성하기DataLink 템플릿으로 MagicInfo Player에 배포할 DLK 콘텐츠를 생성할 수 있습니다. DLK 콘텐츠는 미디어 파일 또는 텍스트를 직접 등록하거나, 등록된 DataLink Server의 정보를 불러와서 생성할 수 있습니다. DataLink 템플릿 불러오기DLK 콘텐츠를 생성하기 위해 DataLink 템플릿을 불러올 수 있습니다.
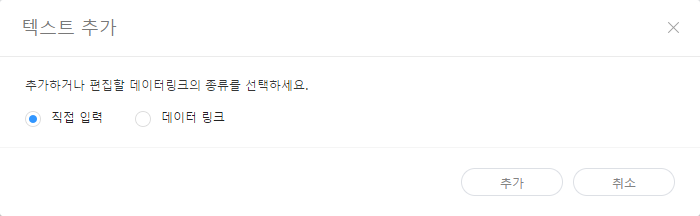
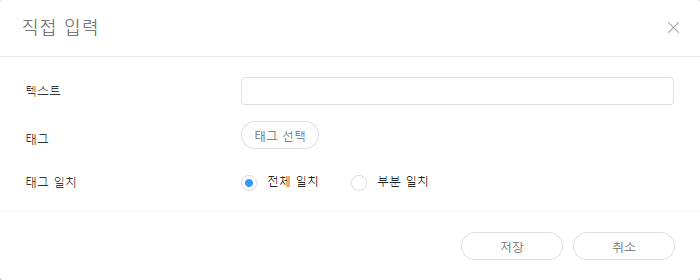
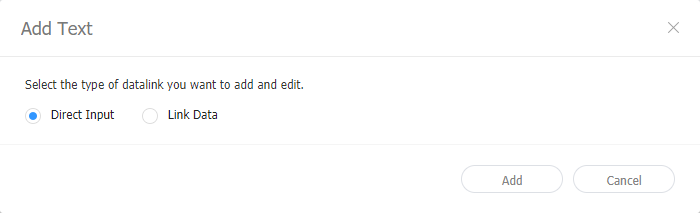
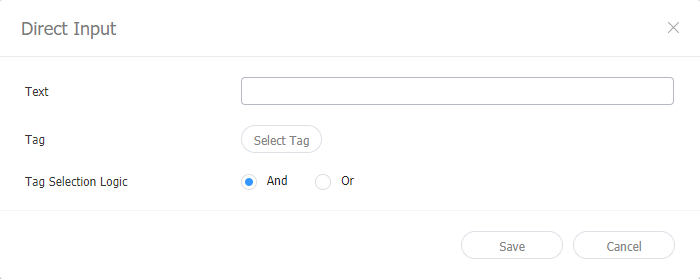
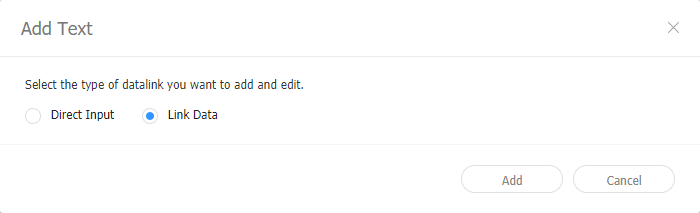
직접 입력하여 DLK 콘텐츠 만들기
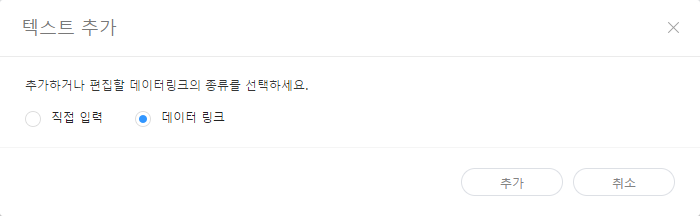
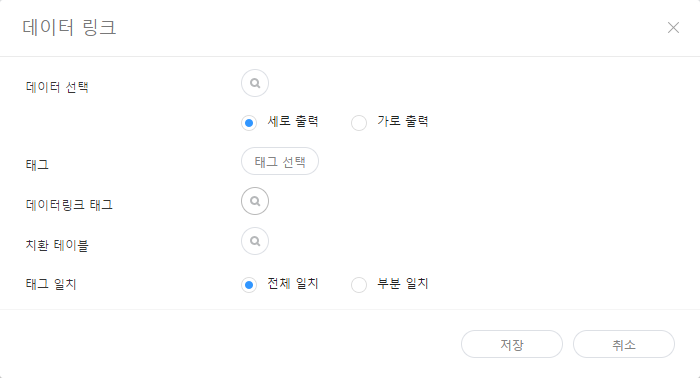
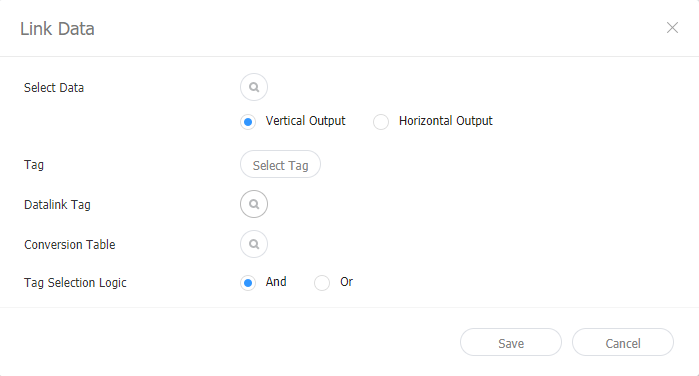
DataLink Server와 연동하여 DLK 콘텐츠 만들기DataLink Server의 데이터를 DLK 템플릿에 맵핑하여 DLK 콘텐츠를 구성할 수 있습니다.
데이터링크 관리하기
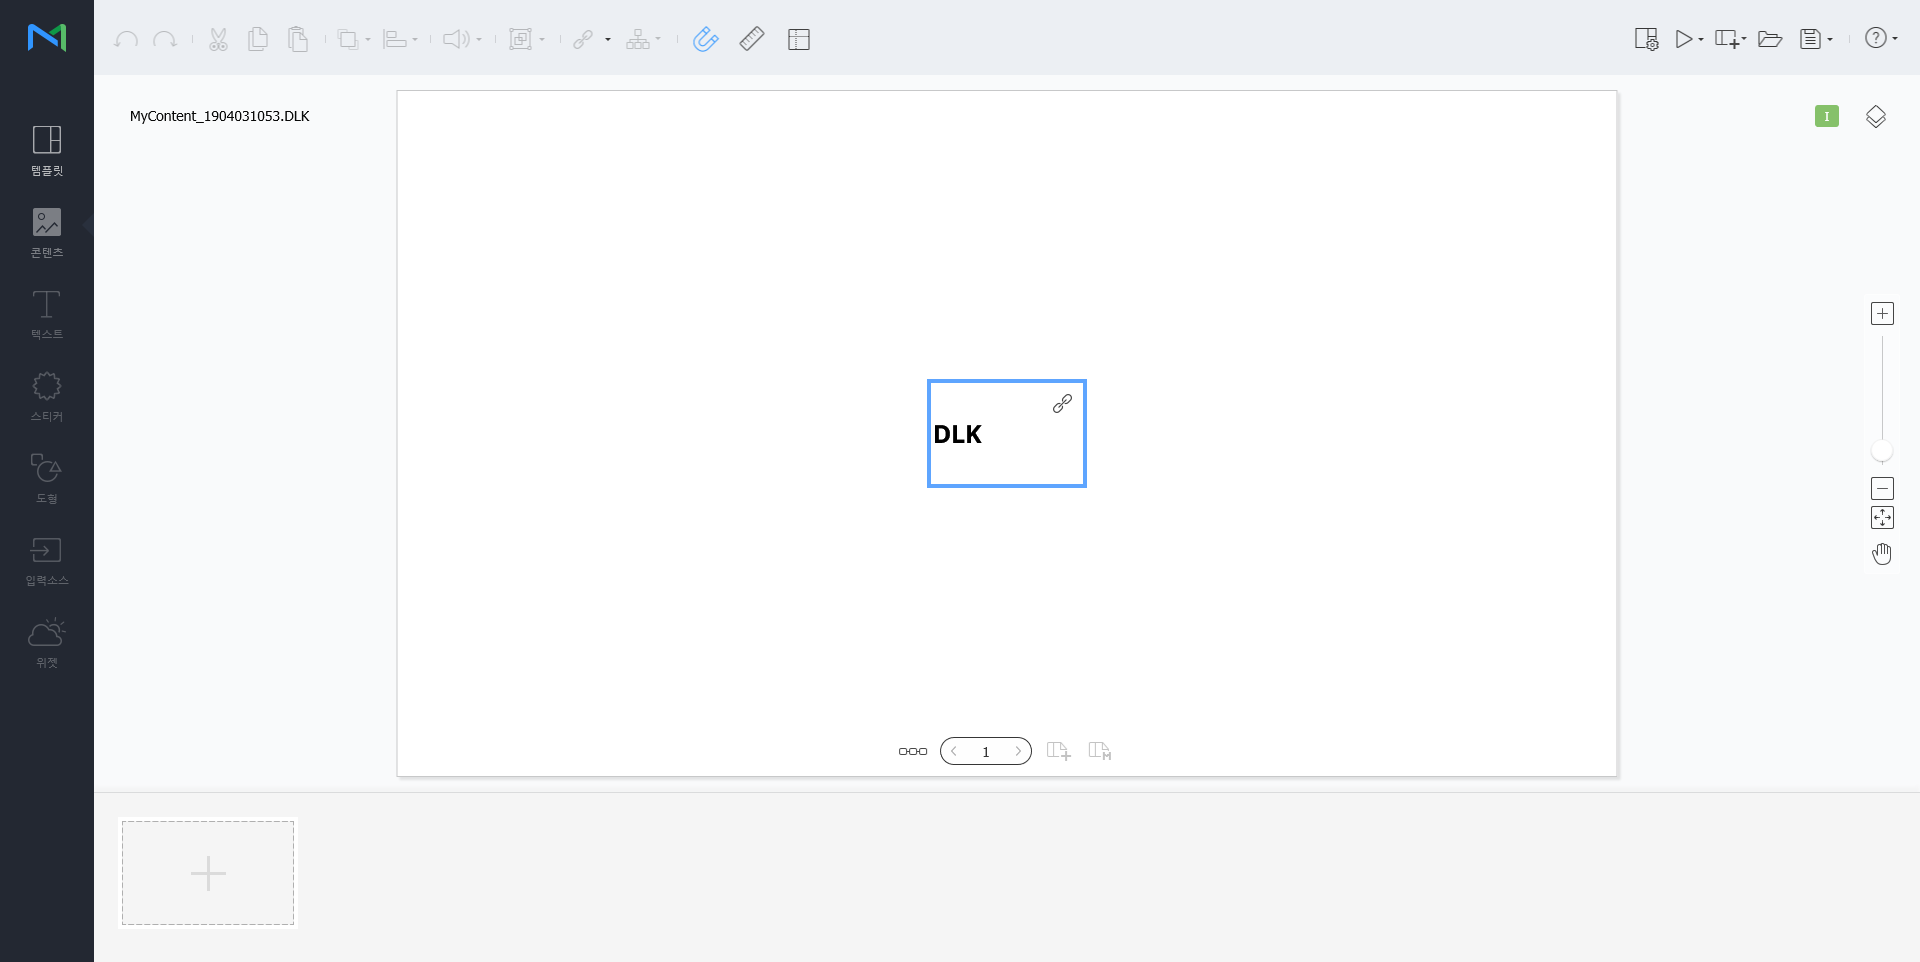
DLK 콘텐츠 수정하기저장한 DLK 콘텐츠를 불러온 후 수정할 수 있습니다.
이벤트 트리거 설정하기
각 페이지에 설정된 이벤트를 확인하고 전체 이벤트 흐름을 한눈에 파악할 수 있습니다.
|
| Sv translation | |||||||||||||||||||||||||||||||||||||||||||||||||||||||||||||||||||||||||||||||||||||||||||||||||||||||||||||||||||||||||||||||
|---|---|---|---|---|---|---|---|---|---|---|---|---|---|---|---|---|---|---|---|---|---|---|---|---|---|---|---|---|---|---|---|---|---|---|---|---|---|---|---|---|---|---|---|---|---|---|---|---|---|---|---|---|---|---|---|---|---|---|---|---|---|---|---|---|---|---|---|---|---|---|---|---|---|---|---|---|---|---|---|---|---|---|---|---|---|---|---|---|---|---|---|---|---|---|---|---|---|---|---|---|---|---|---|---|---|---|---|---|---|---|---|---|---|---|---|---|---|---|---|---|---|---|---|---|---|---|---|
| |||||||||||||||||||||||||||||||||||||||||||||||||||||||||||||||||||||||||||||||||||||||||||||||||||||||||||||||||||||||||||||||
Use the DataLink feature to create dynamic content containing elements that change in real time. Map general media files added to MagicInfo Server or external data collected on the DataLink server to this dynamic content.
Use Web Author to create a DataLink template.
Editing DataLink templatesImport and edit a saved DataLink template.
Creating DLK content filesUse a DataLink template to create DLK content to distribute to MagicInfo Player. DLK content can be created either by adding a media file or text or by importing saved DataLink Server settings. Importing DataLink templatesImport a DataLink template in order to create DLK content.
Creating DLK content by manually entering data
Creating a DLK file in conjunction with DataLink ServerCreate a DLK content file by mapping data, saved in DataLink Server, to a DLK template.
Managing DataLink
Editing DLK contentImport and edit saved DLK content.
|
...